Skip to content
Space Craft
Model and Hobby Shop in Broughty Ferry, Dundee
Menu
Home
About
Opening Times
Find Us
Ask a Question
Pocket Money Range
Shop
0 items
£0.00
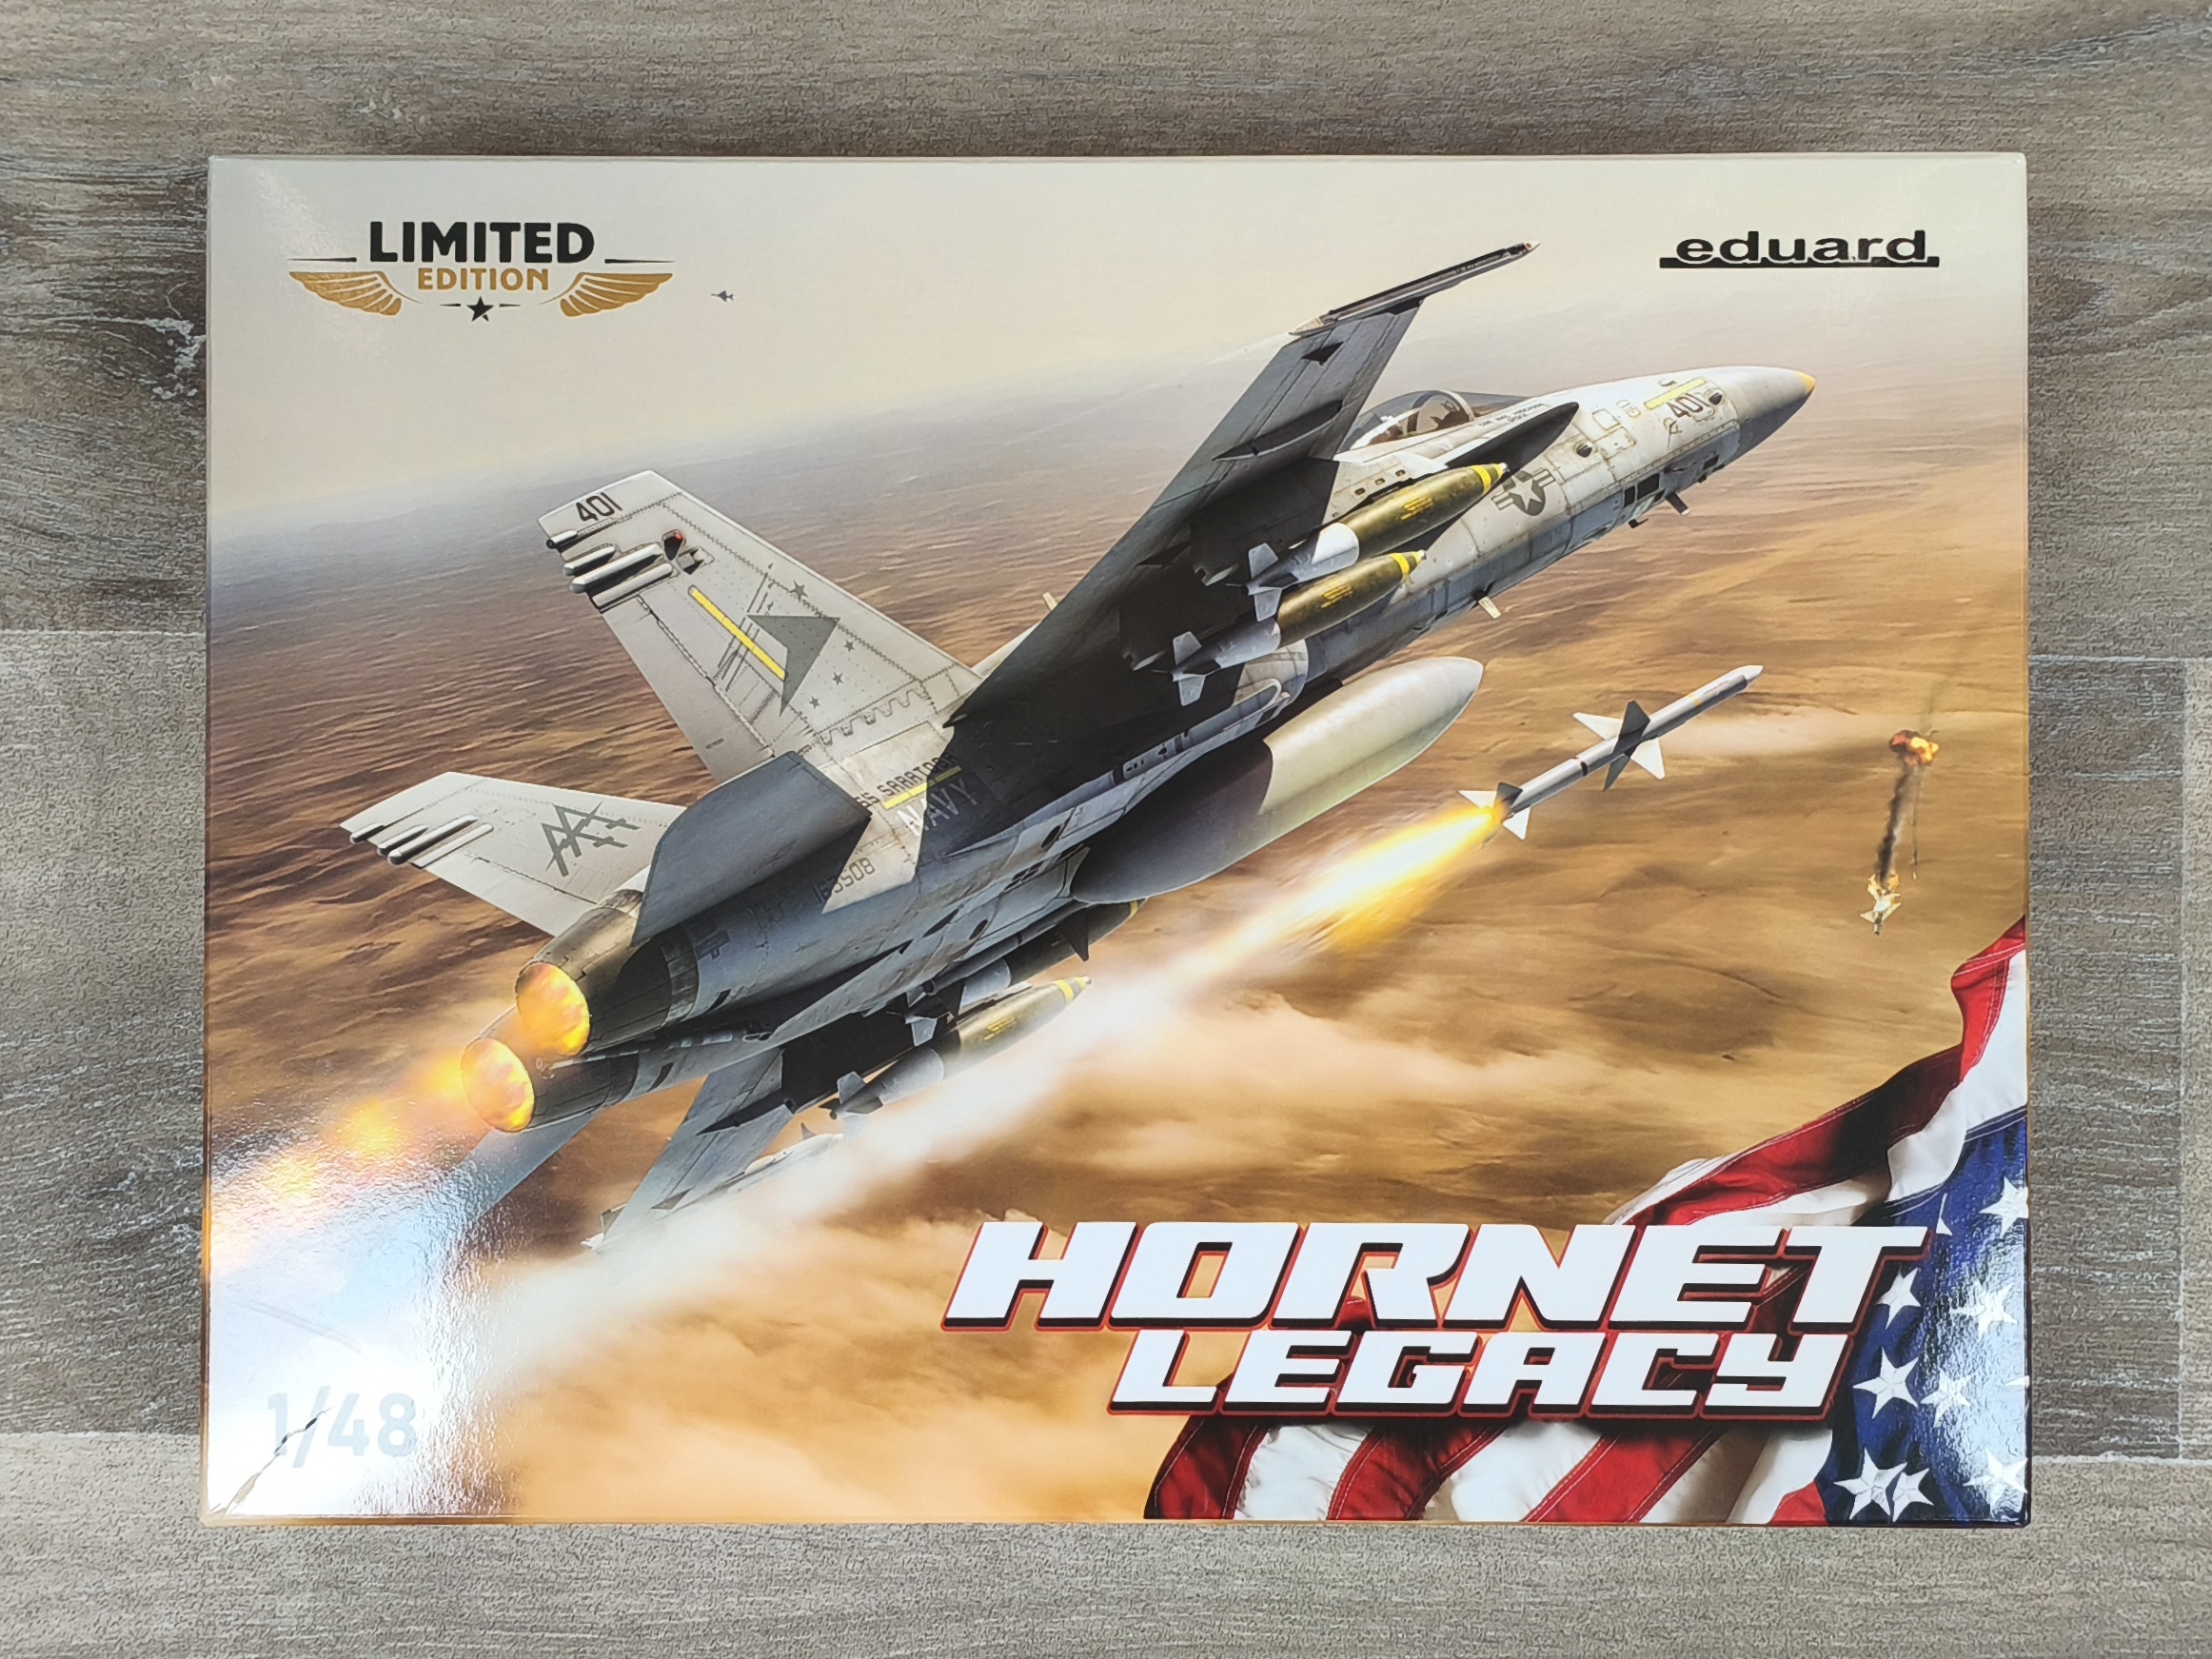
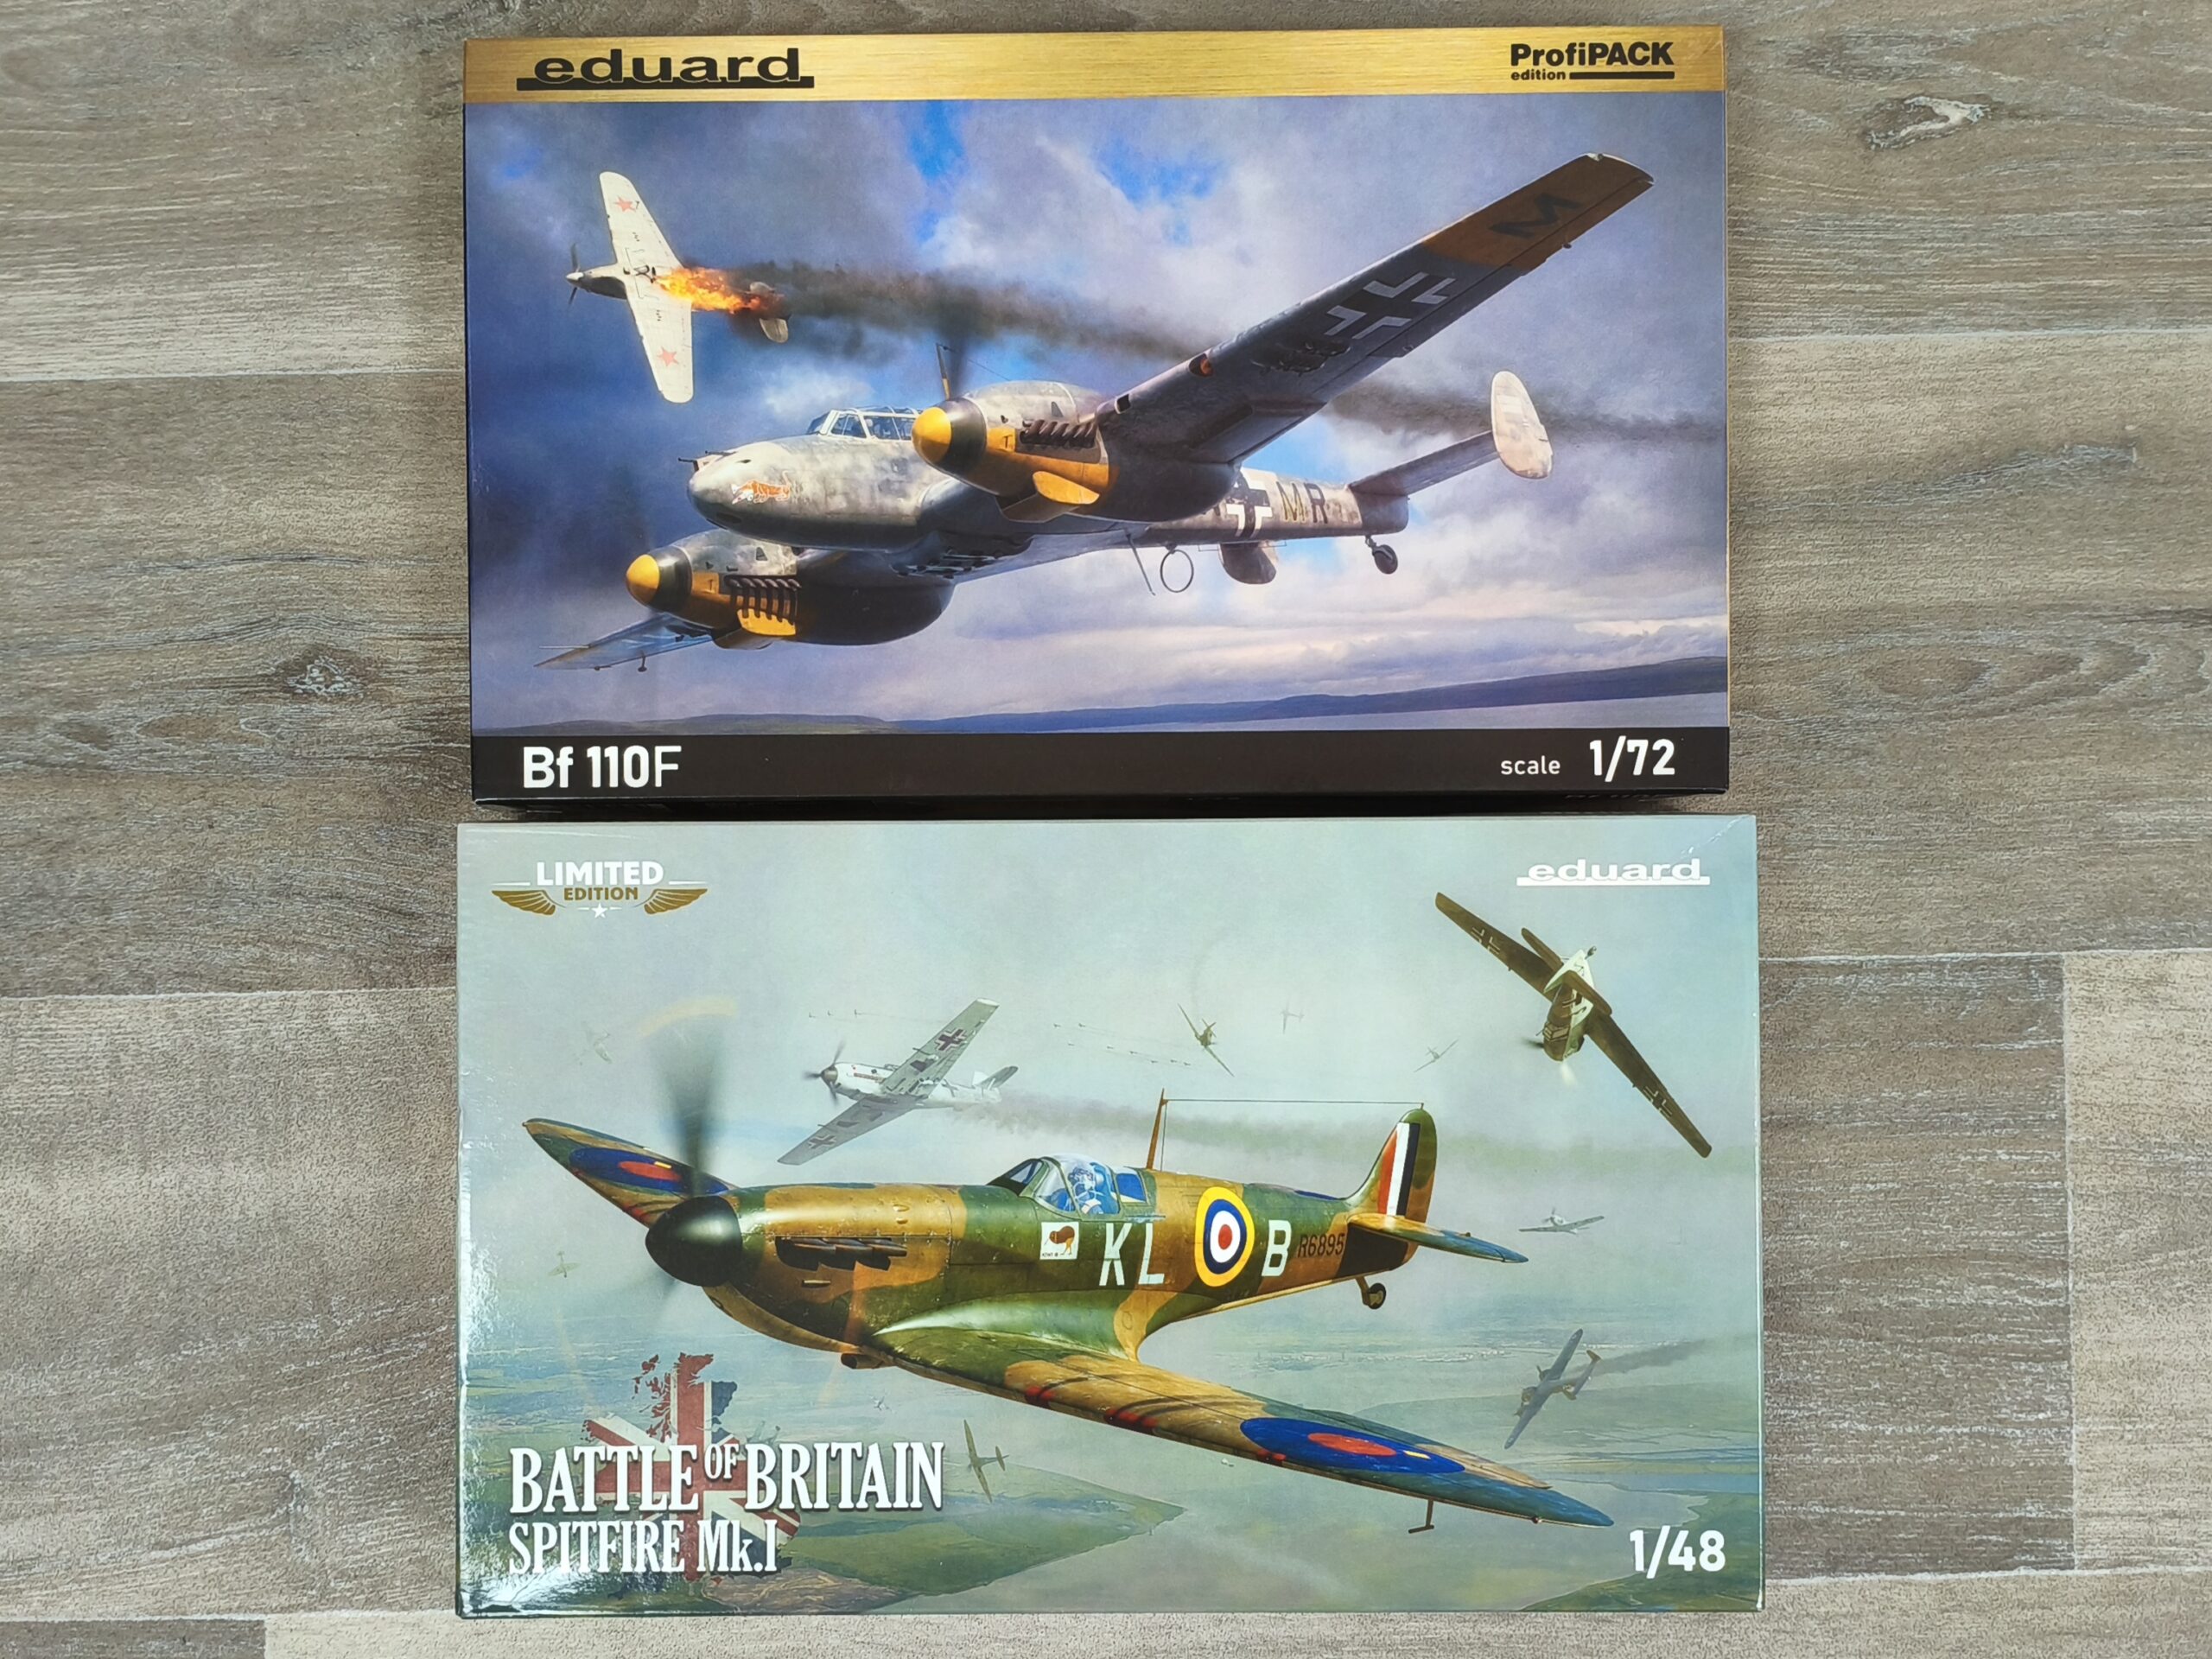
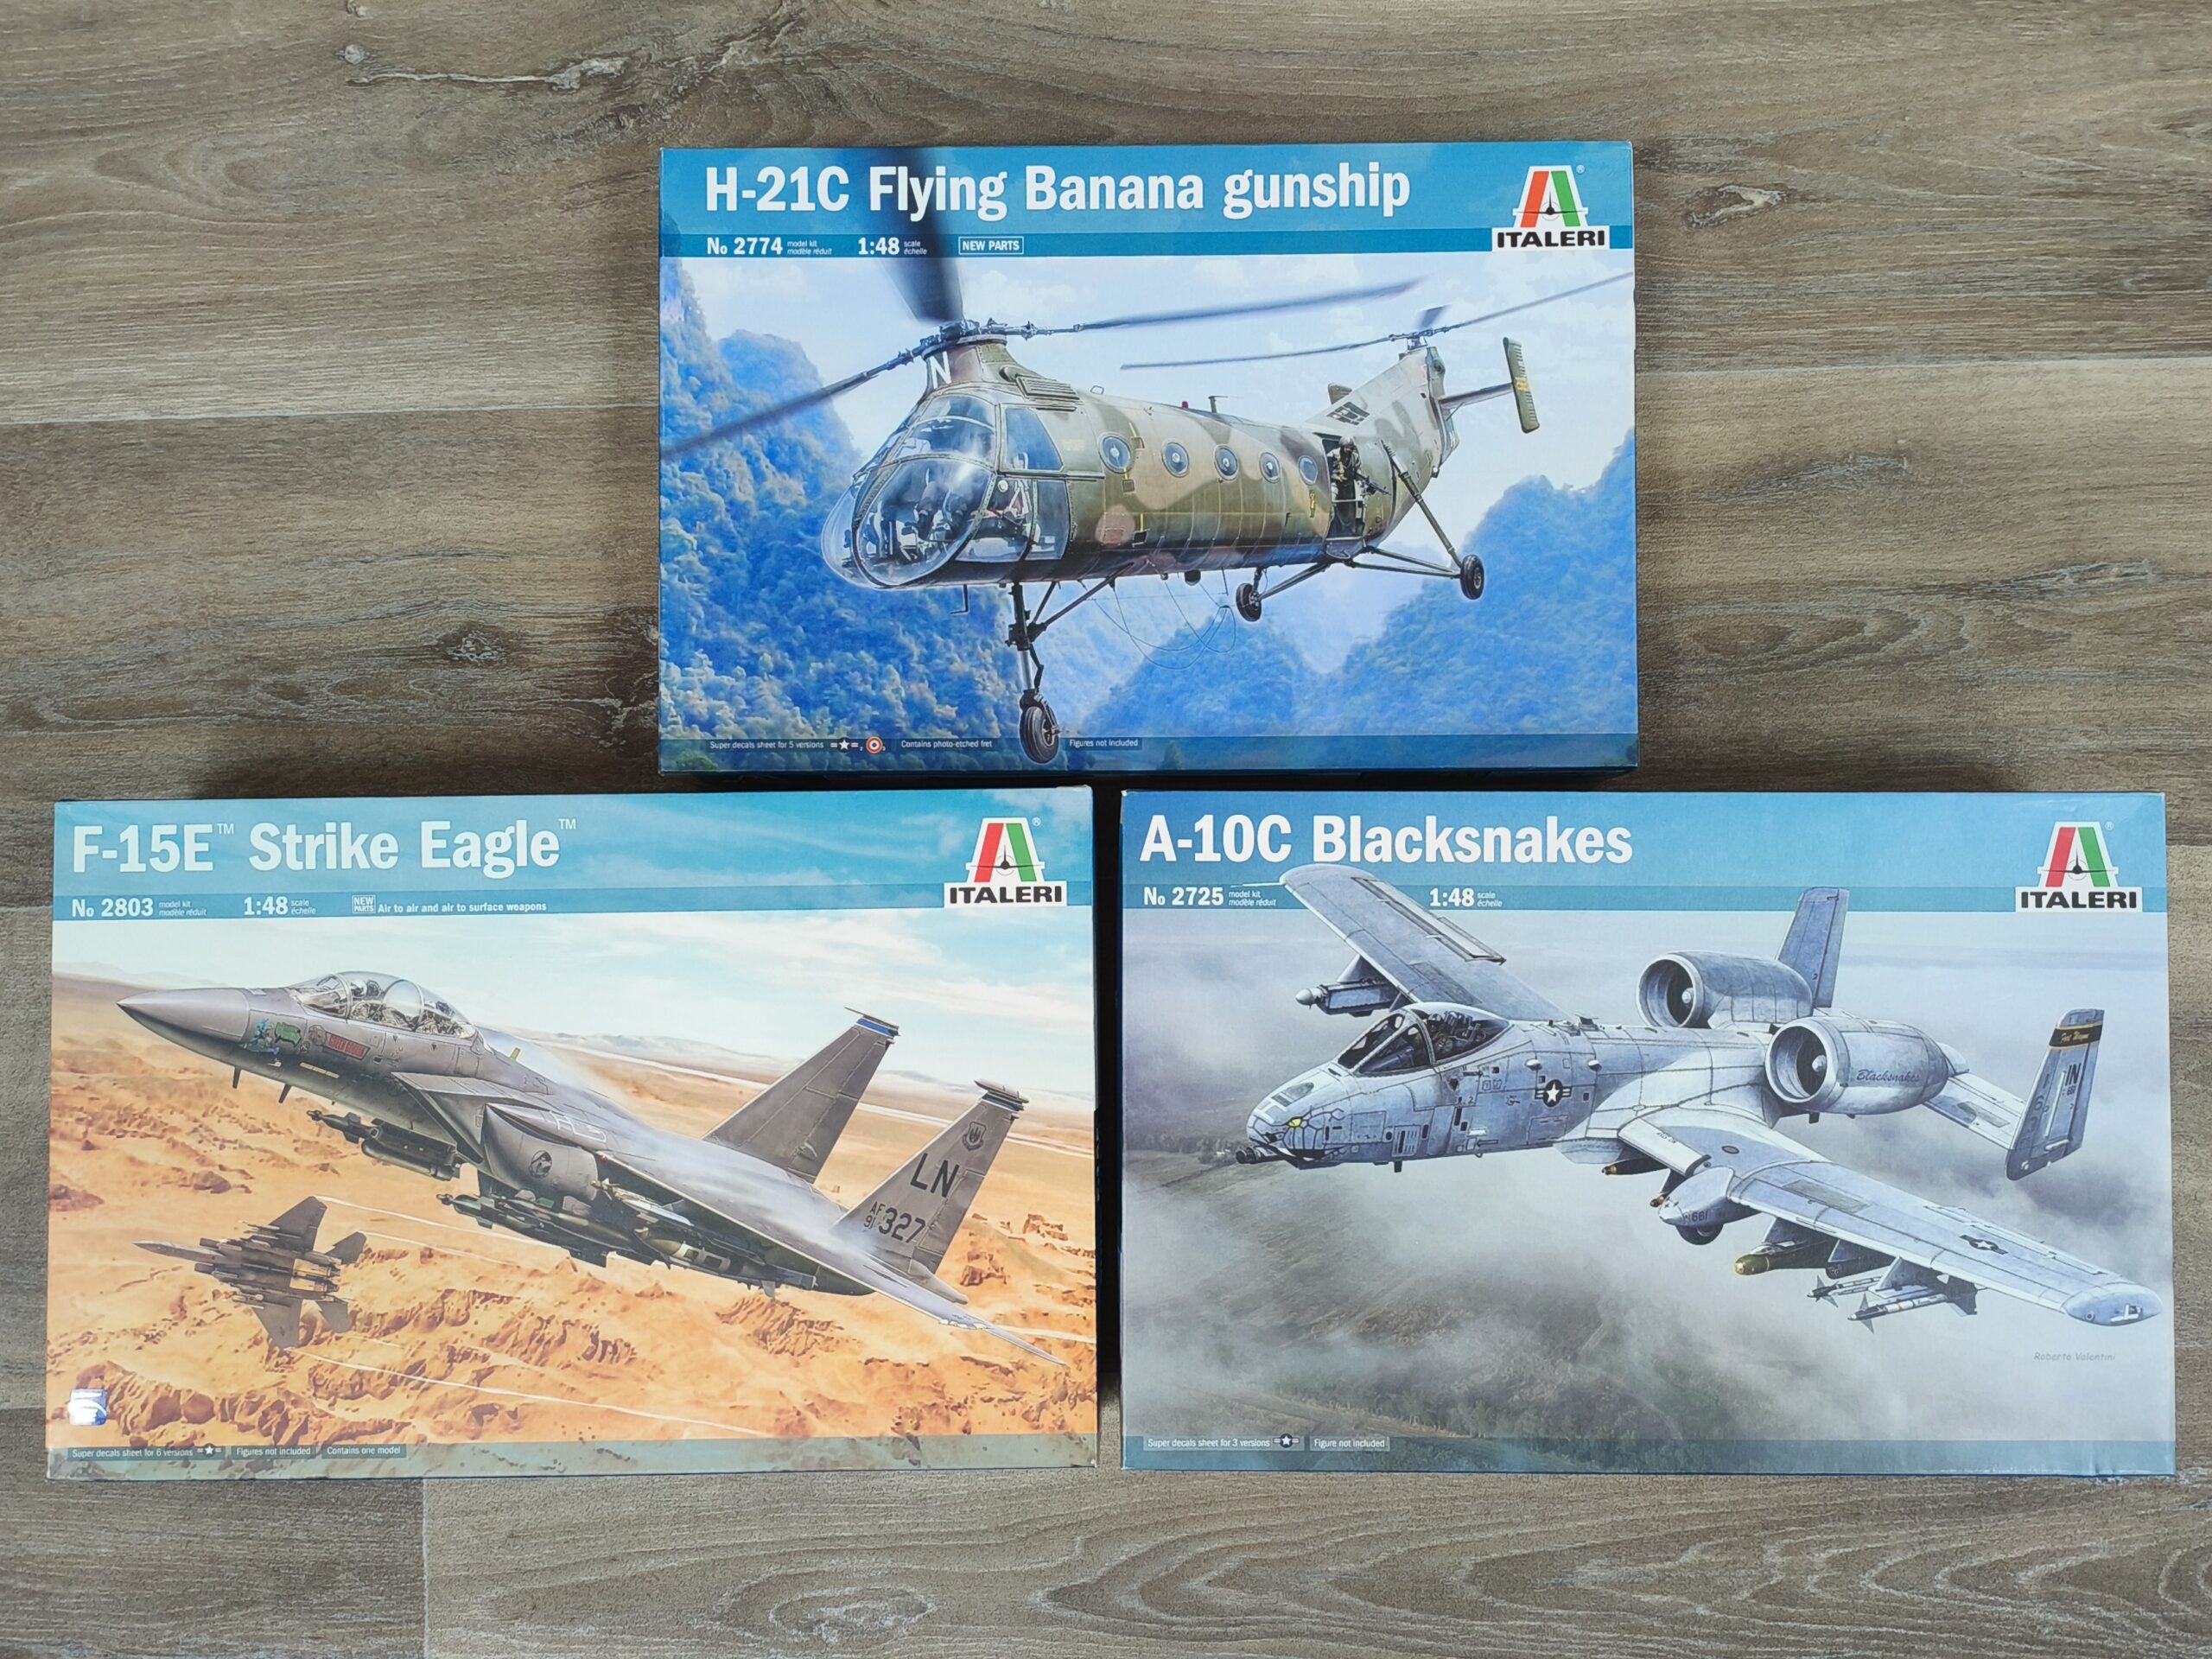
New Stock – Eduard and Italeri
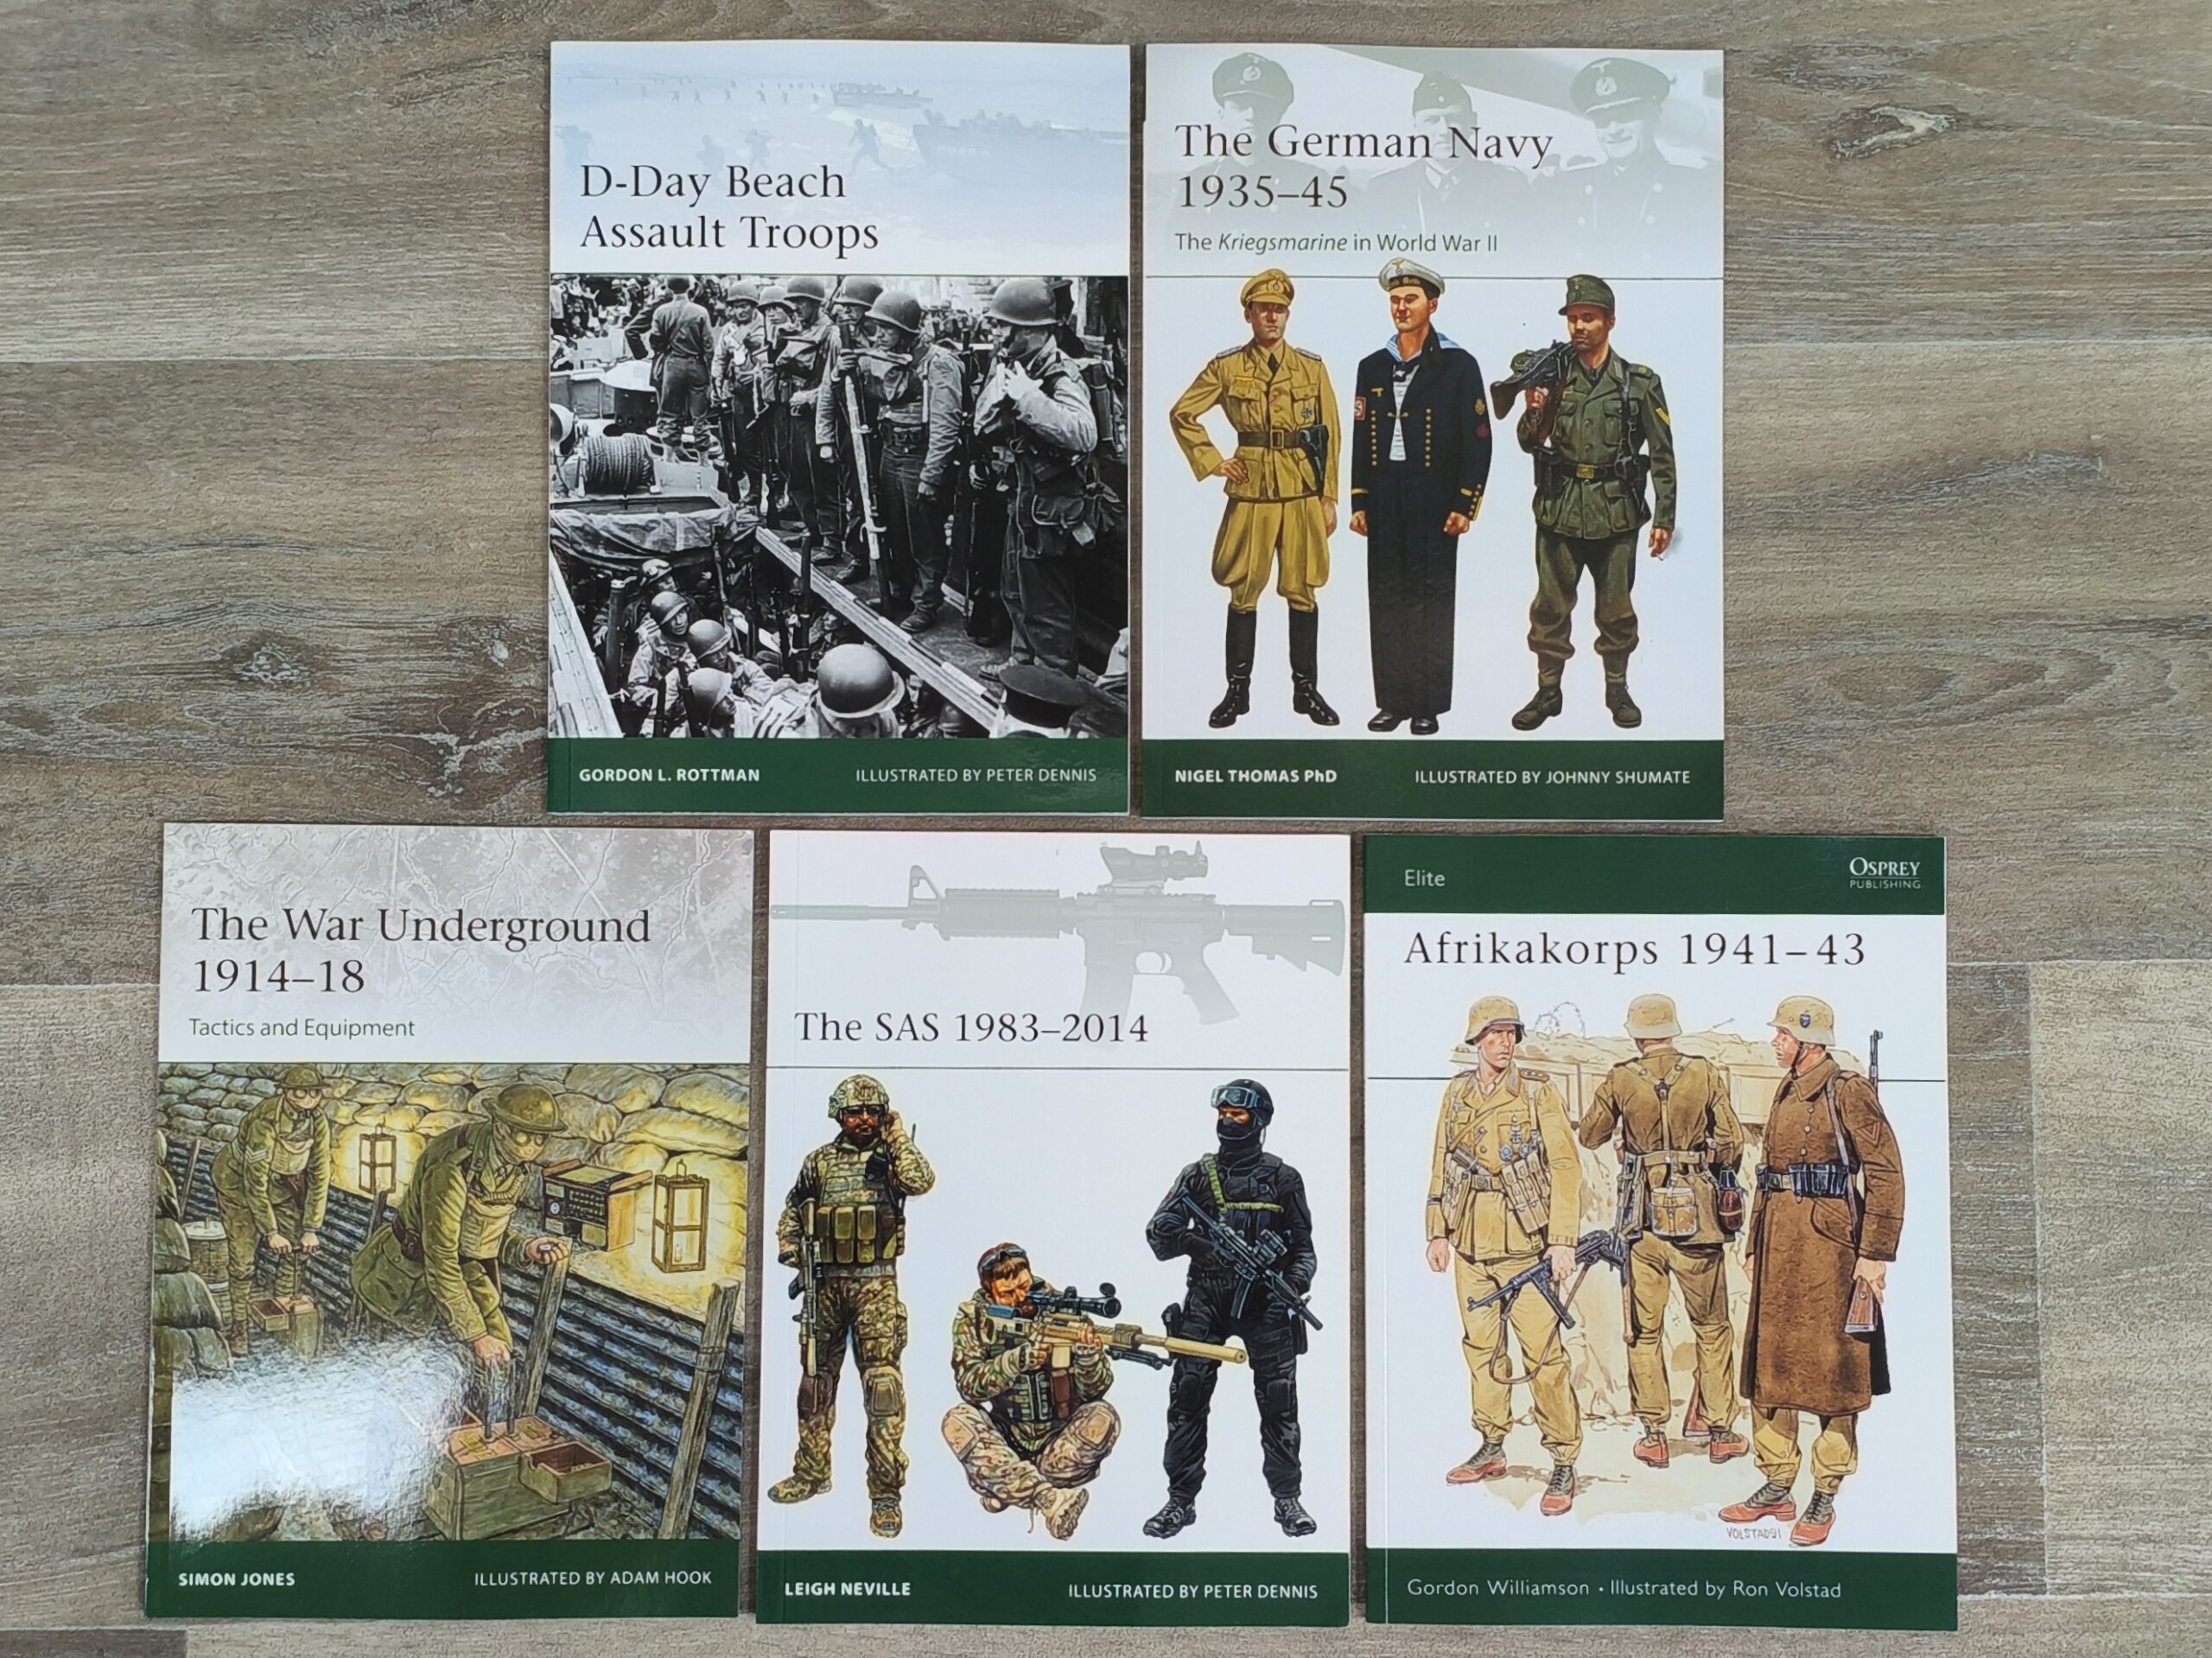
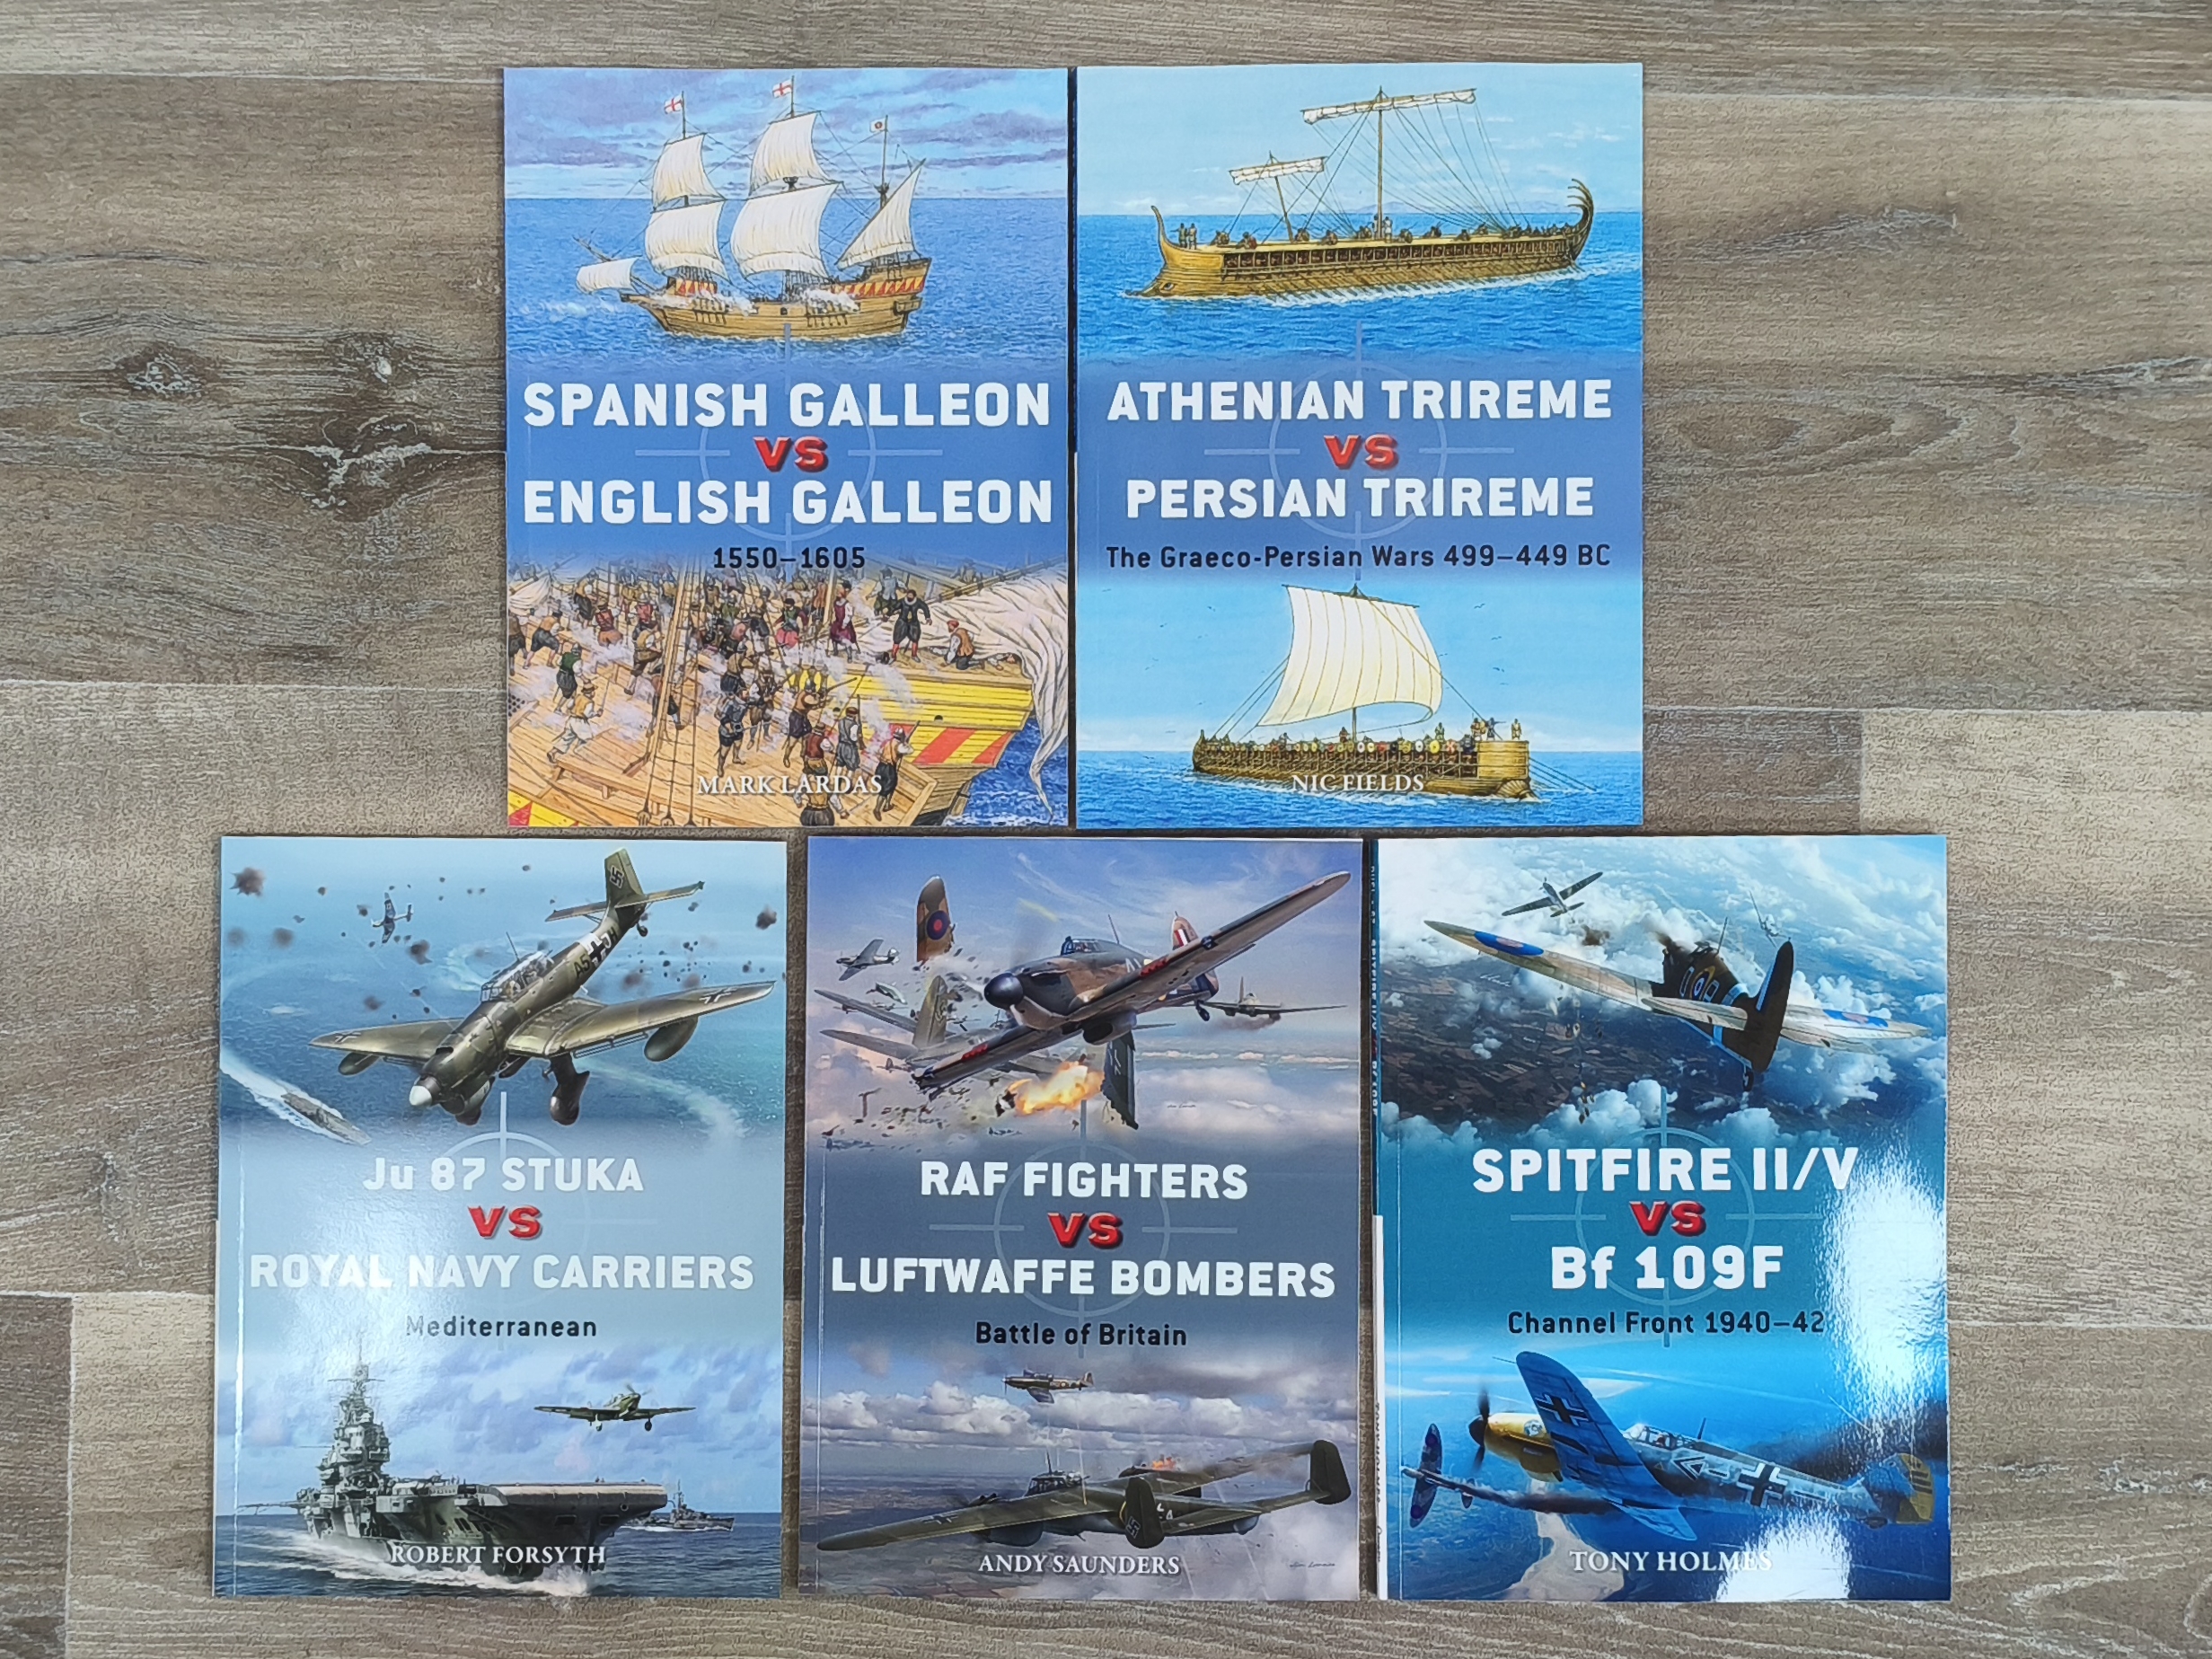
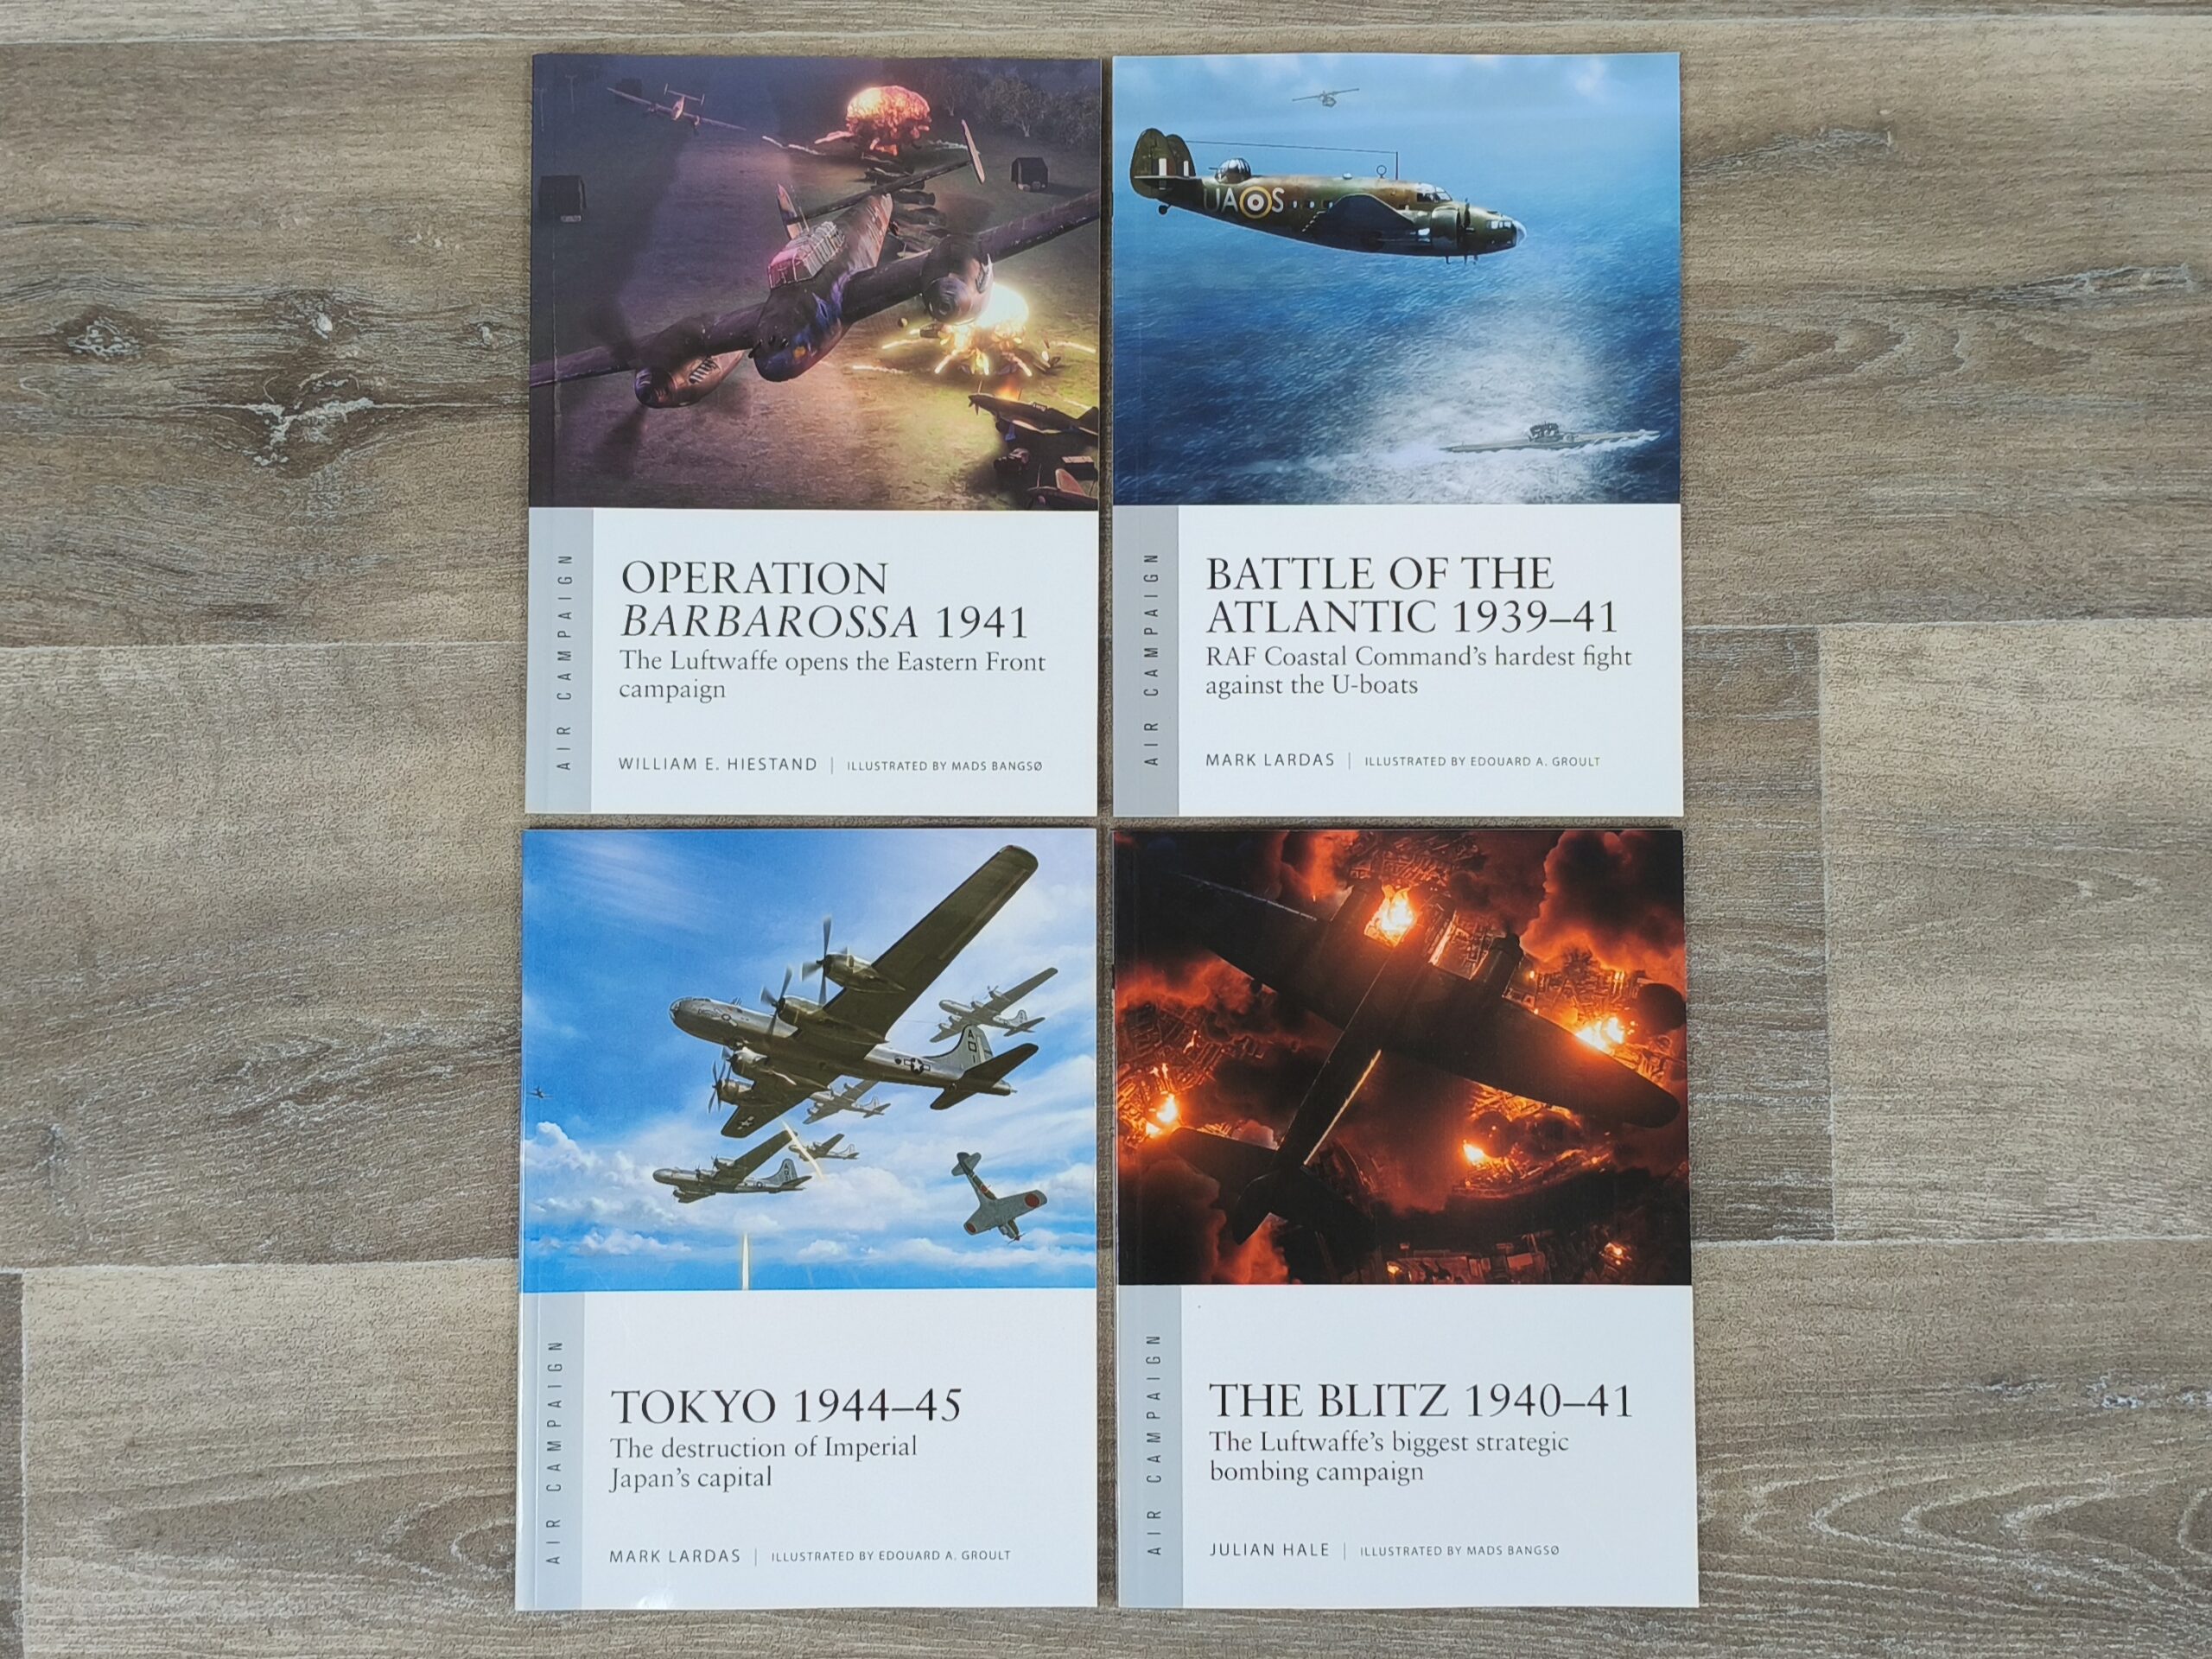
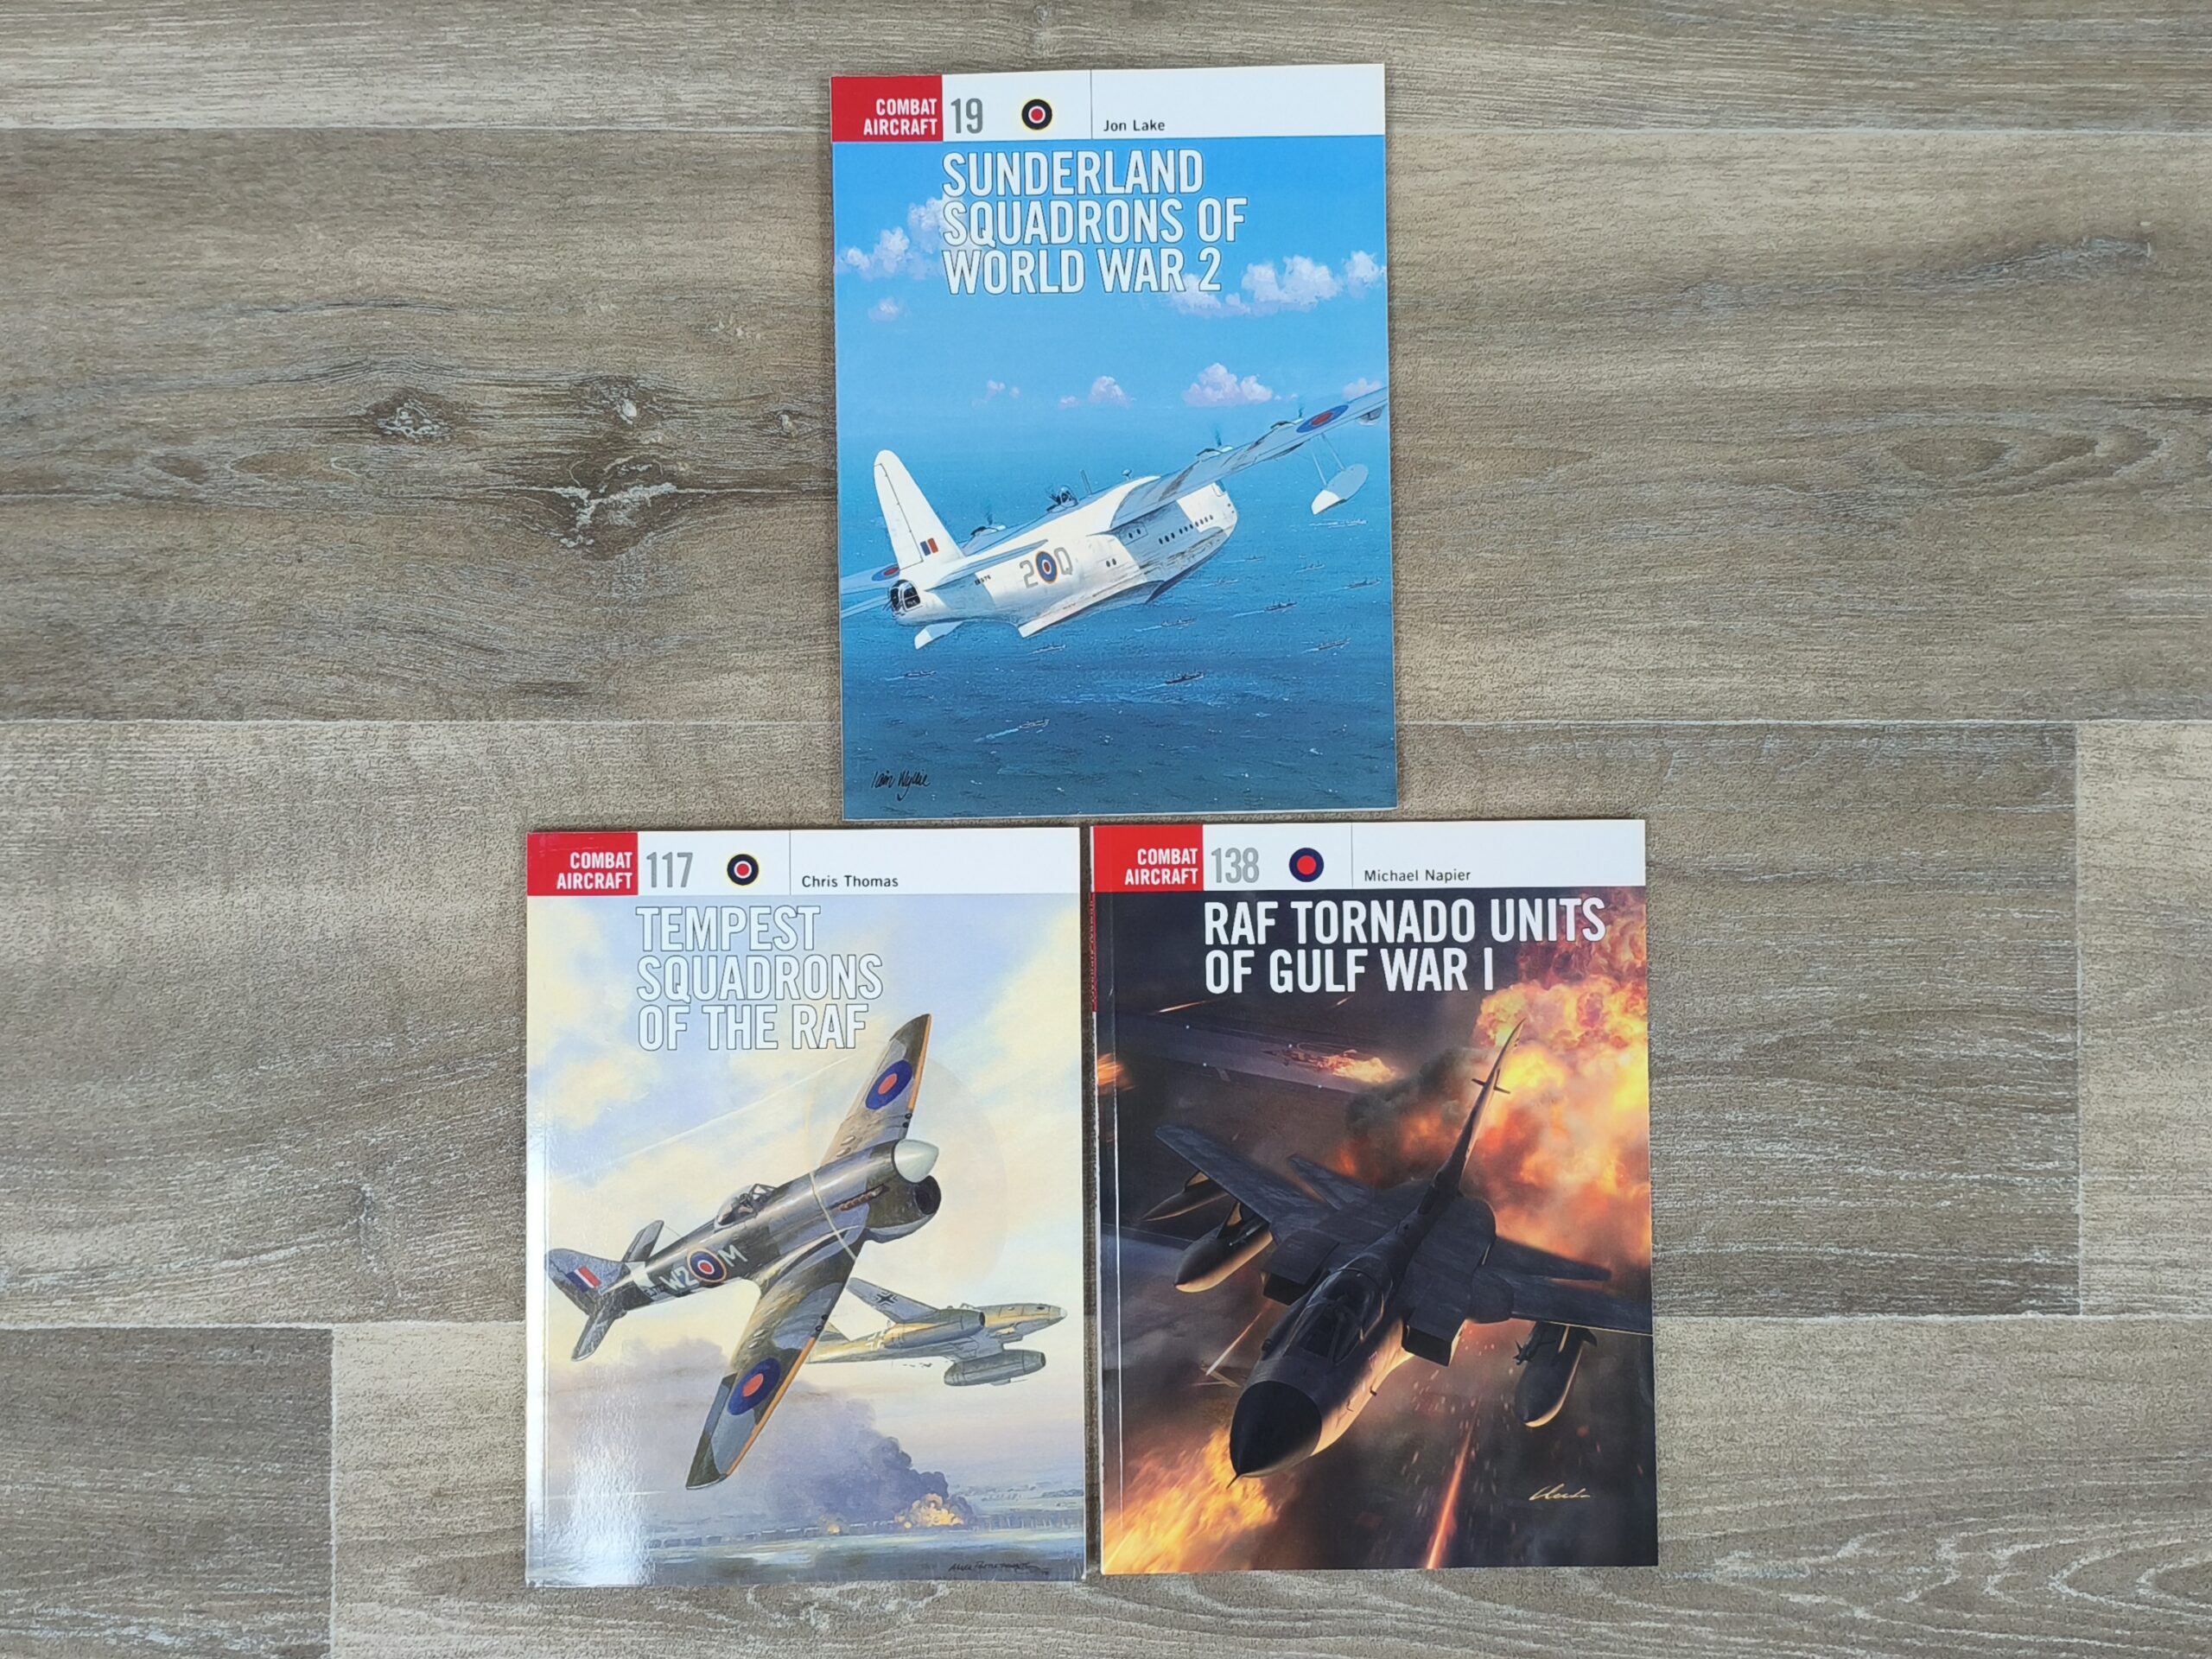
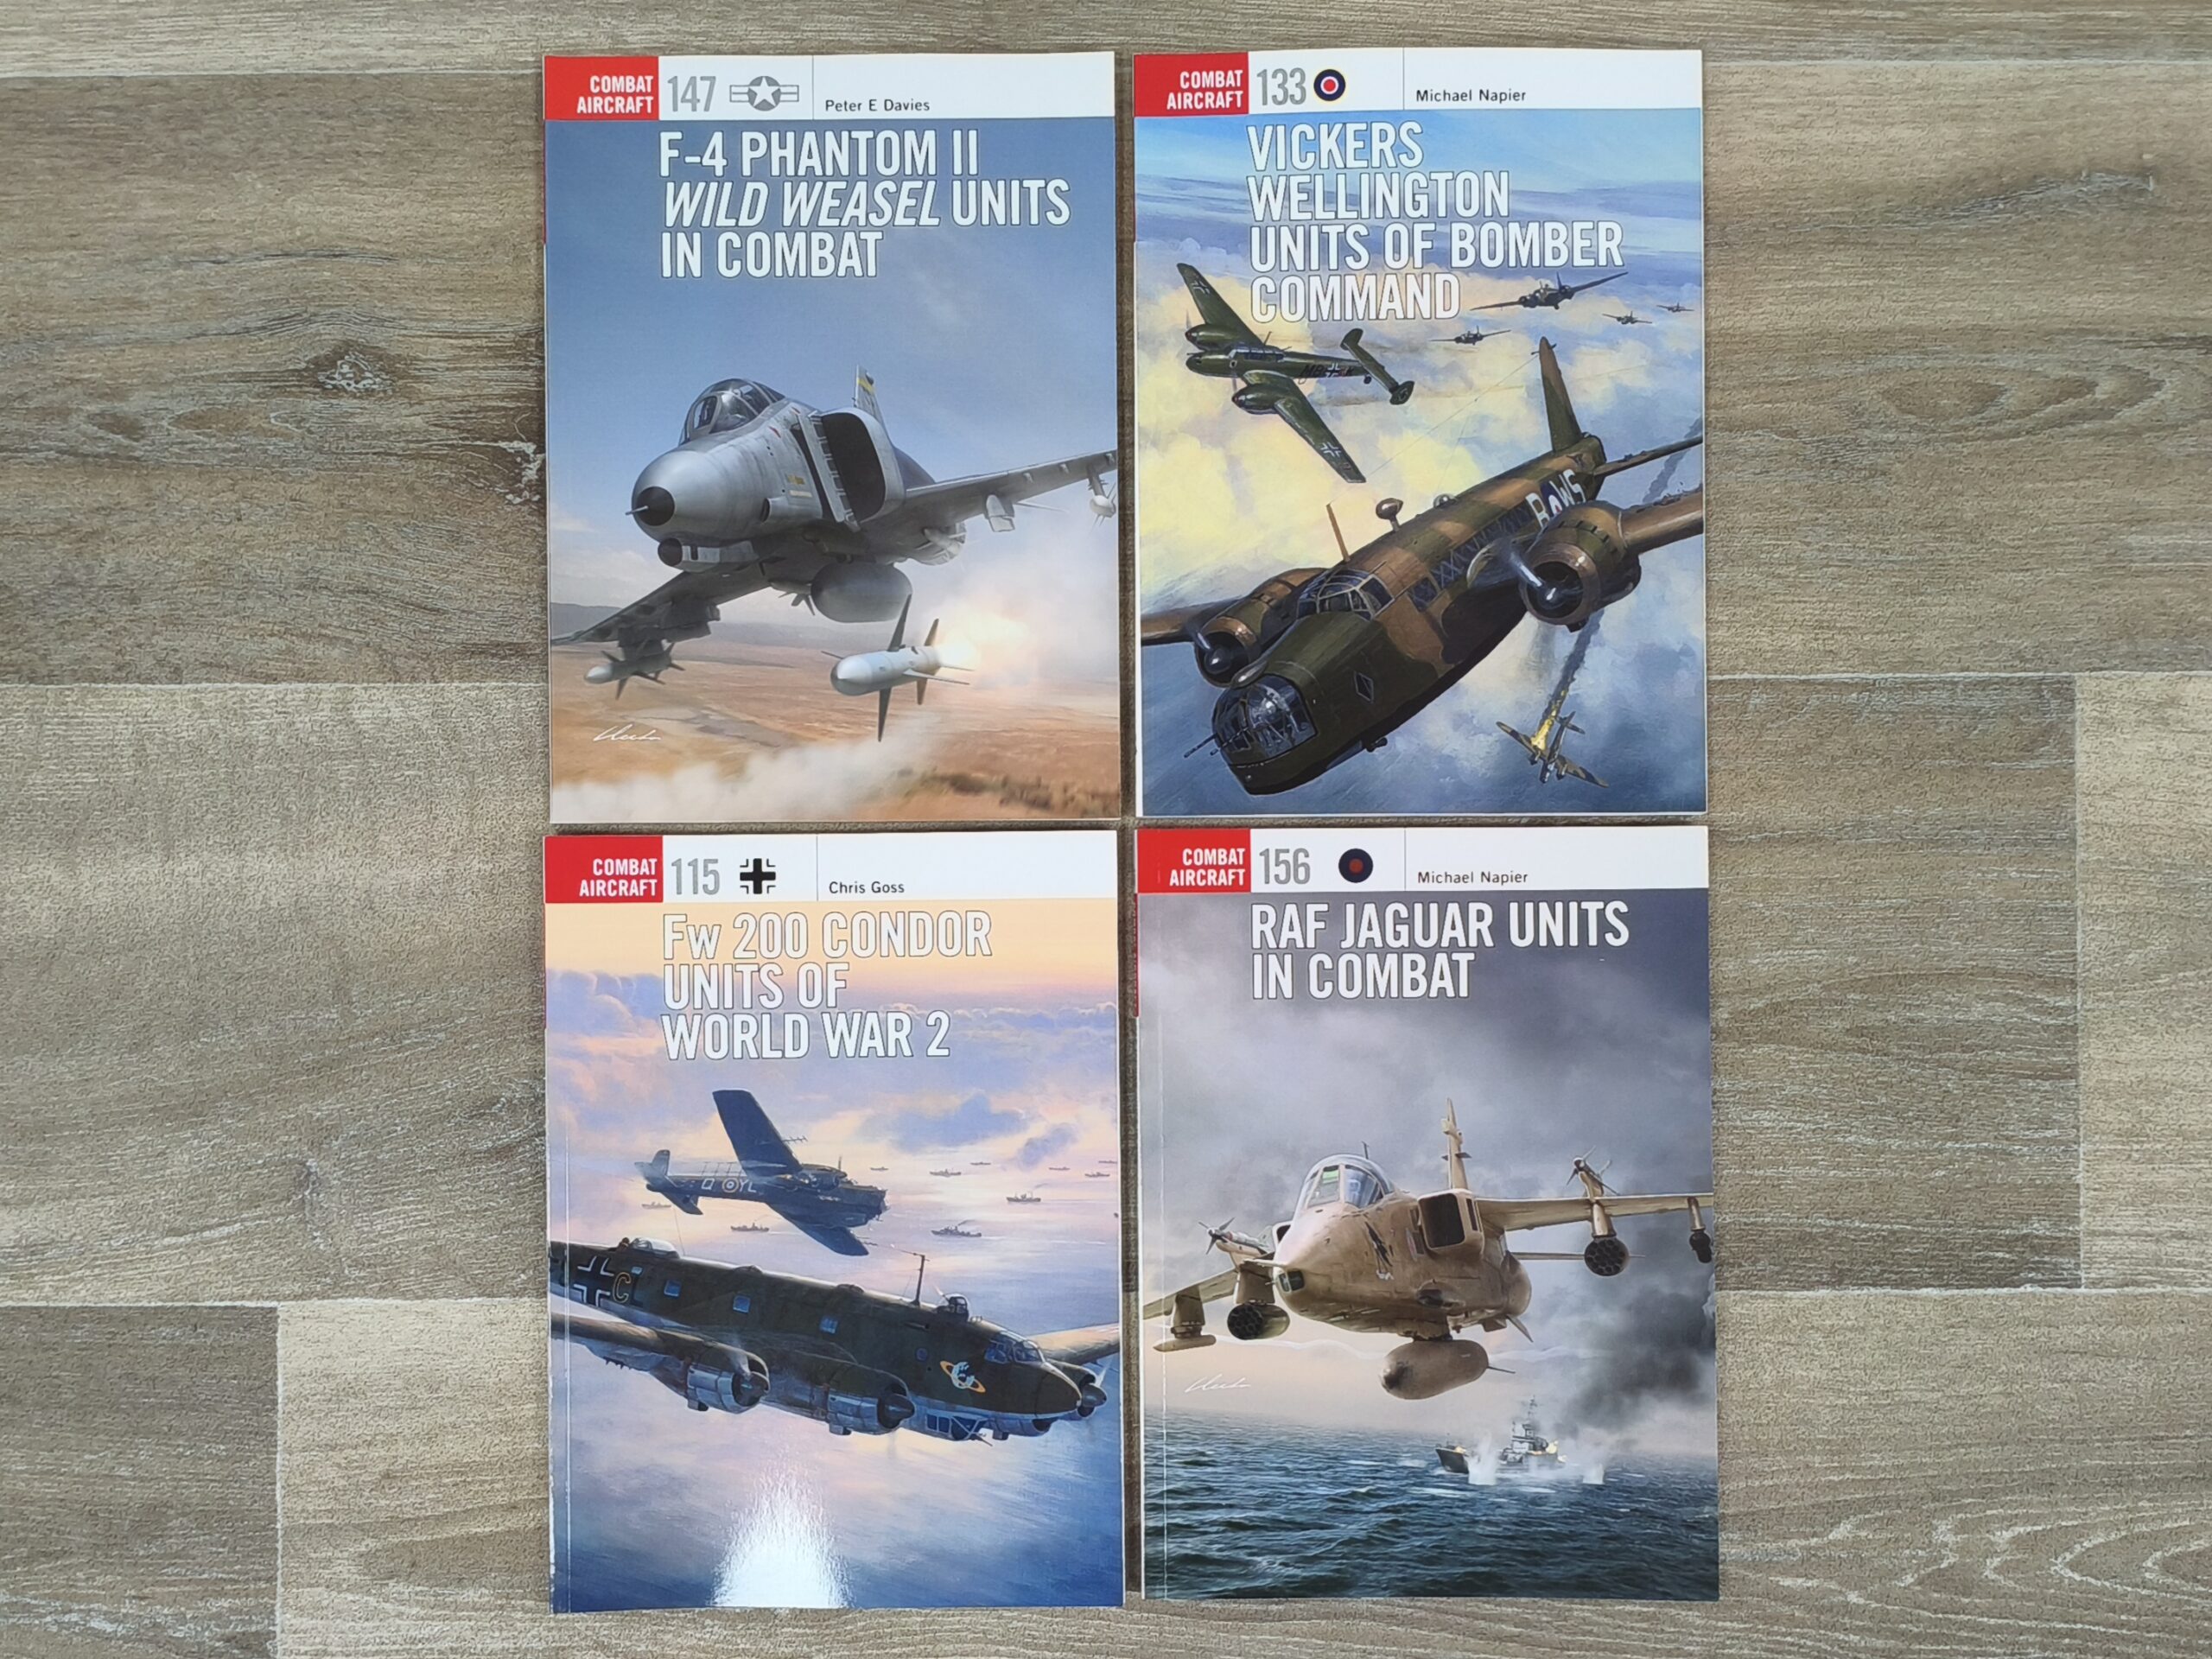
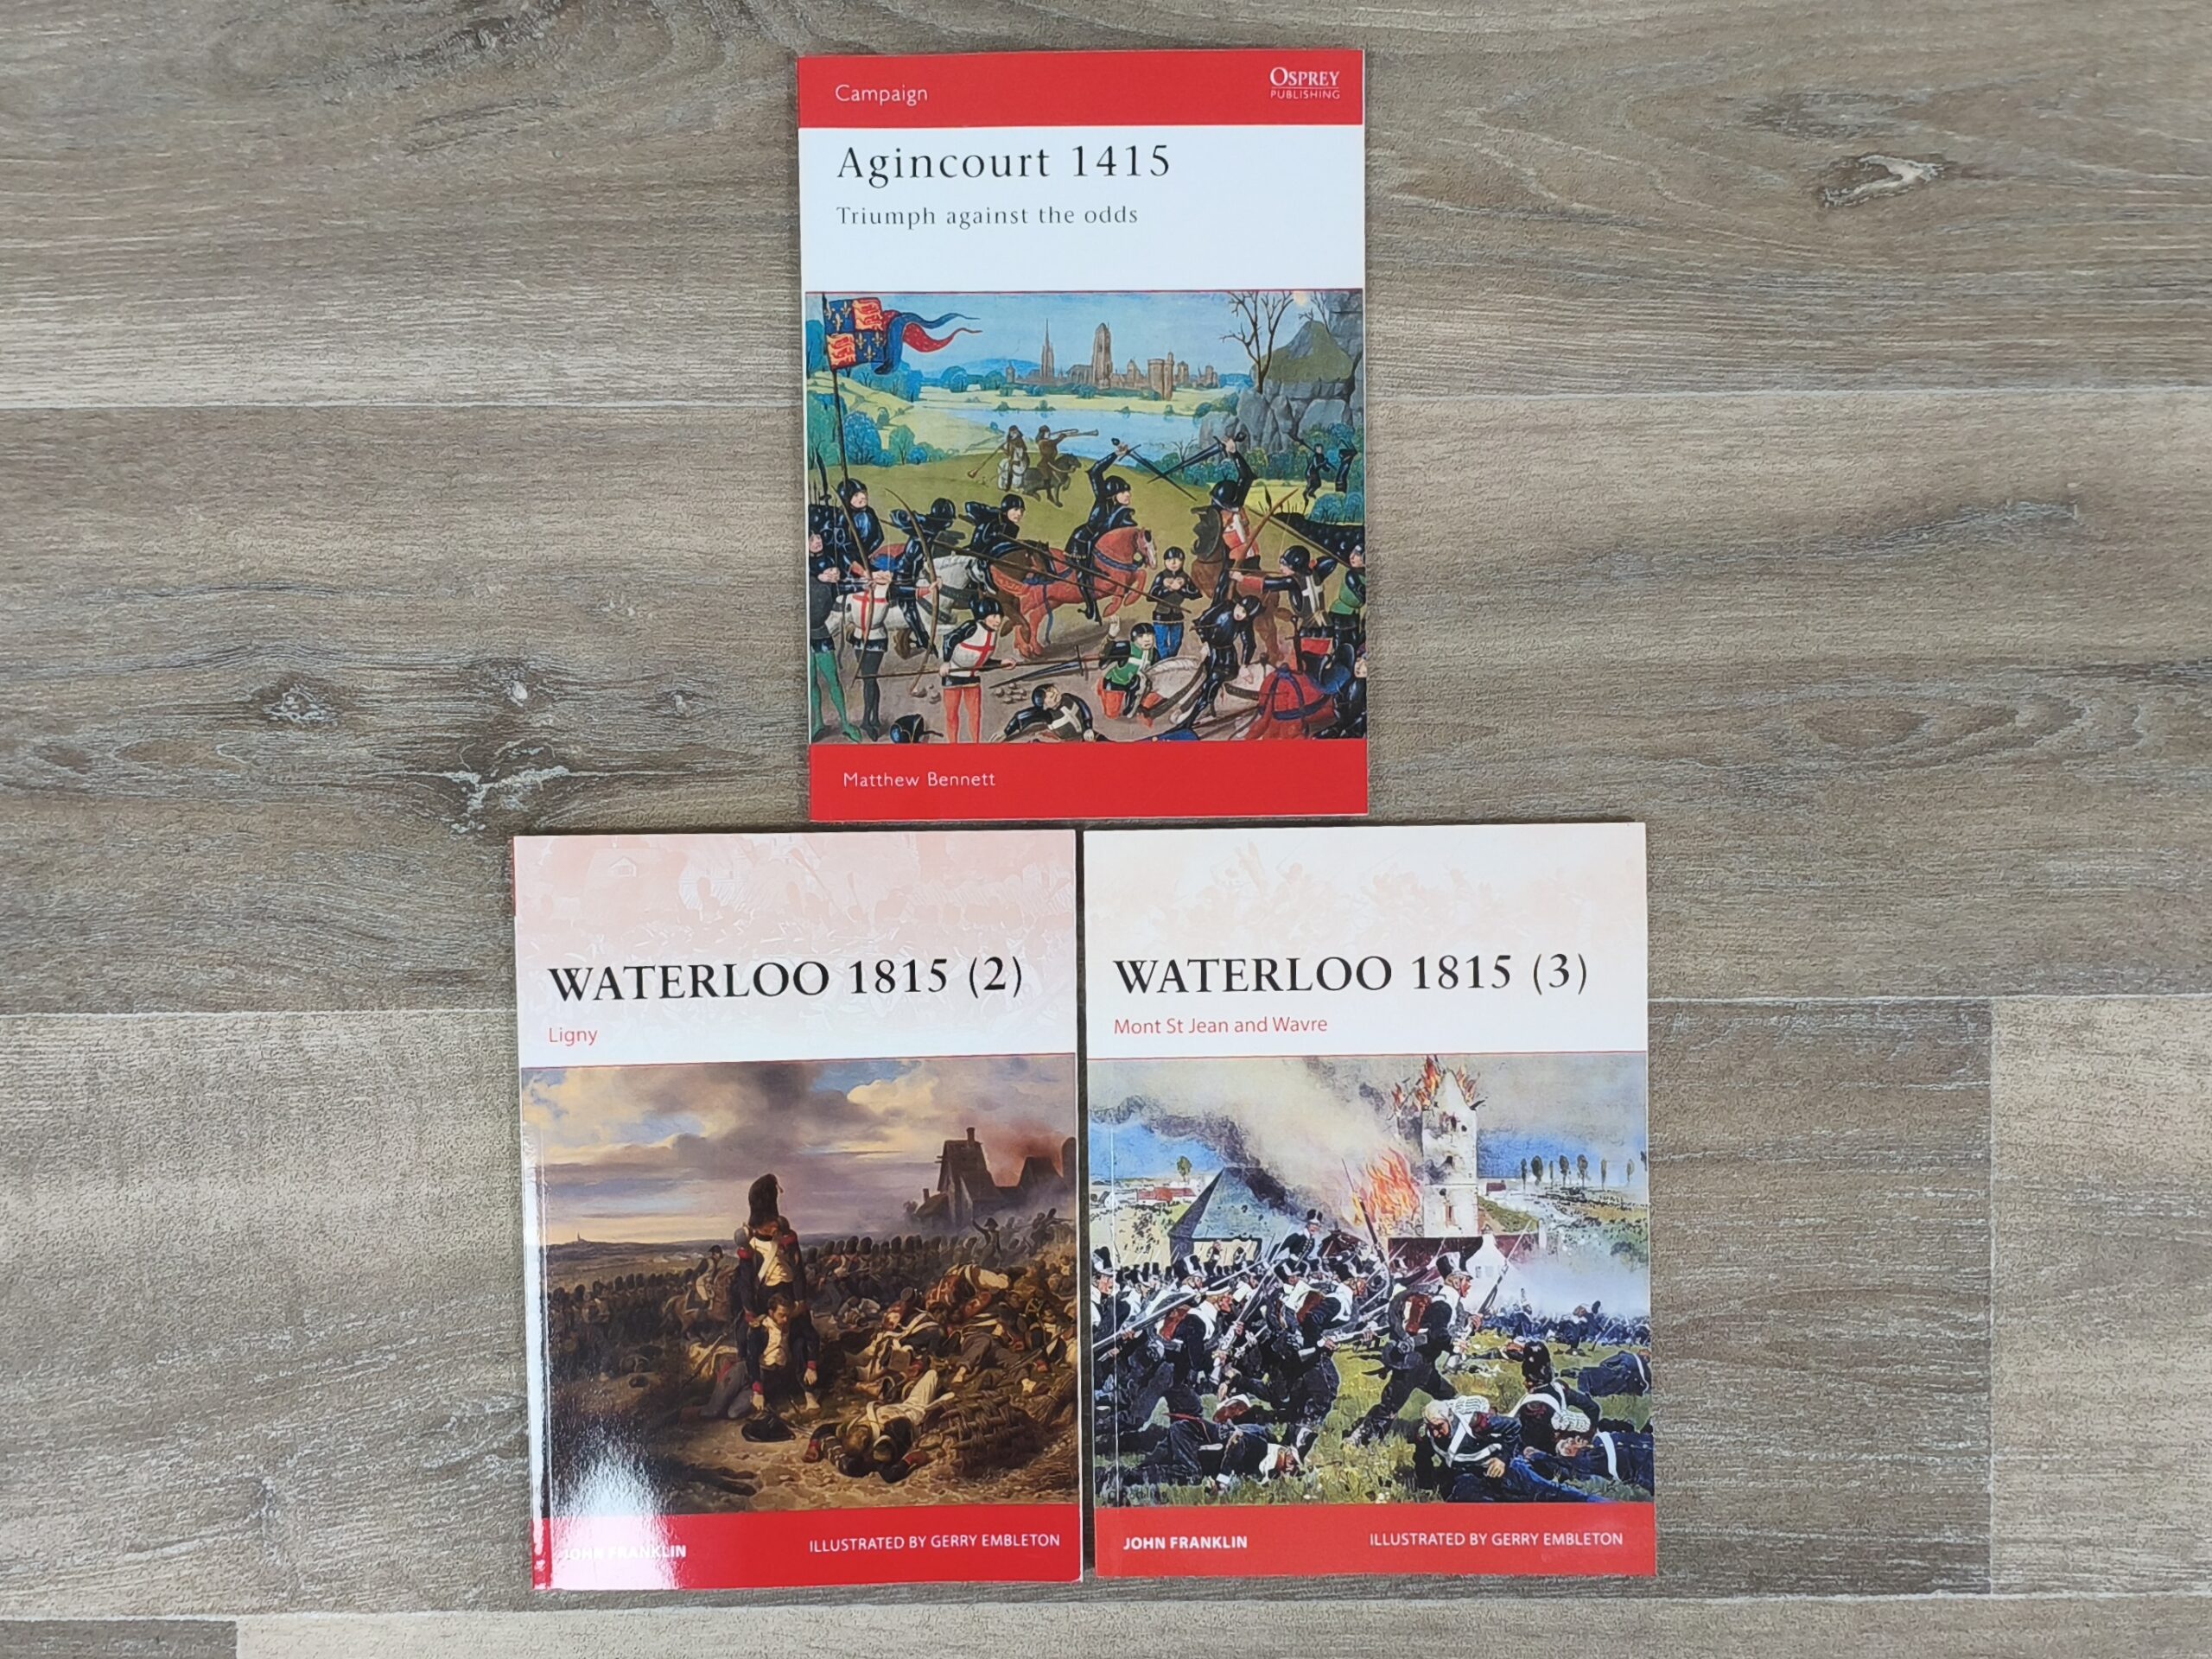
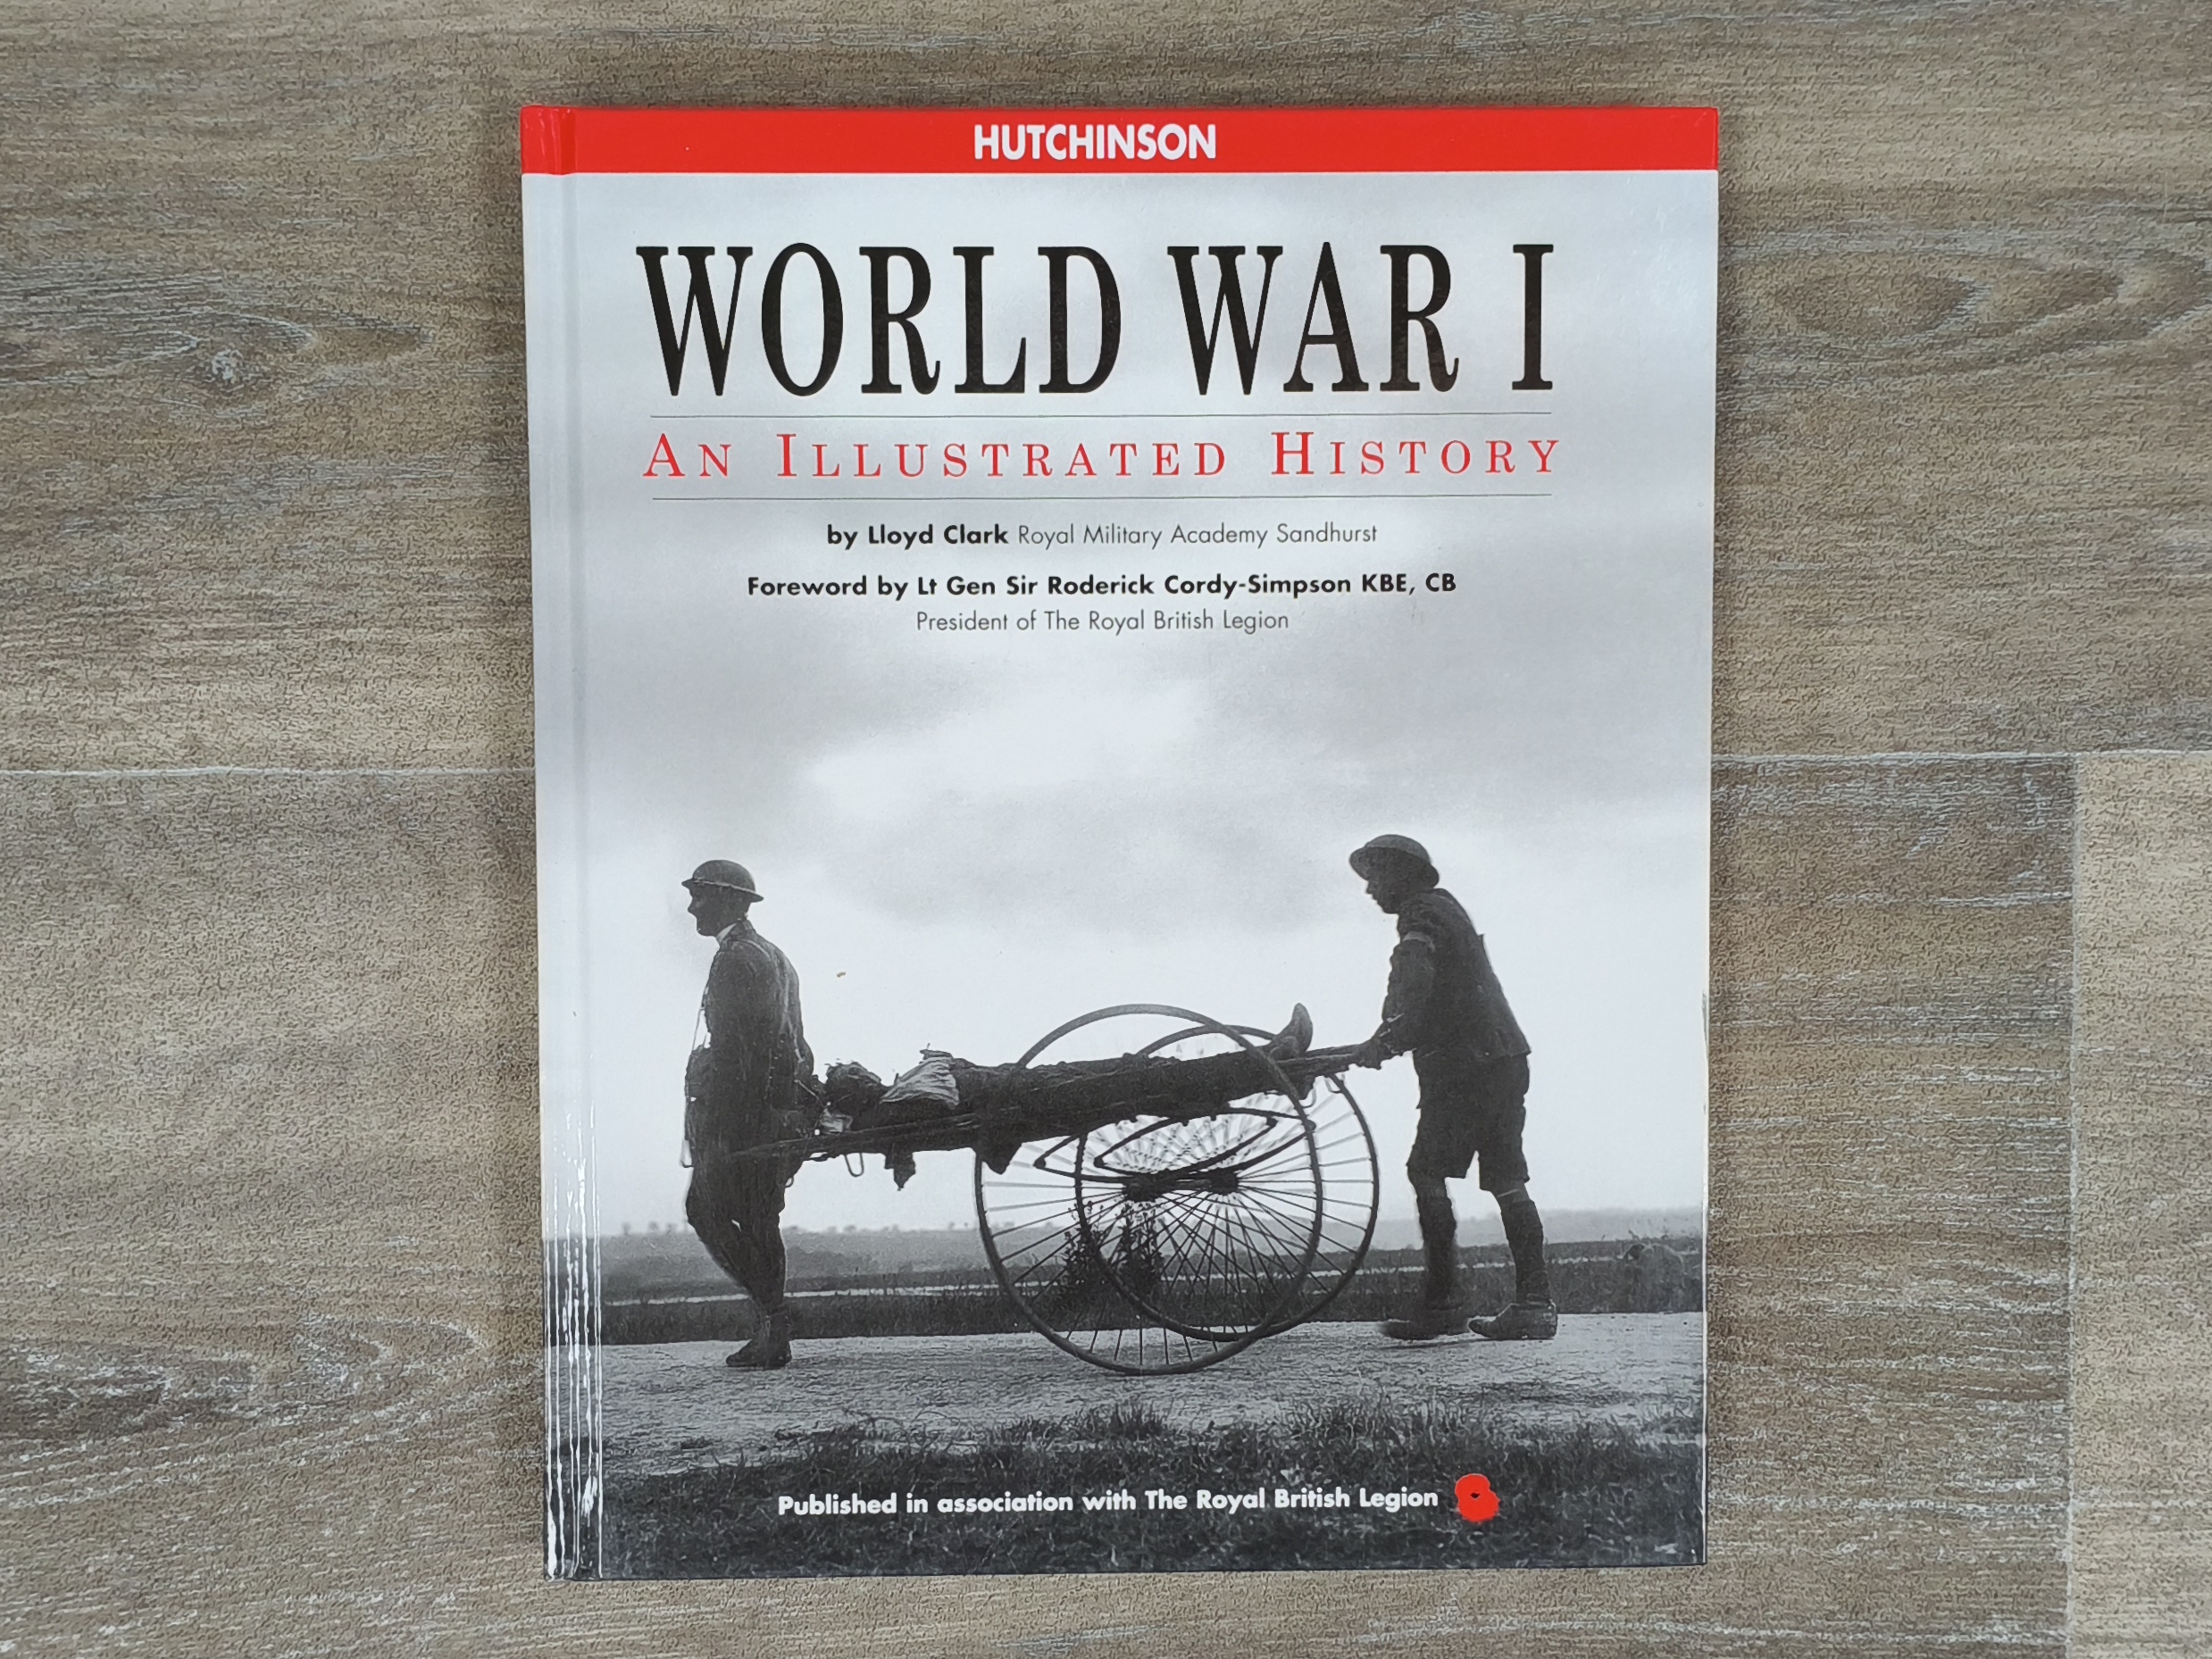
New Stock – Books
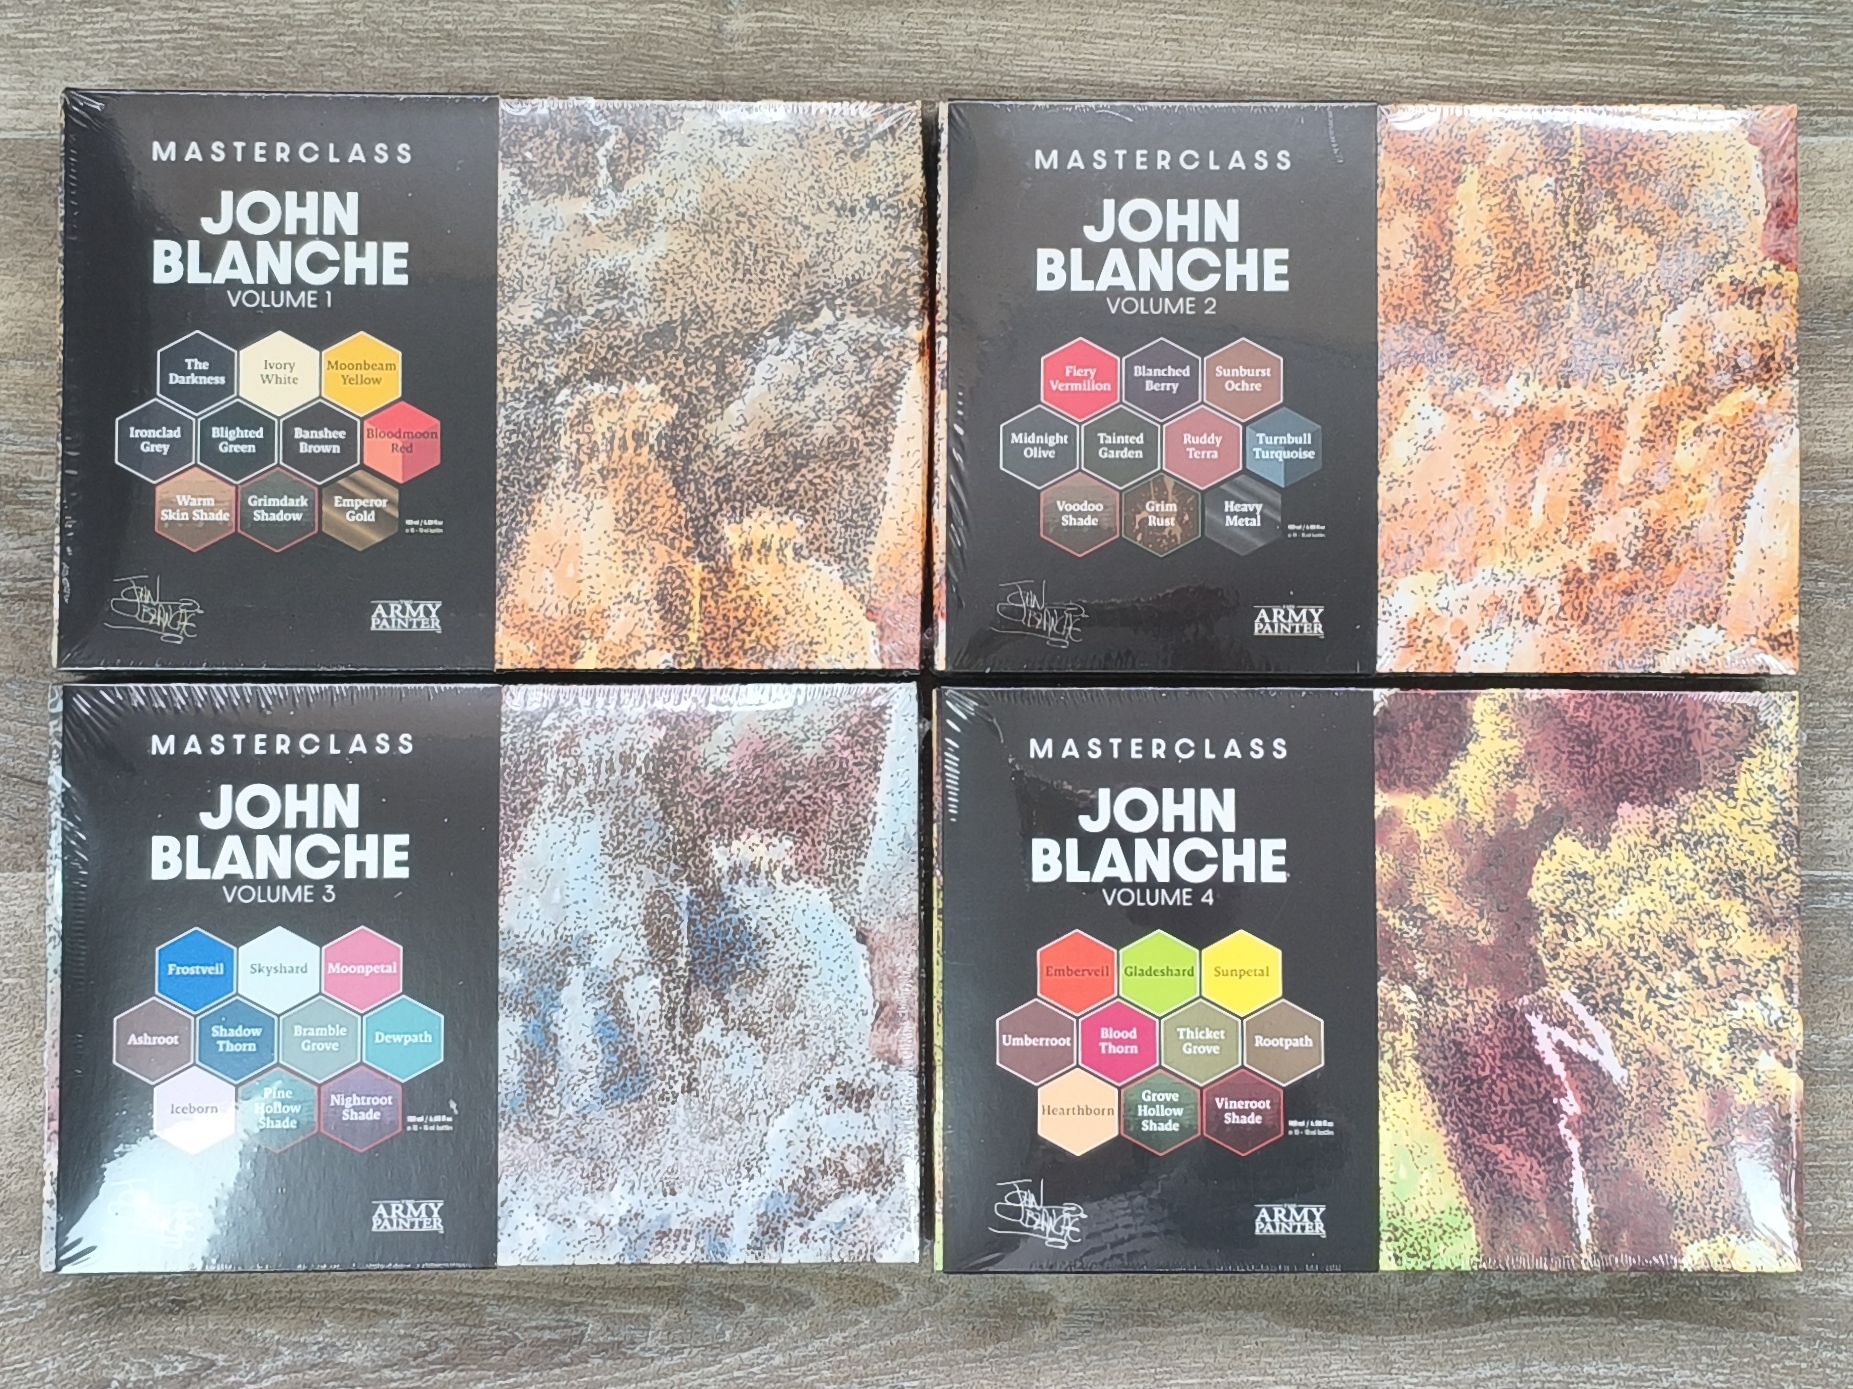
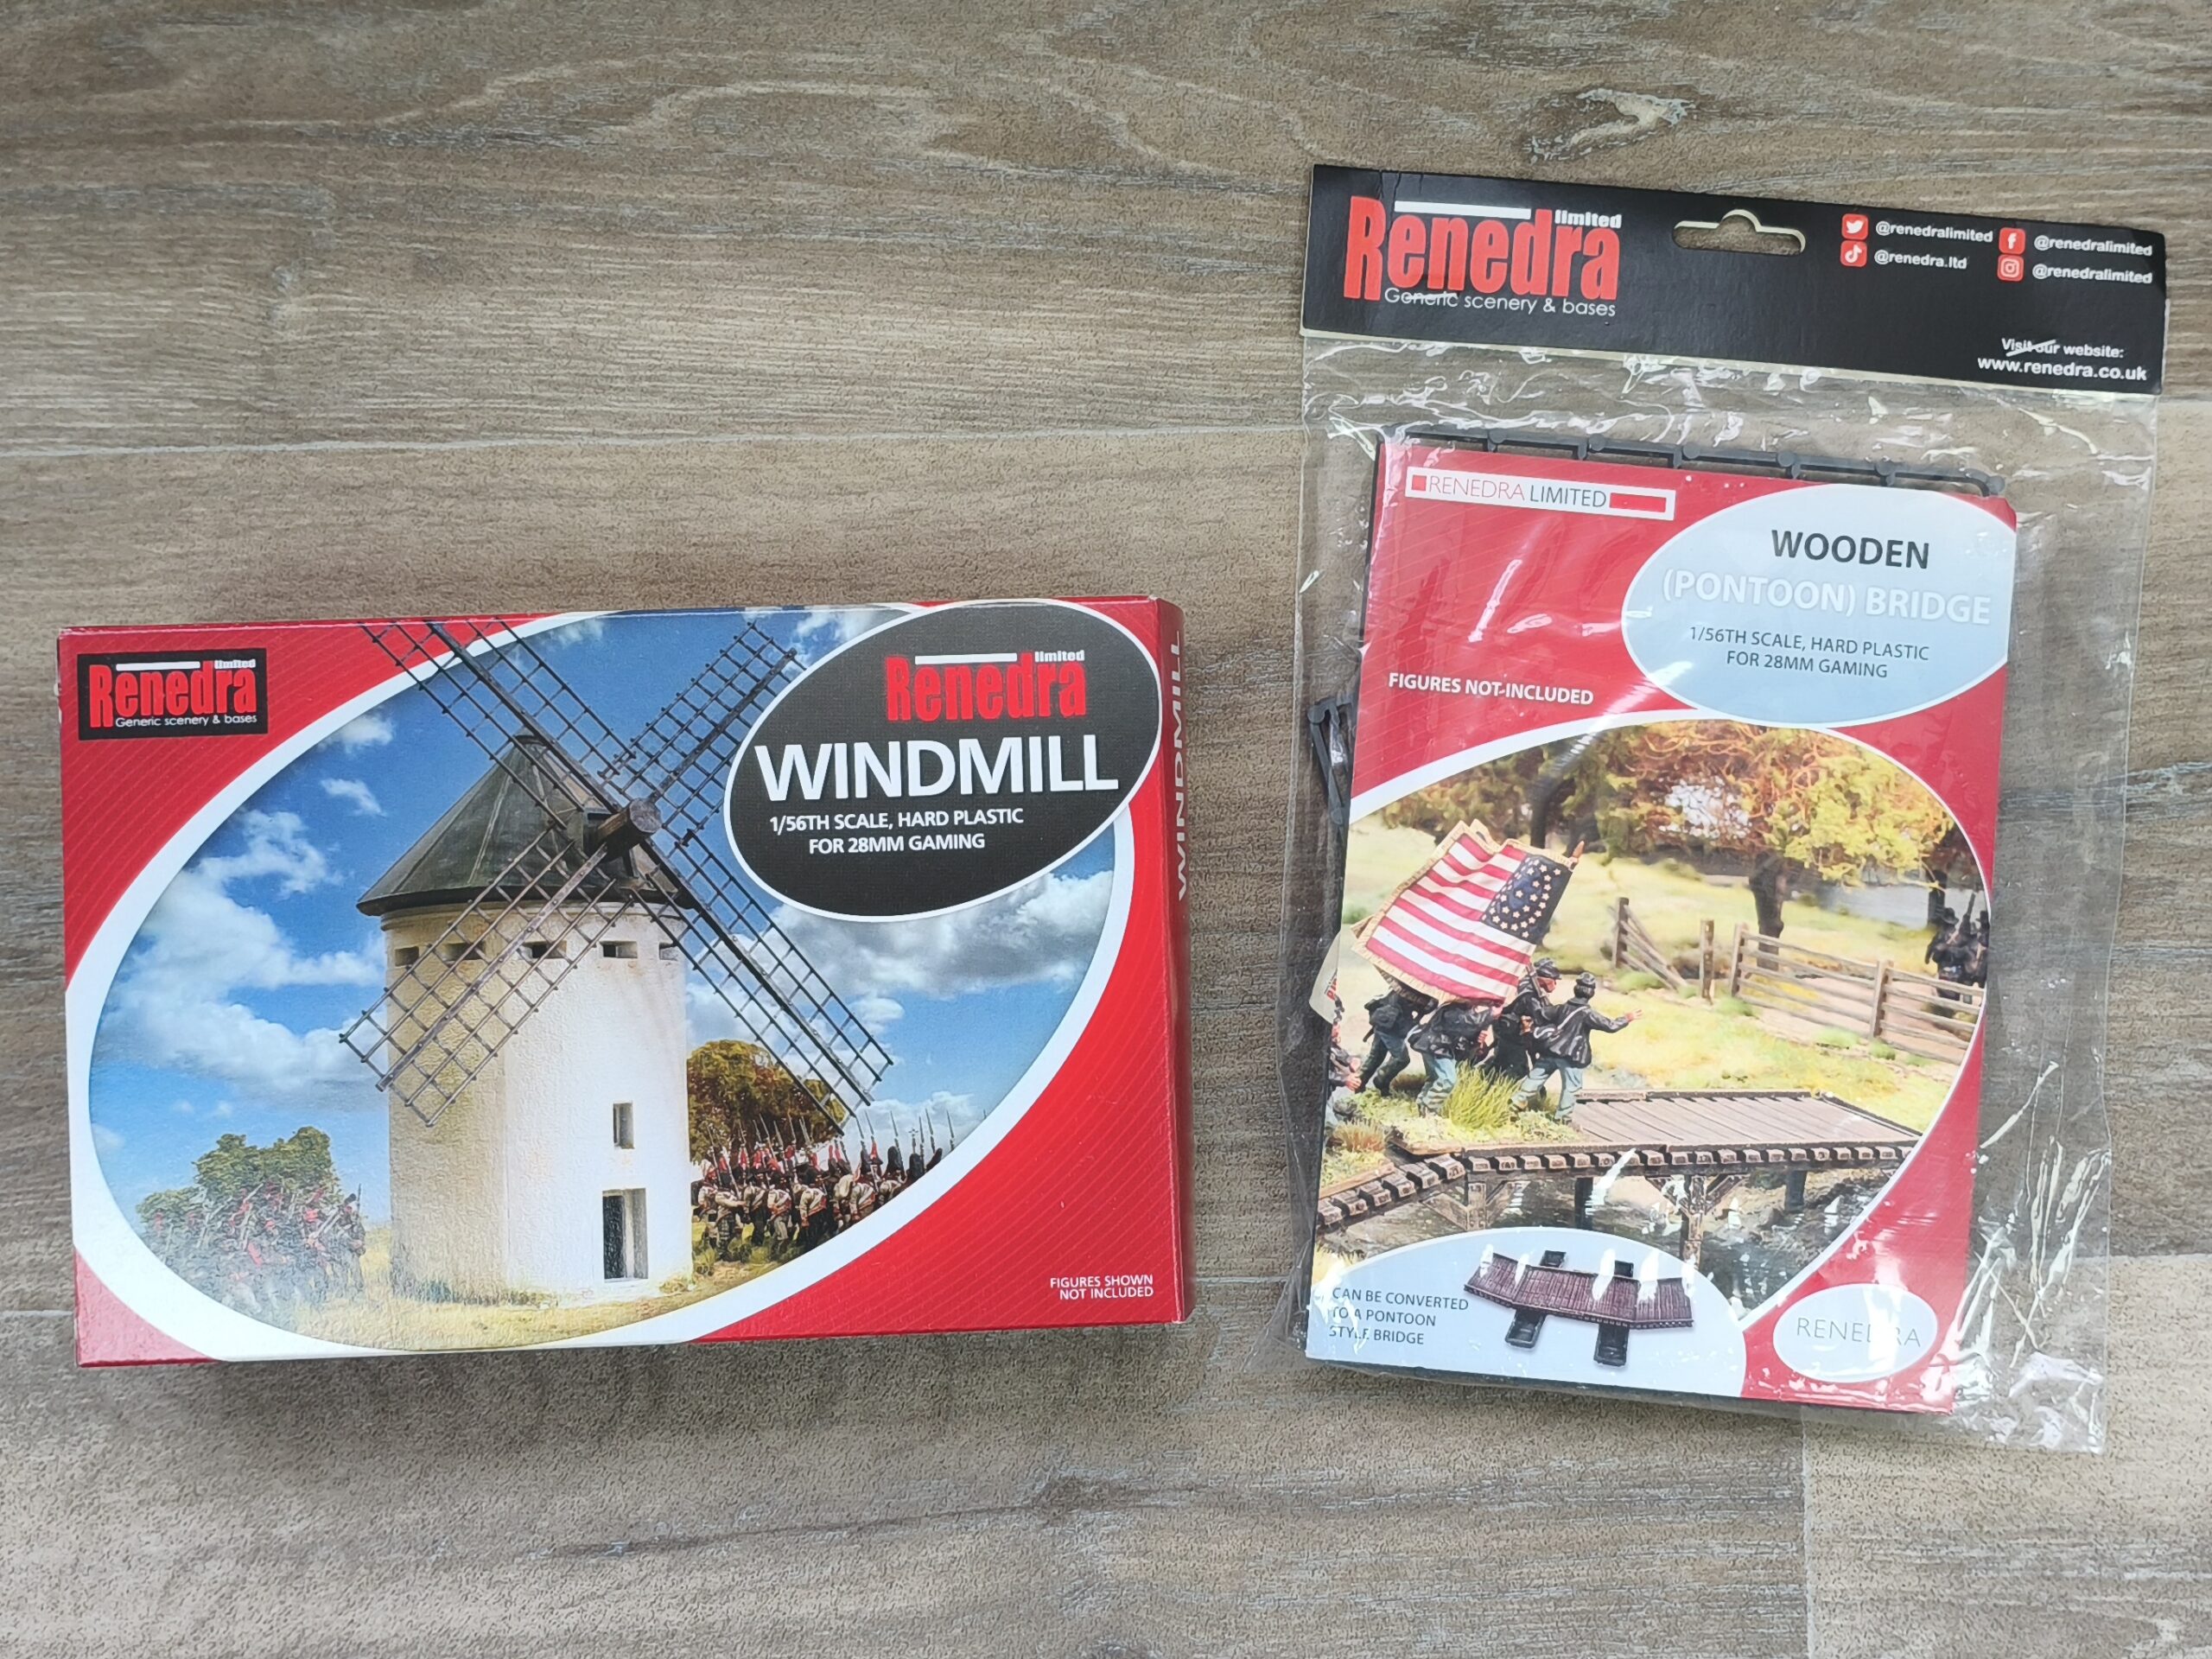
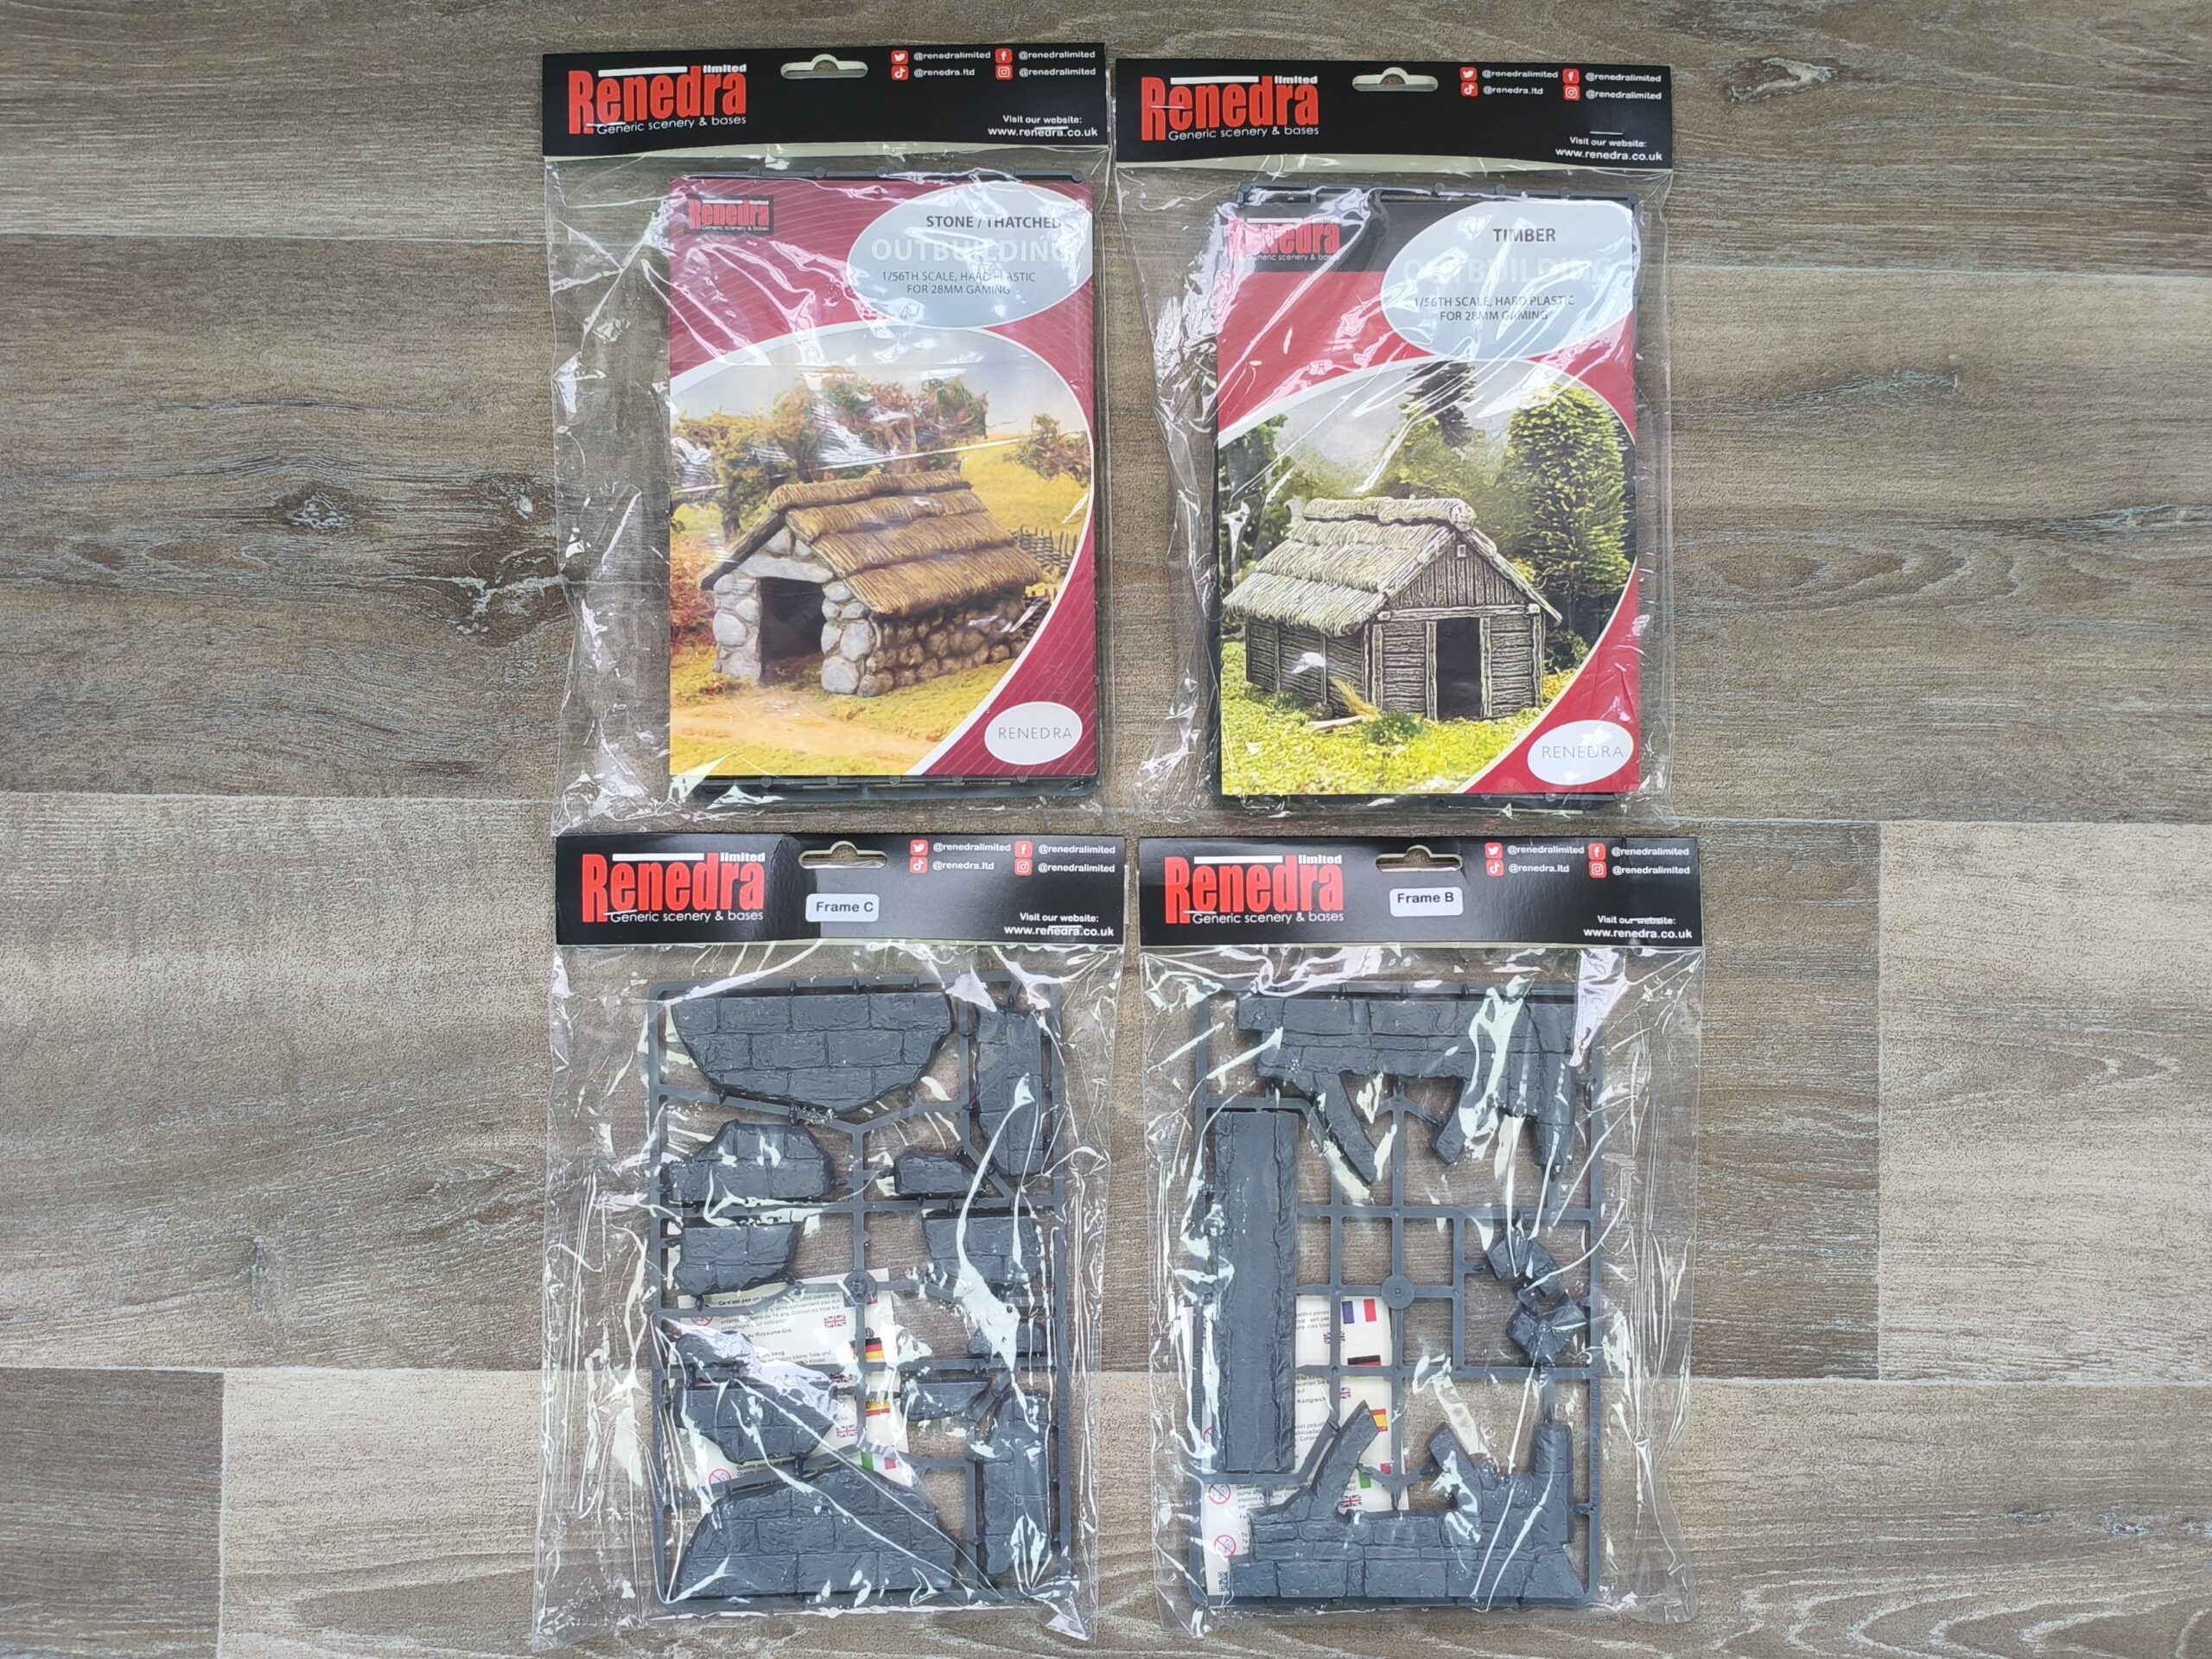
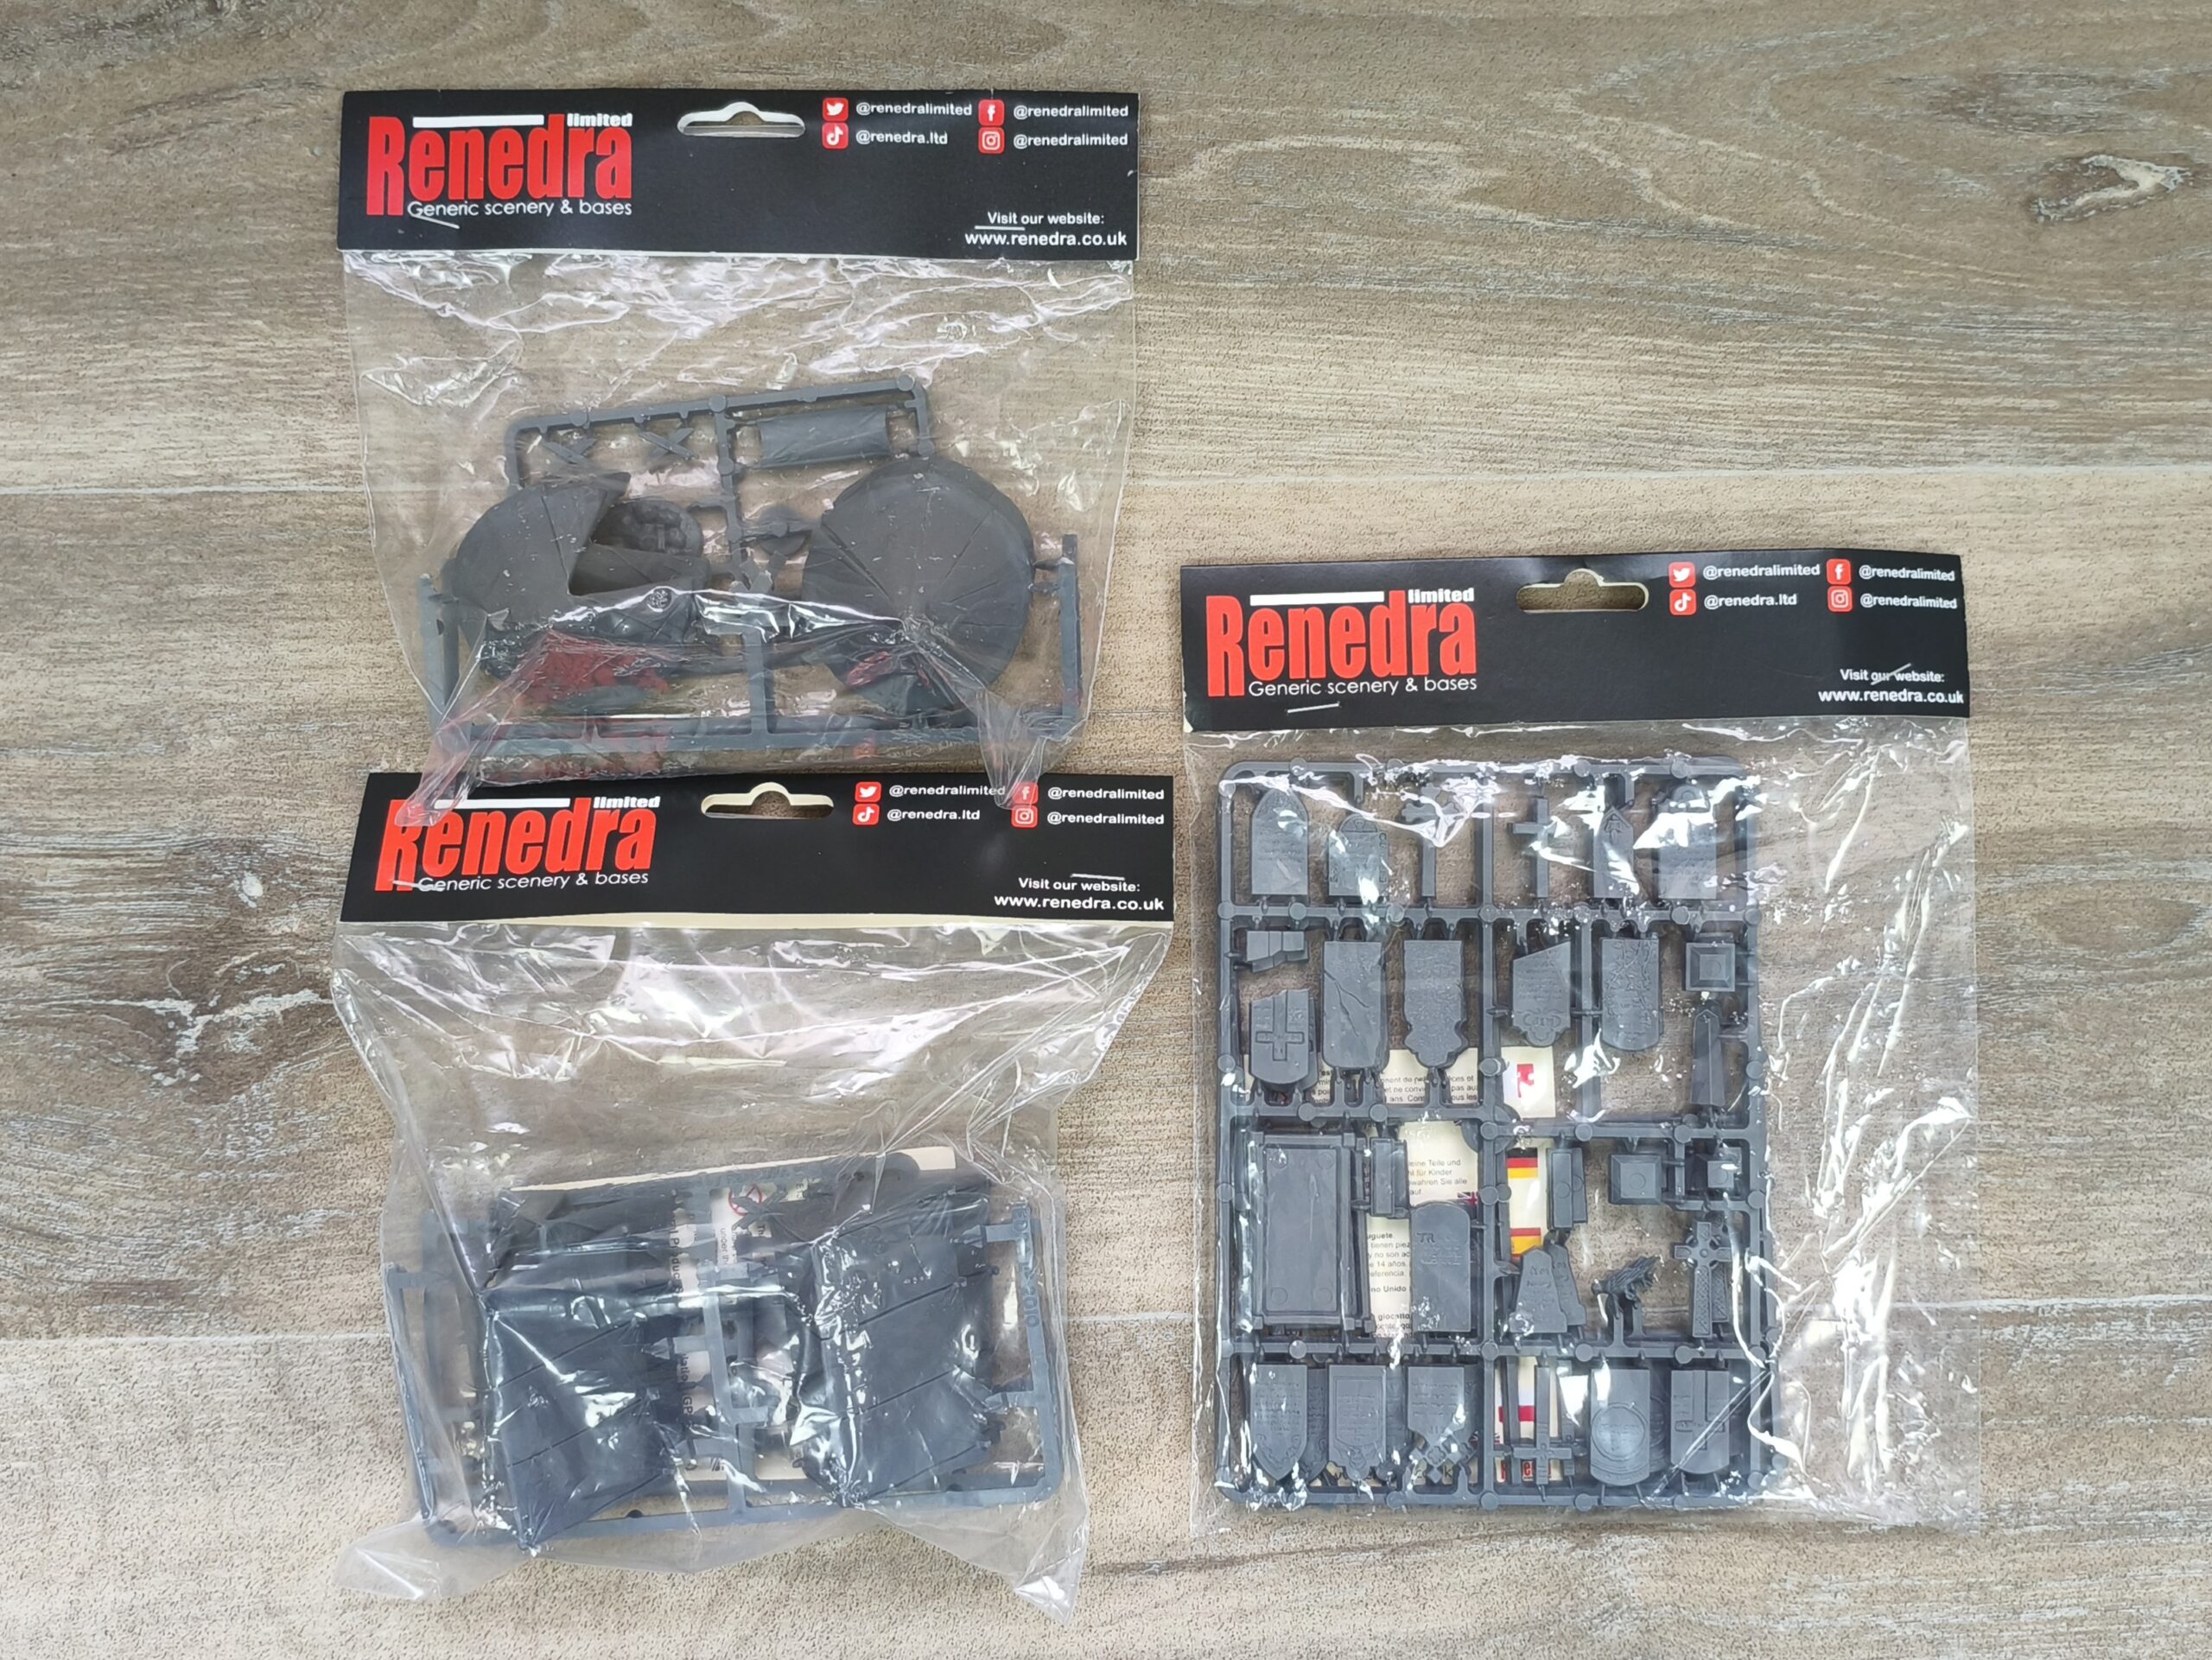
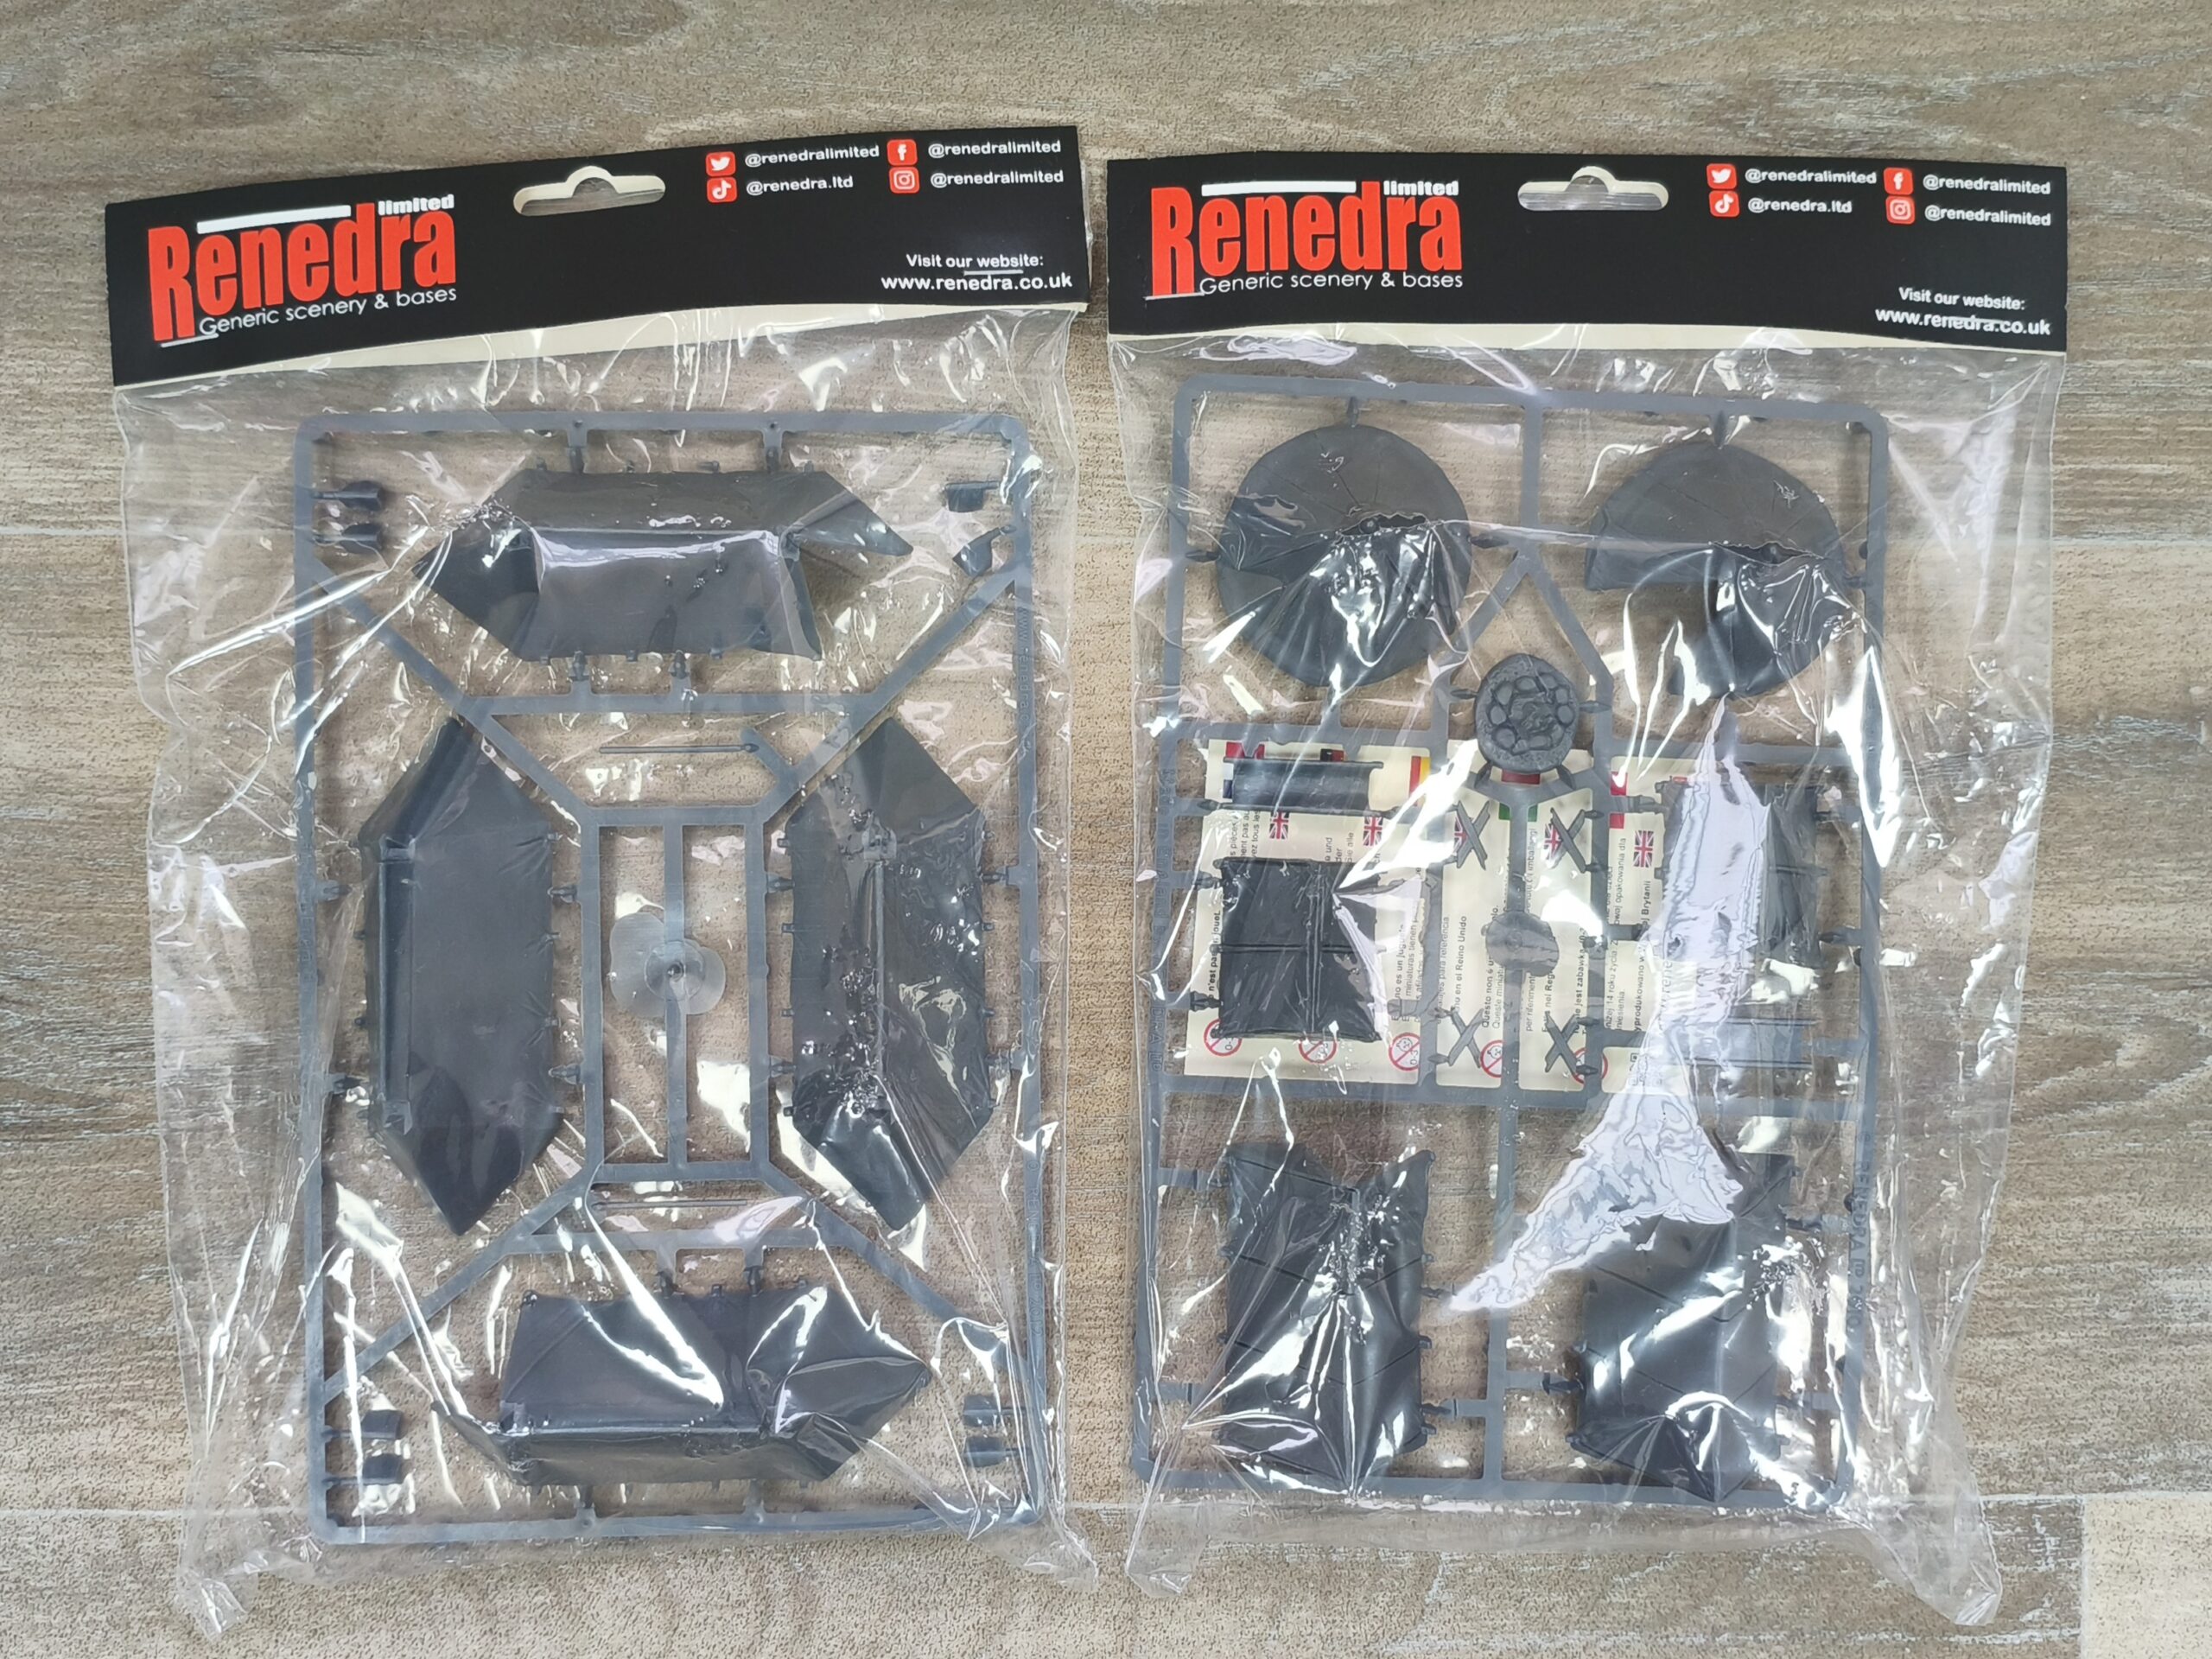
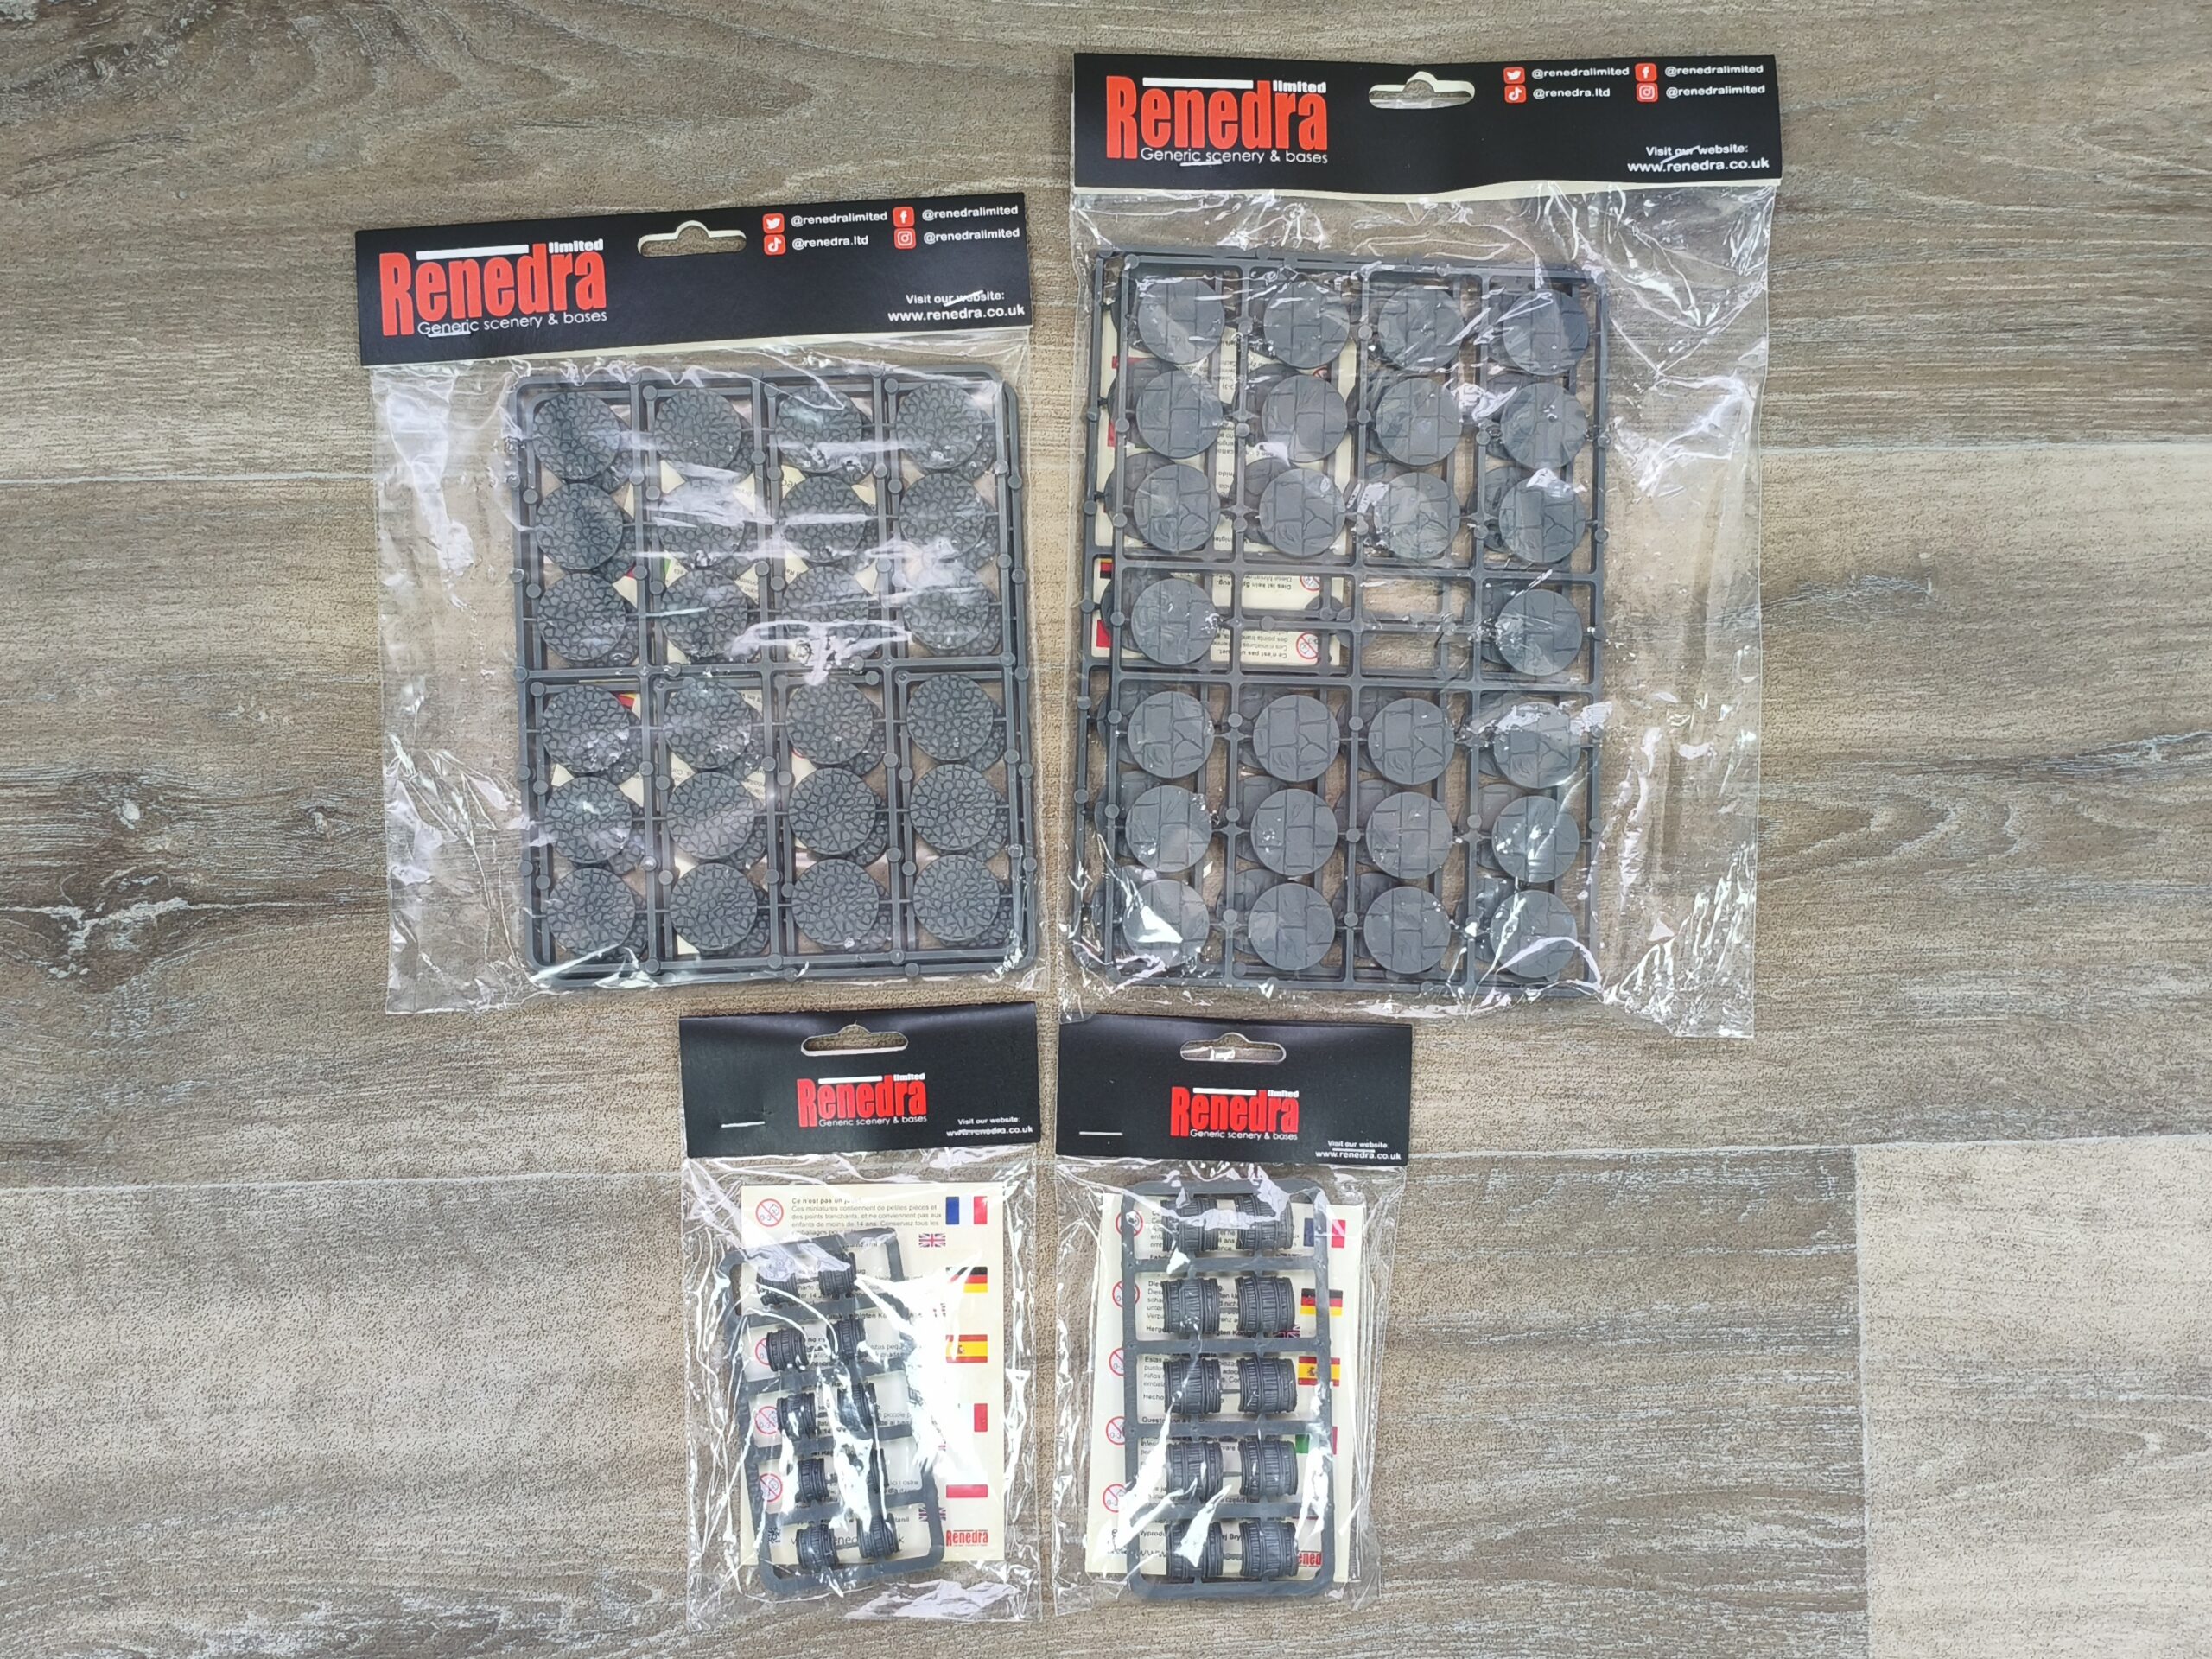
New Stock – John Blanche Paint Sets and Renedra
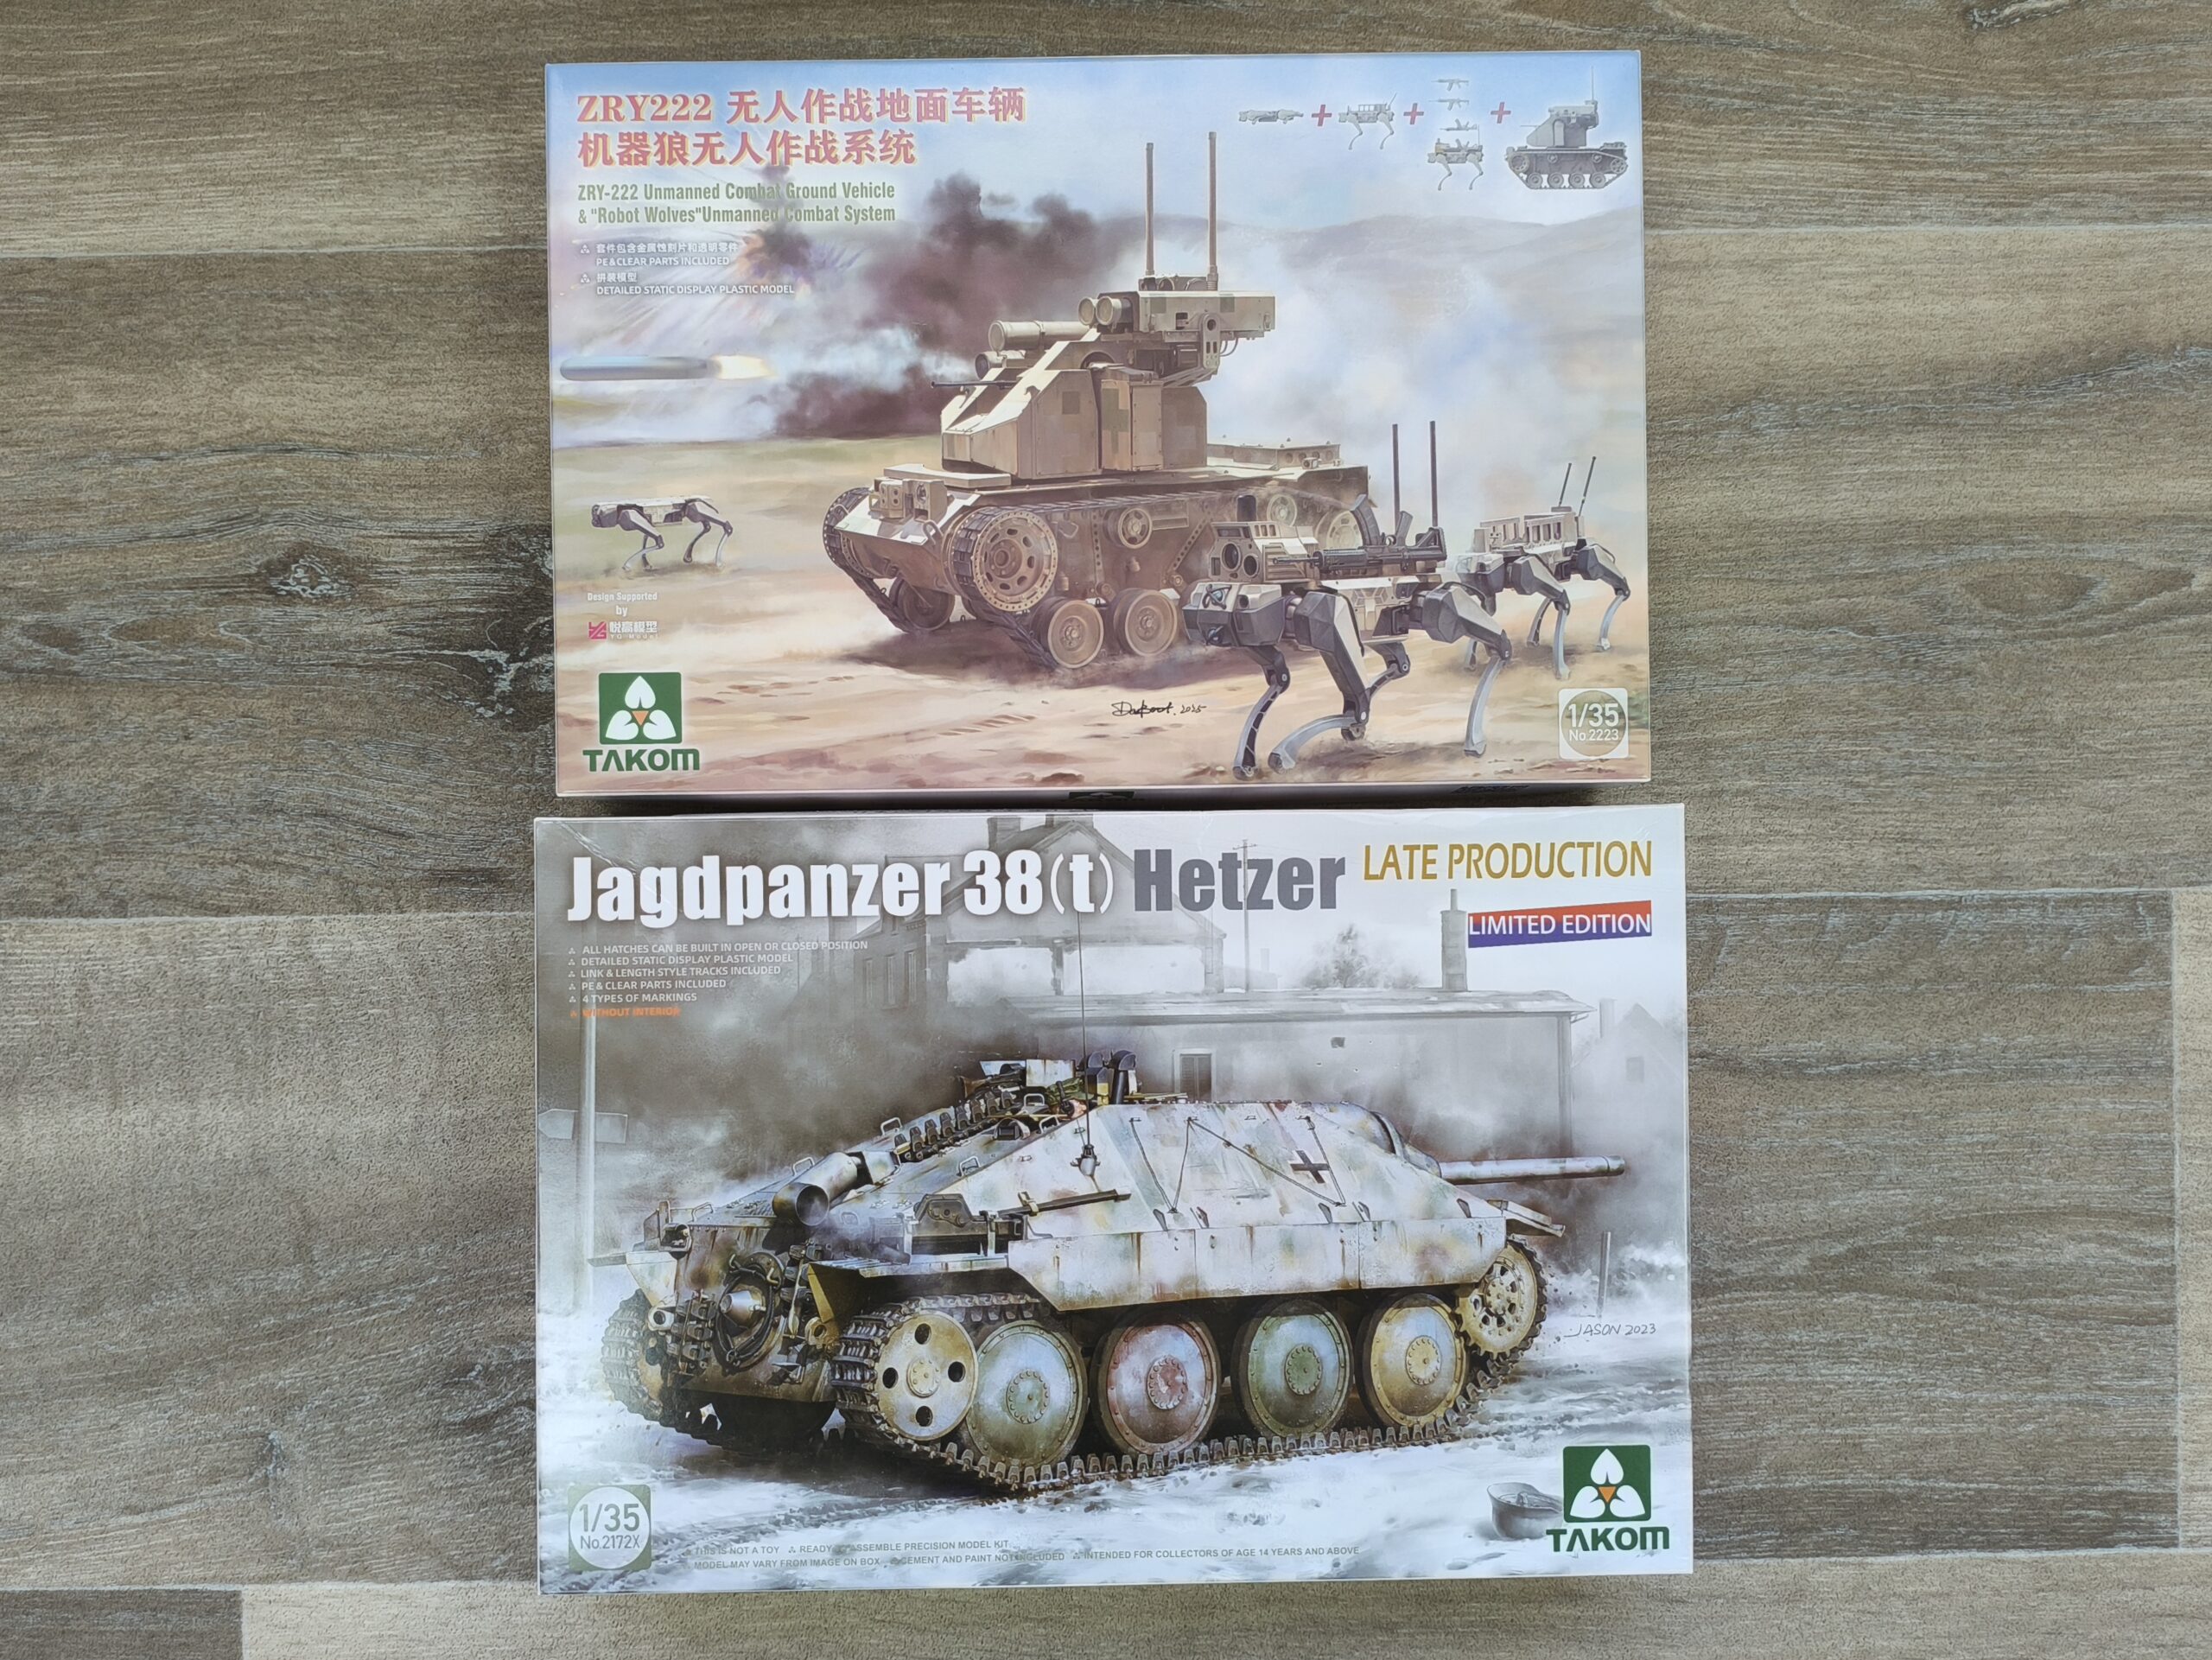
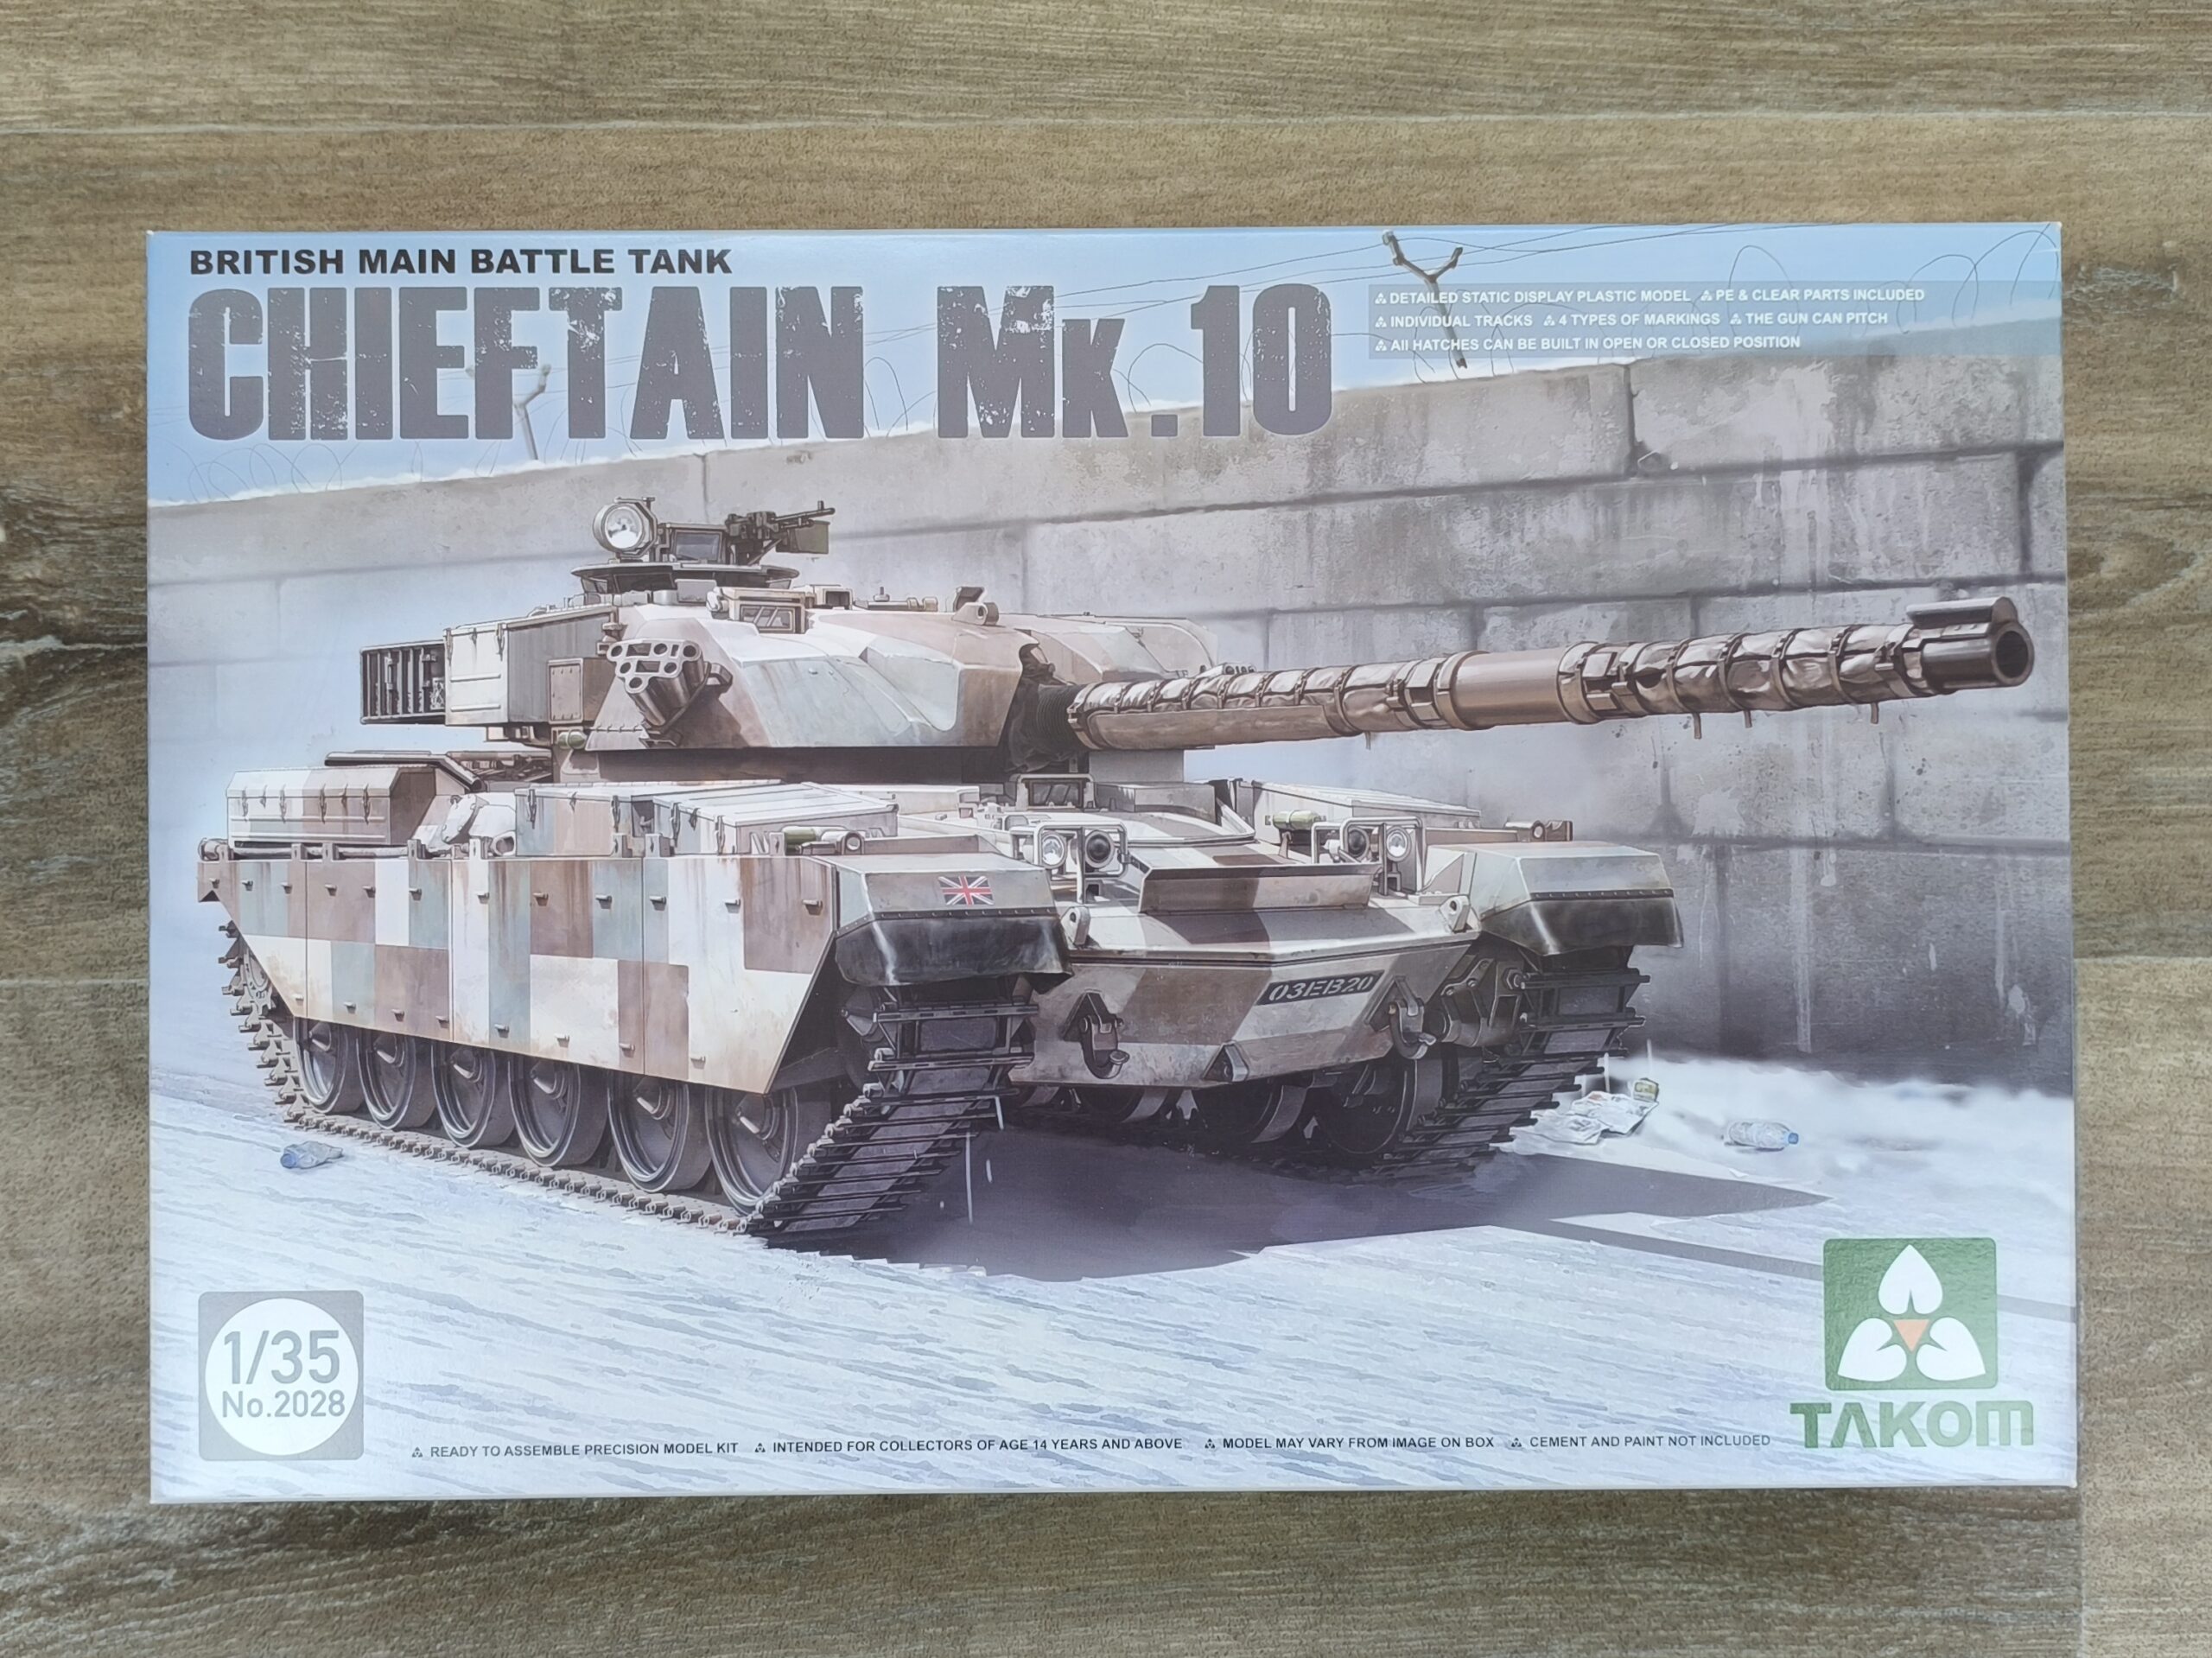
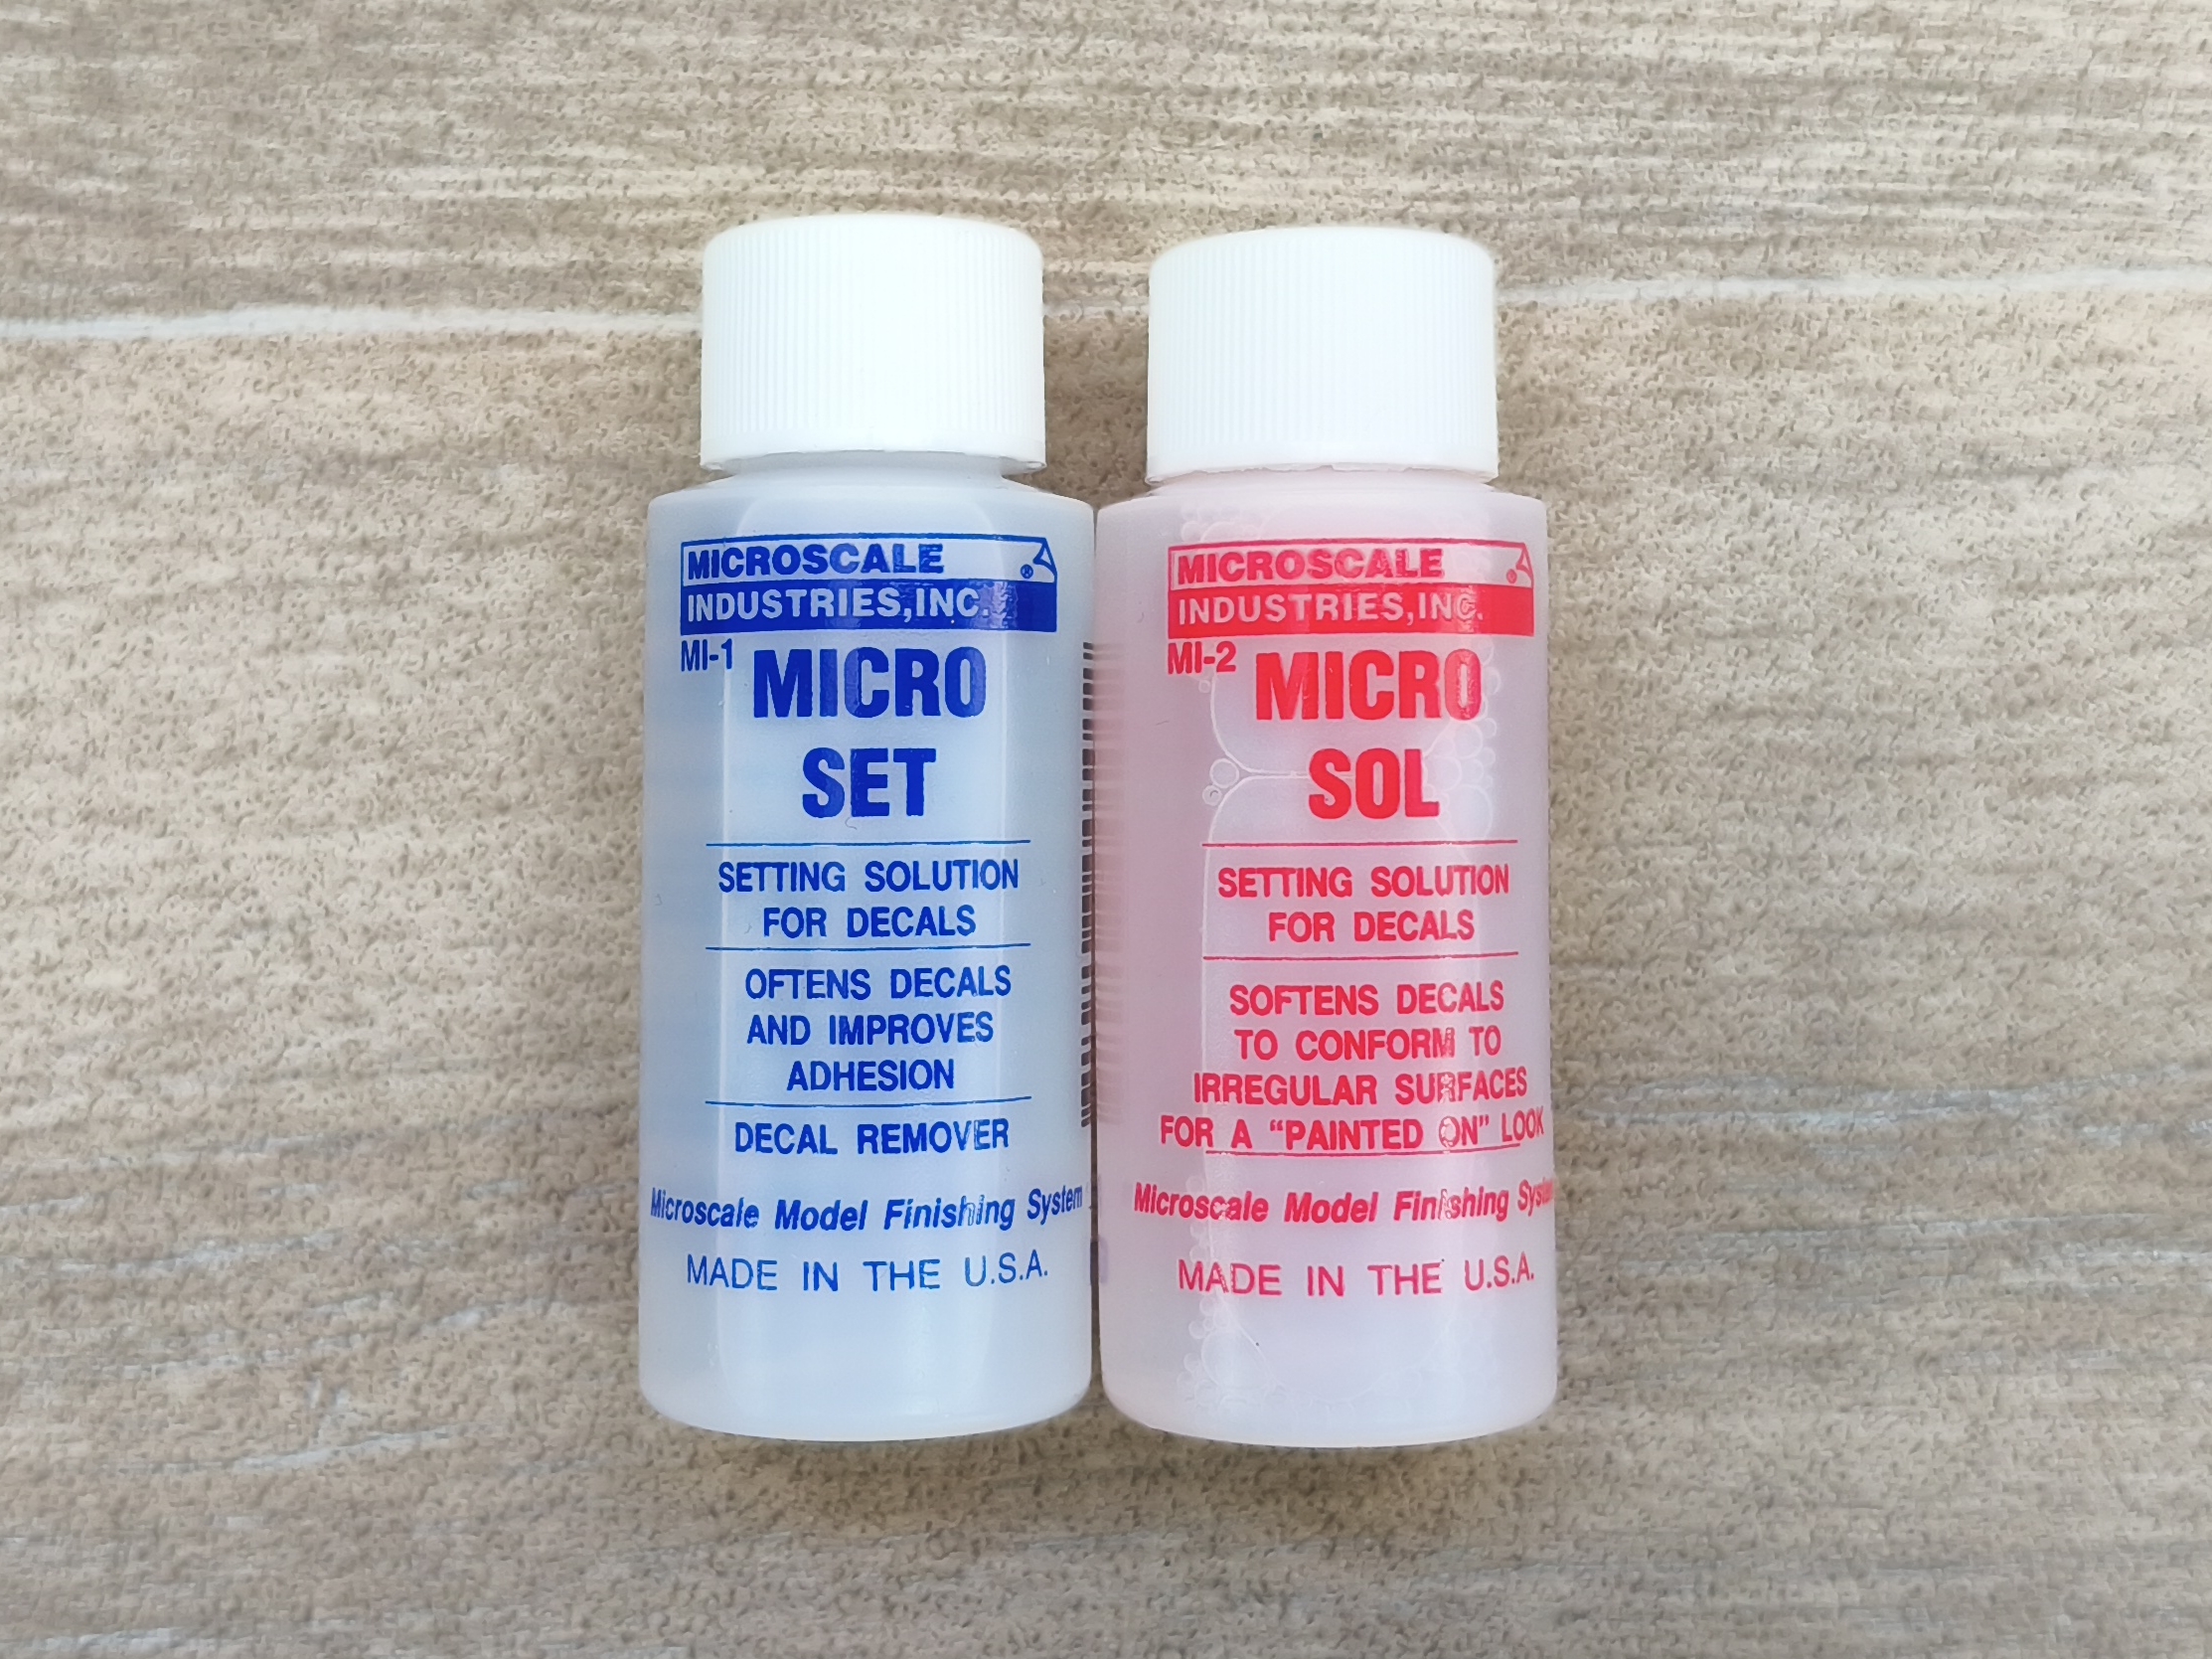
New Stock – Takom and Microscale Industries
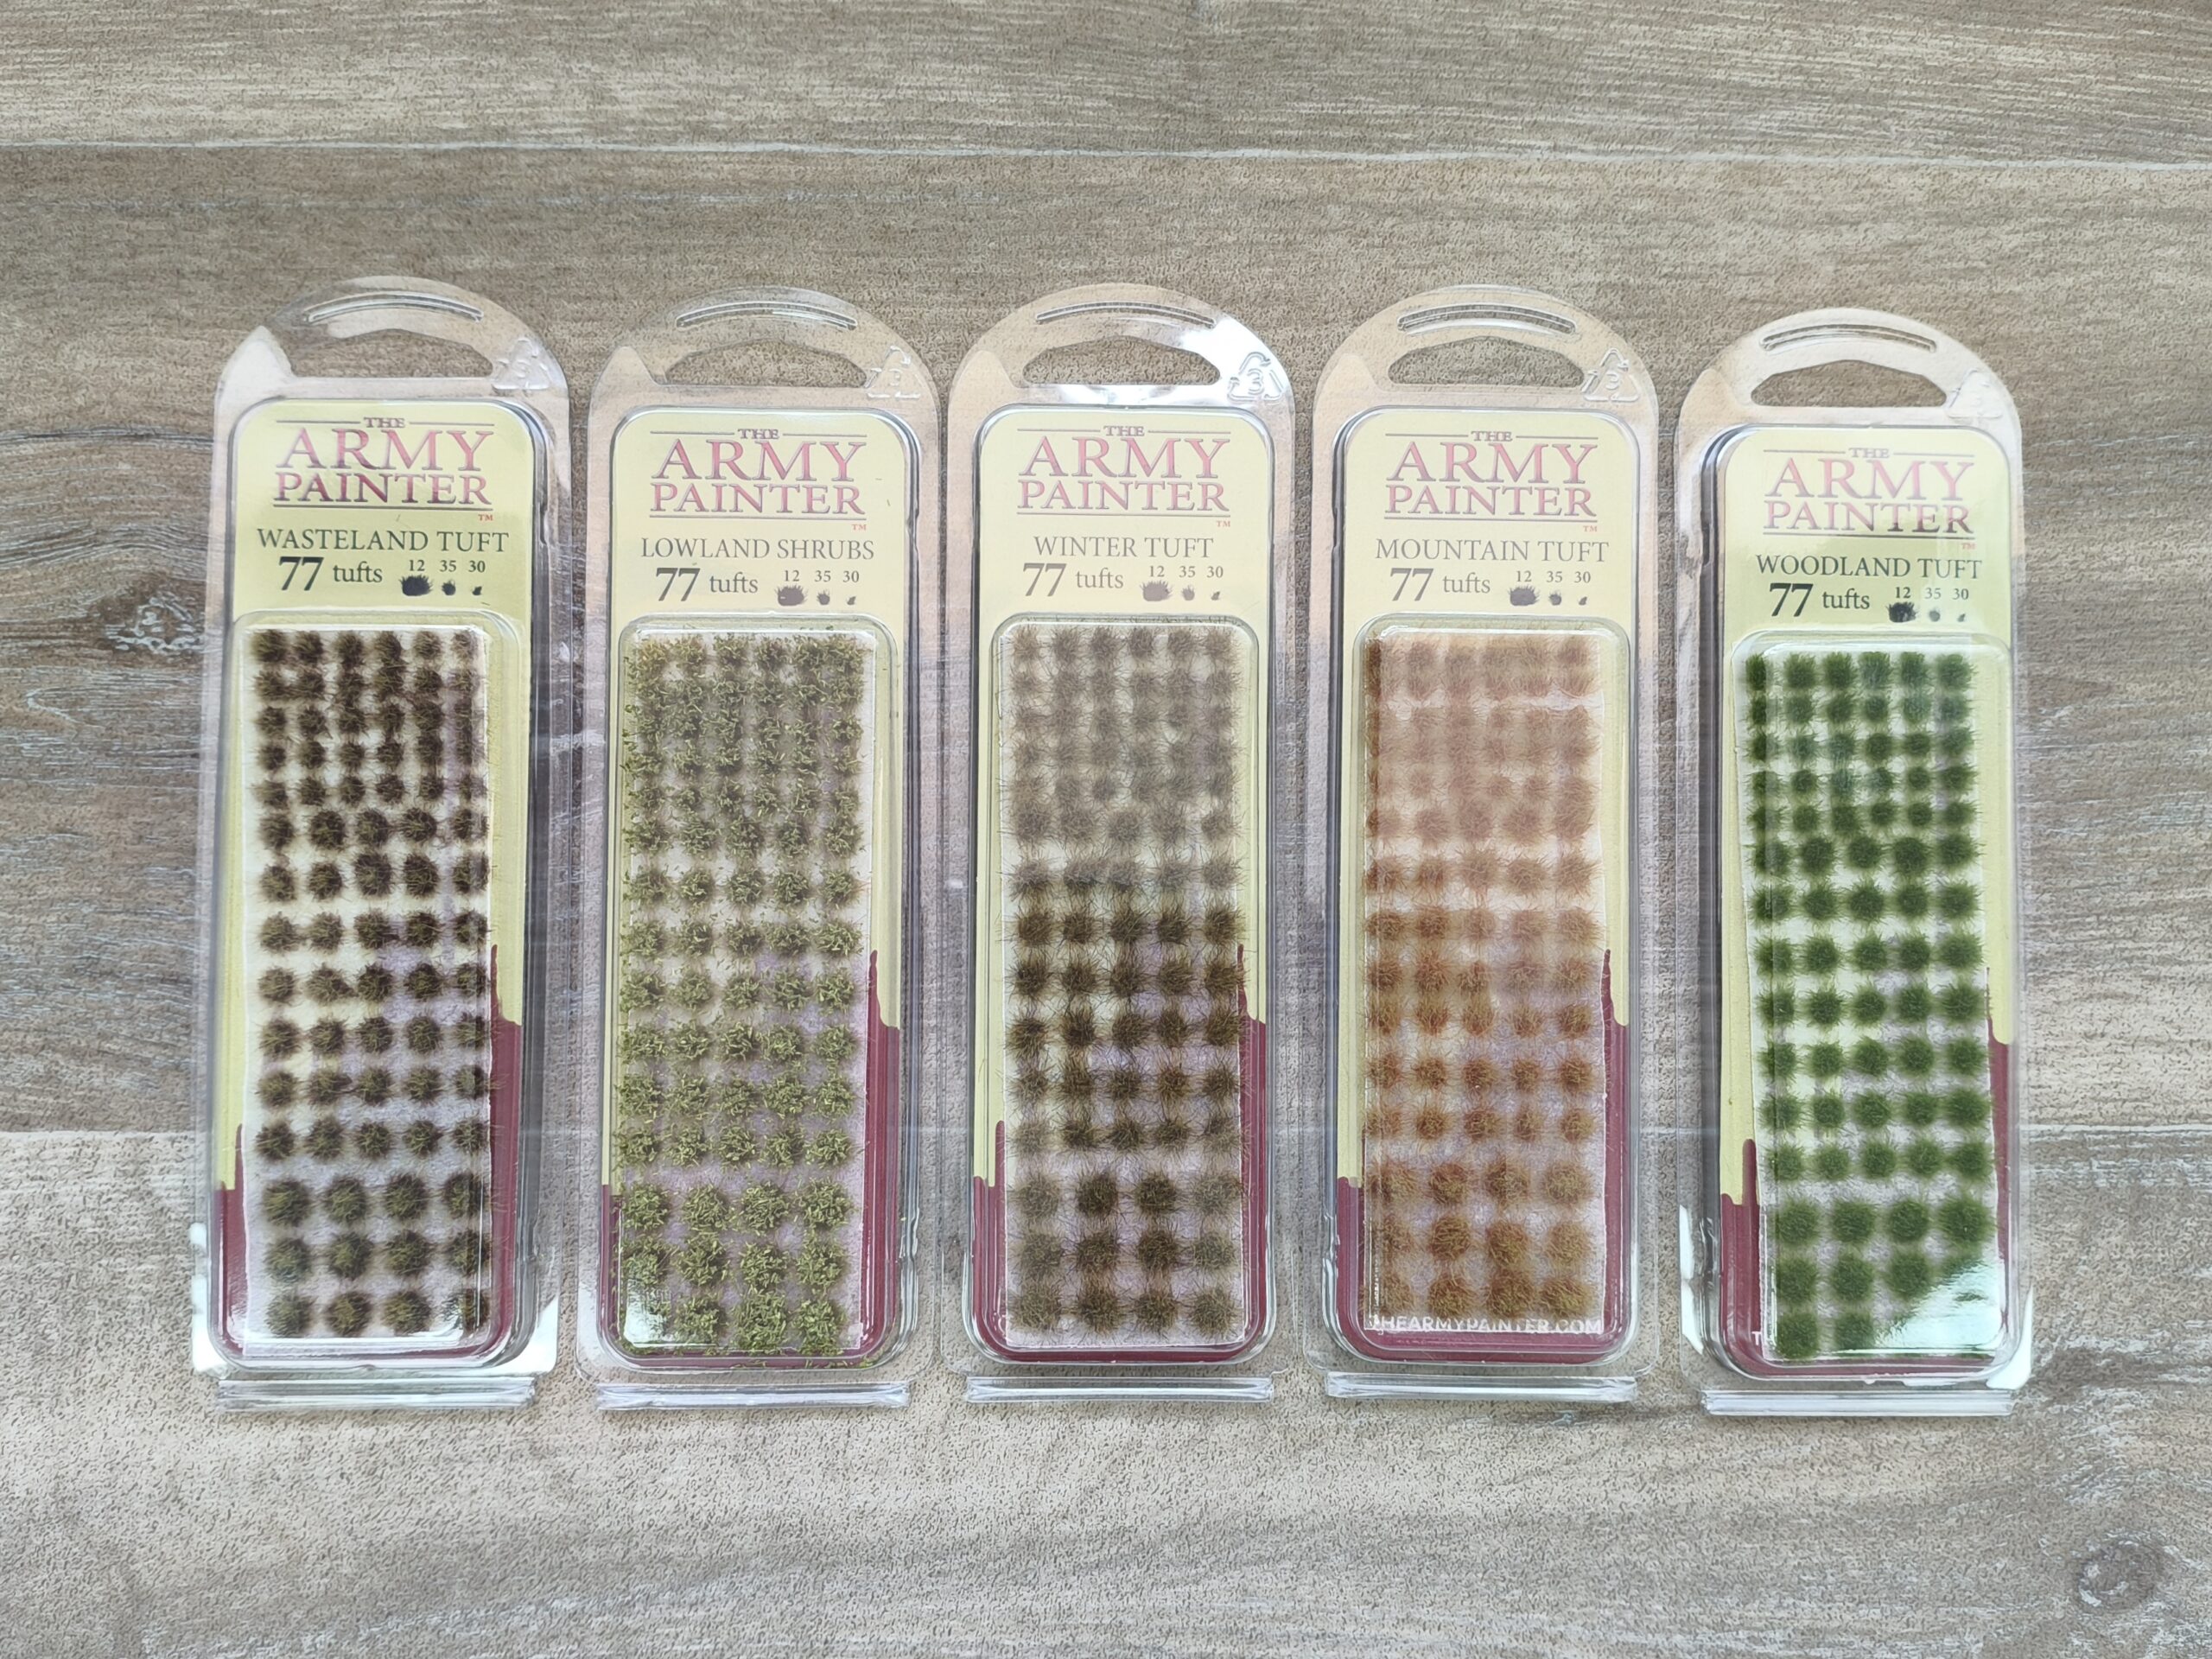
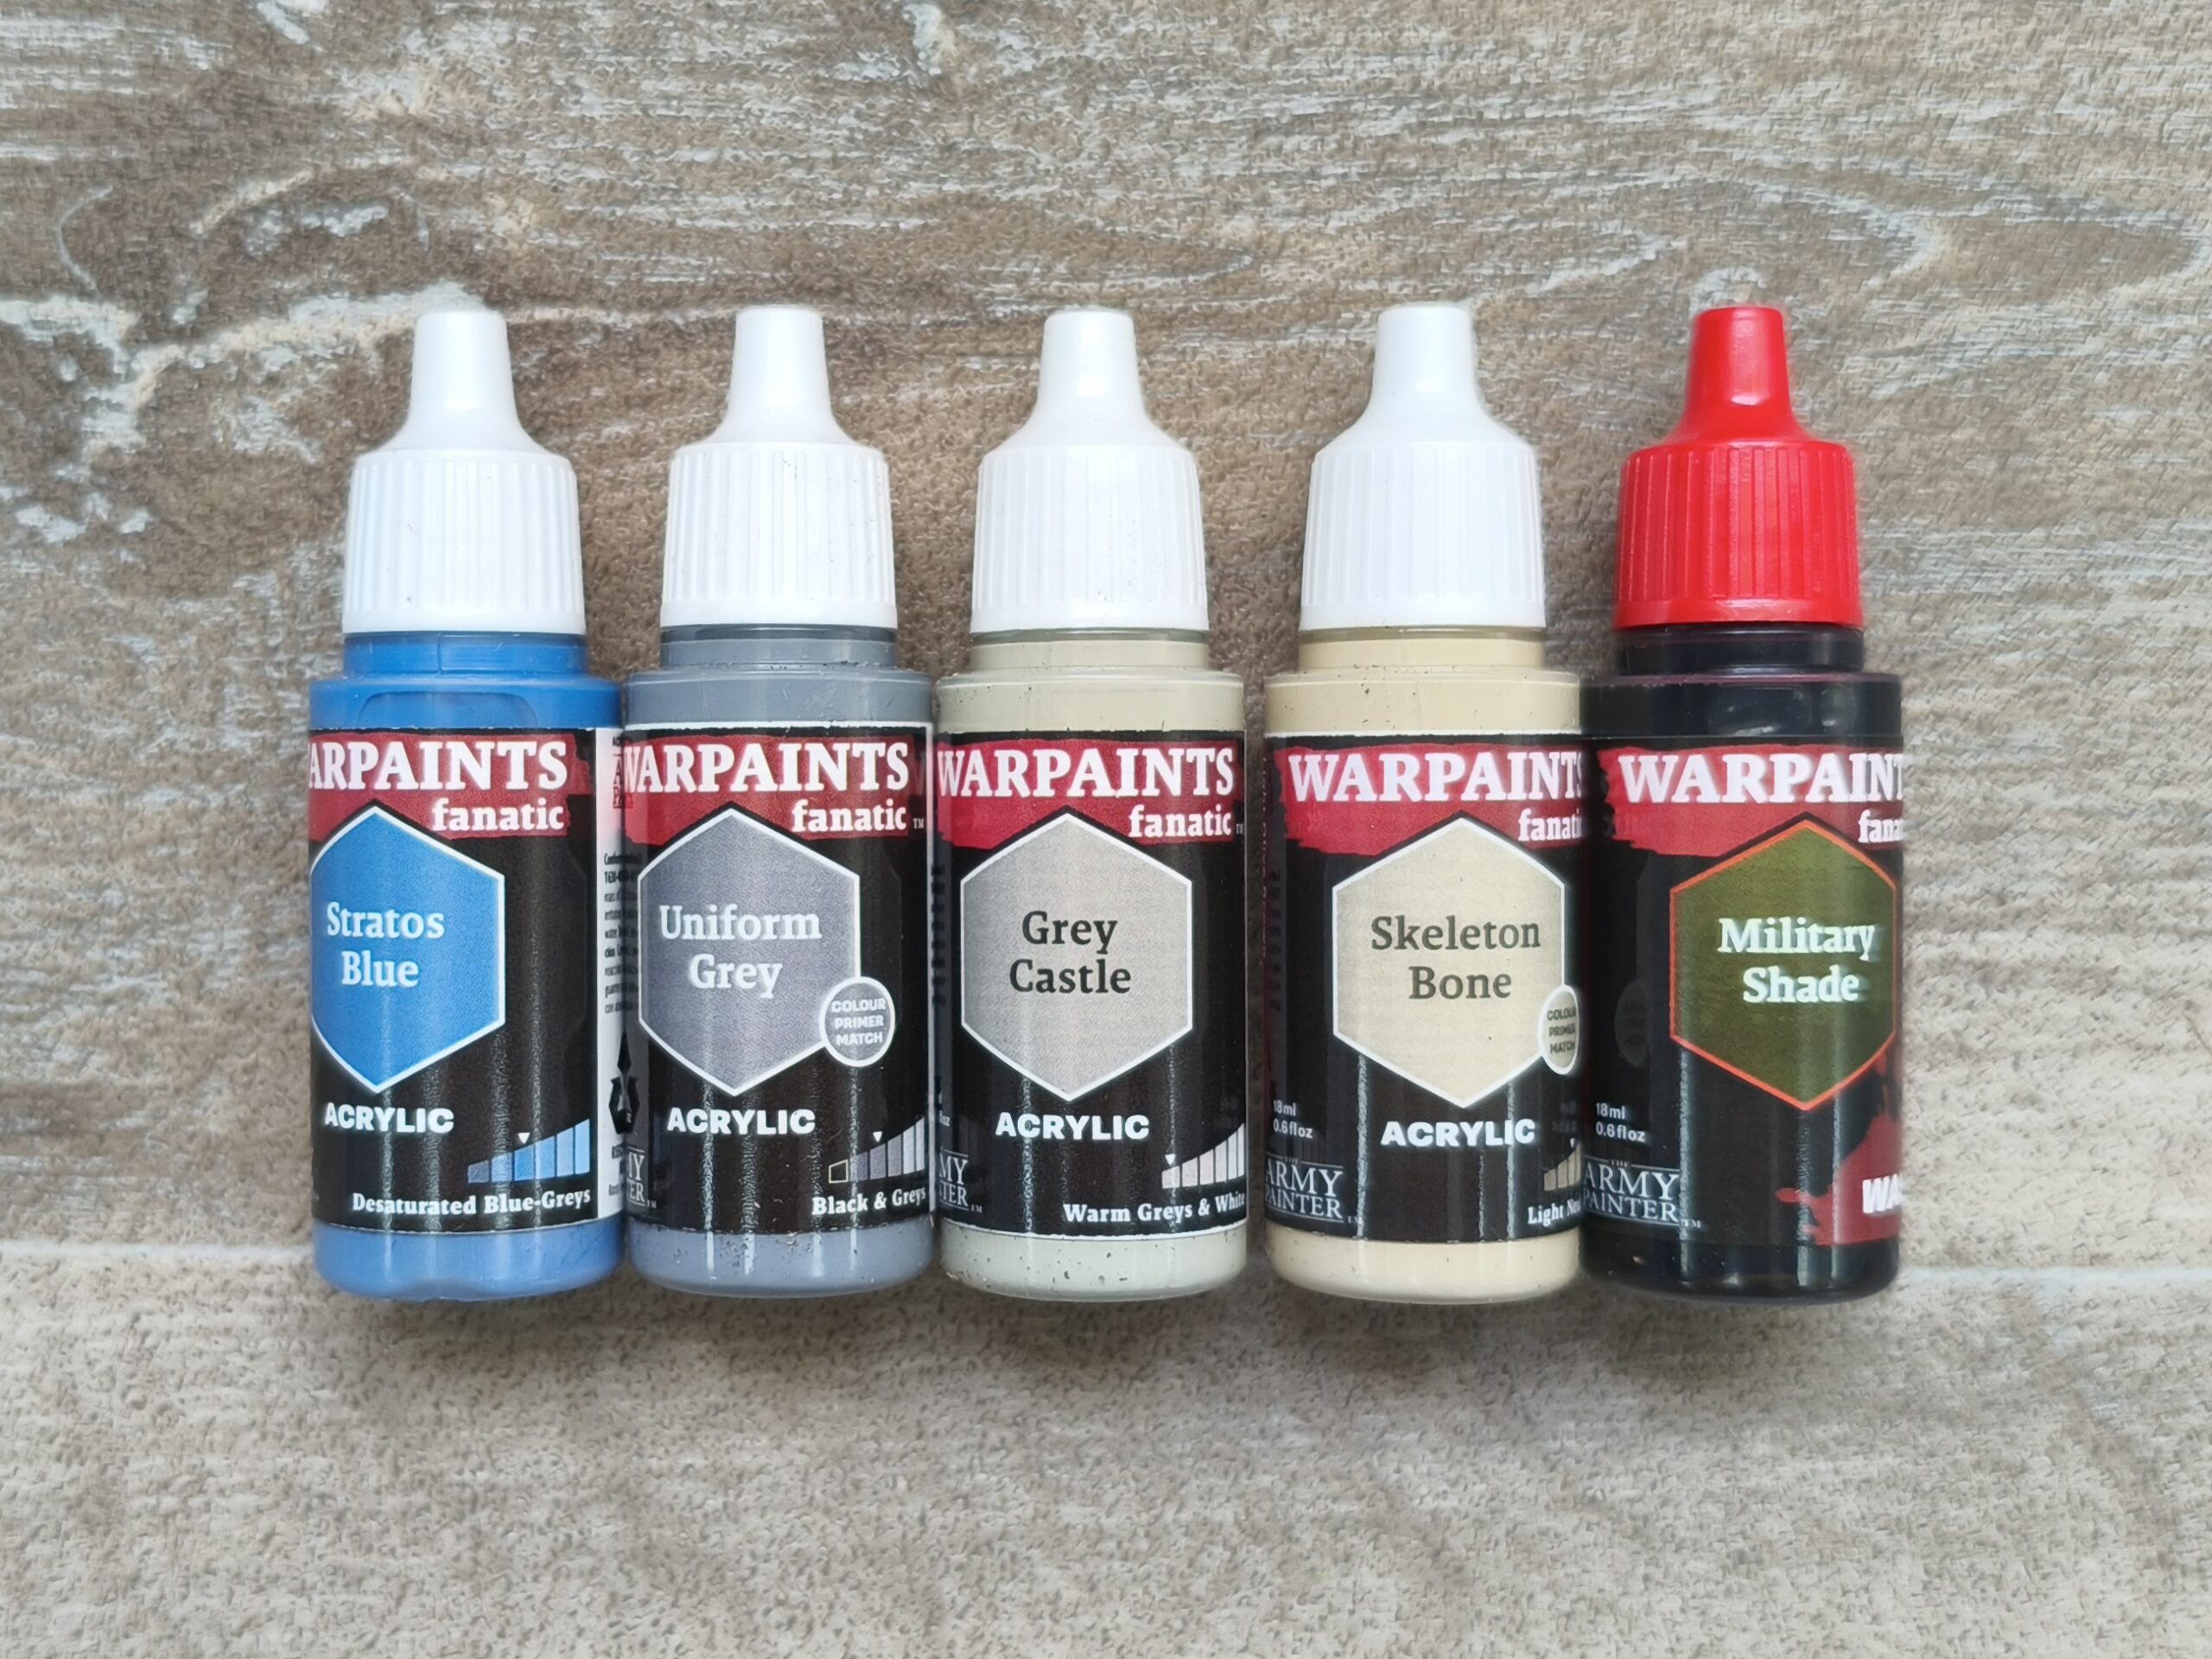
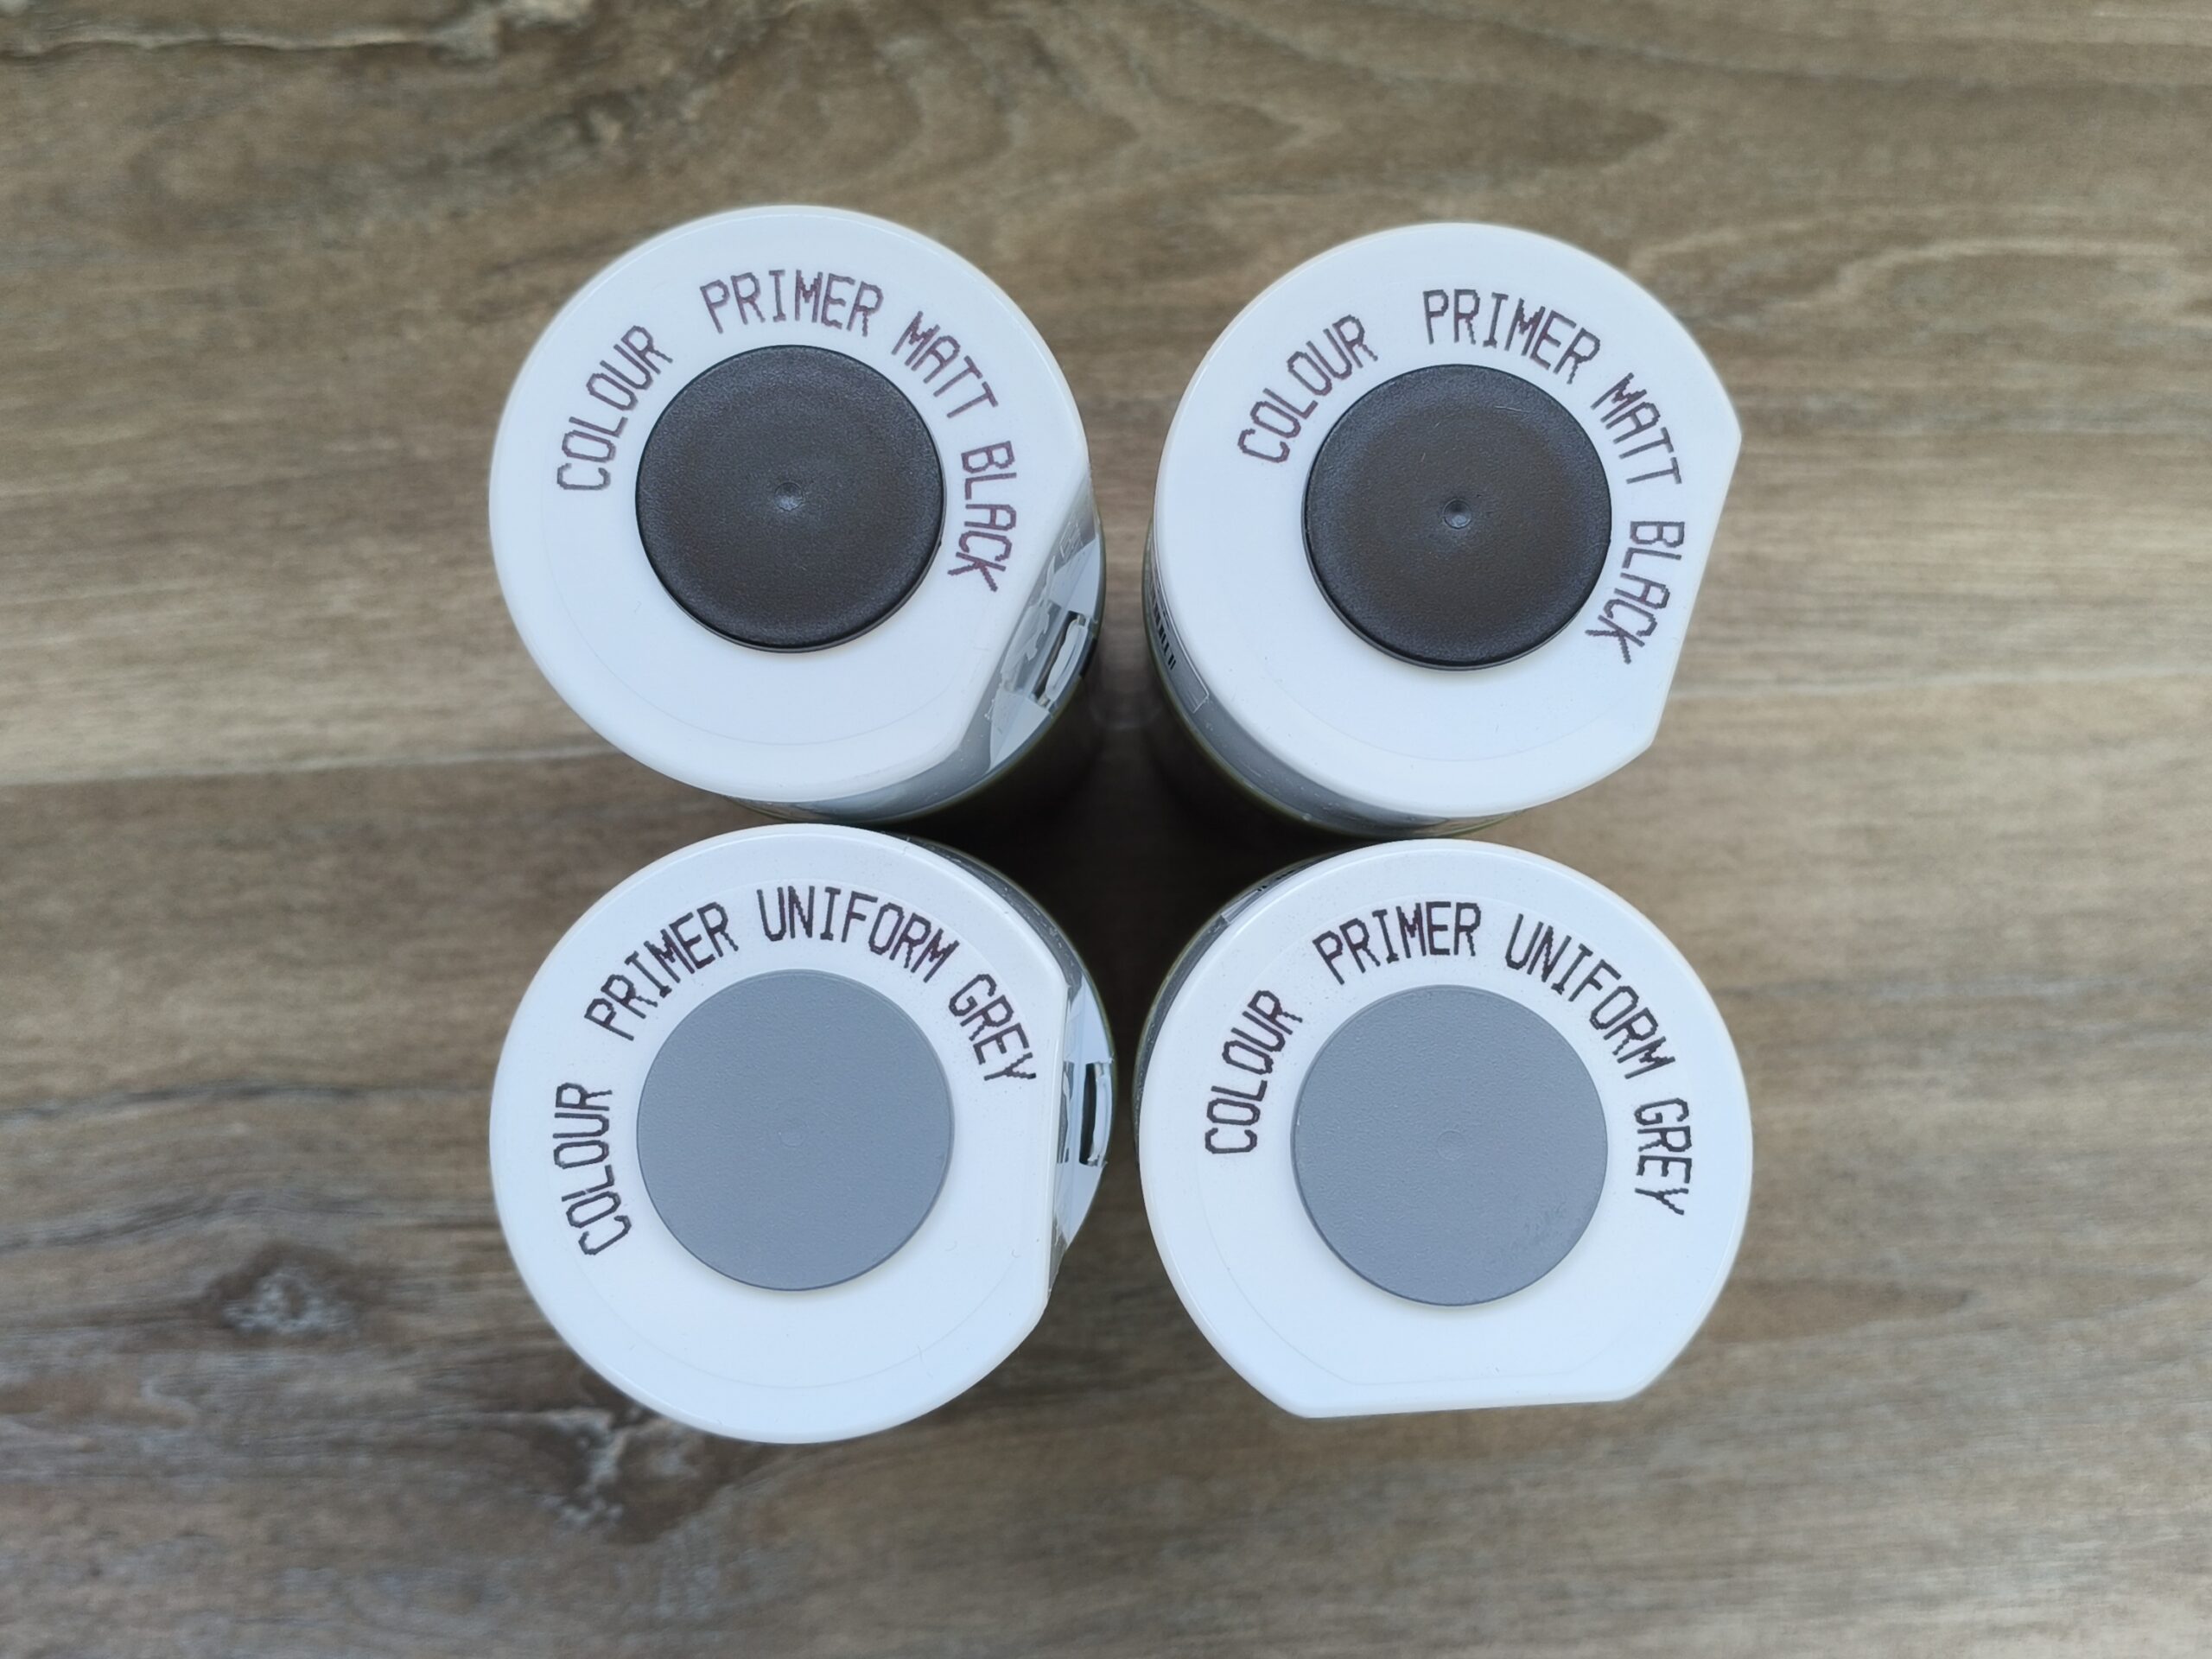
New Stock – Army Painter and Ammo Mig
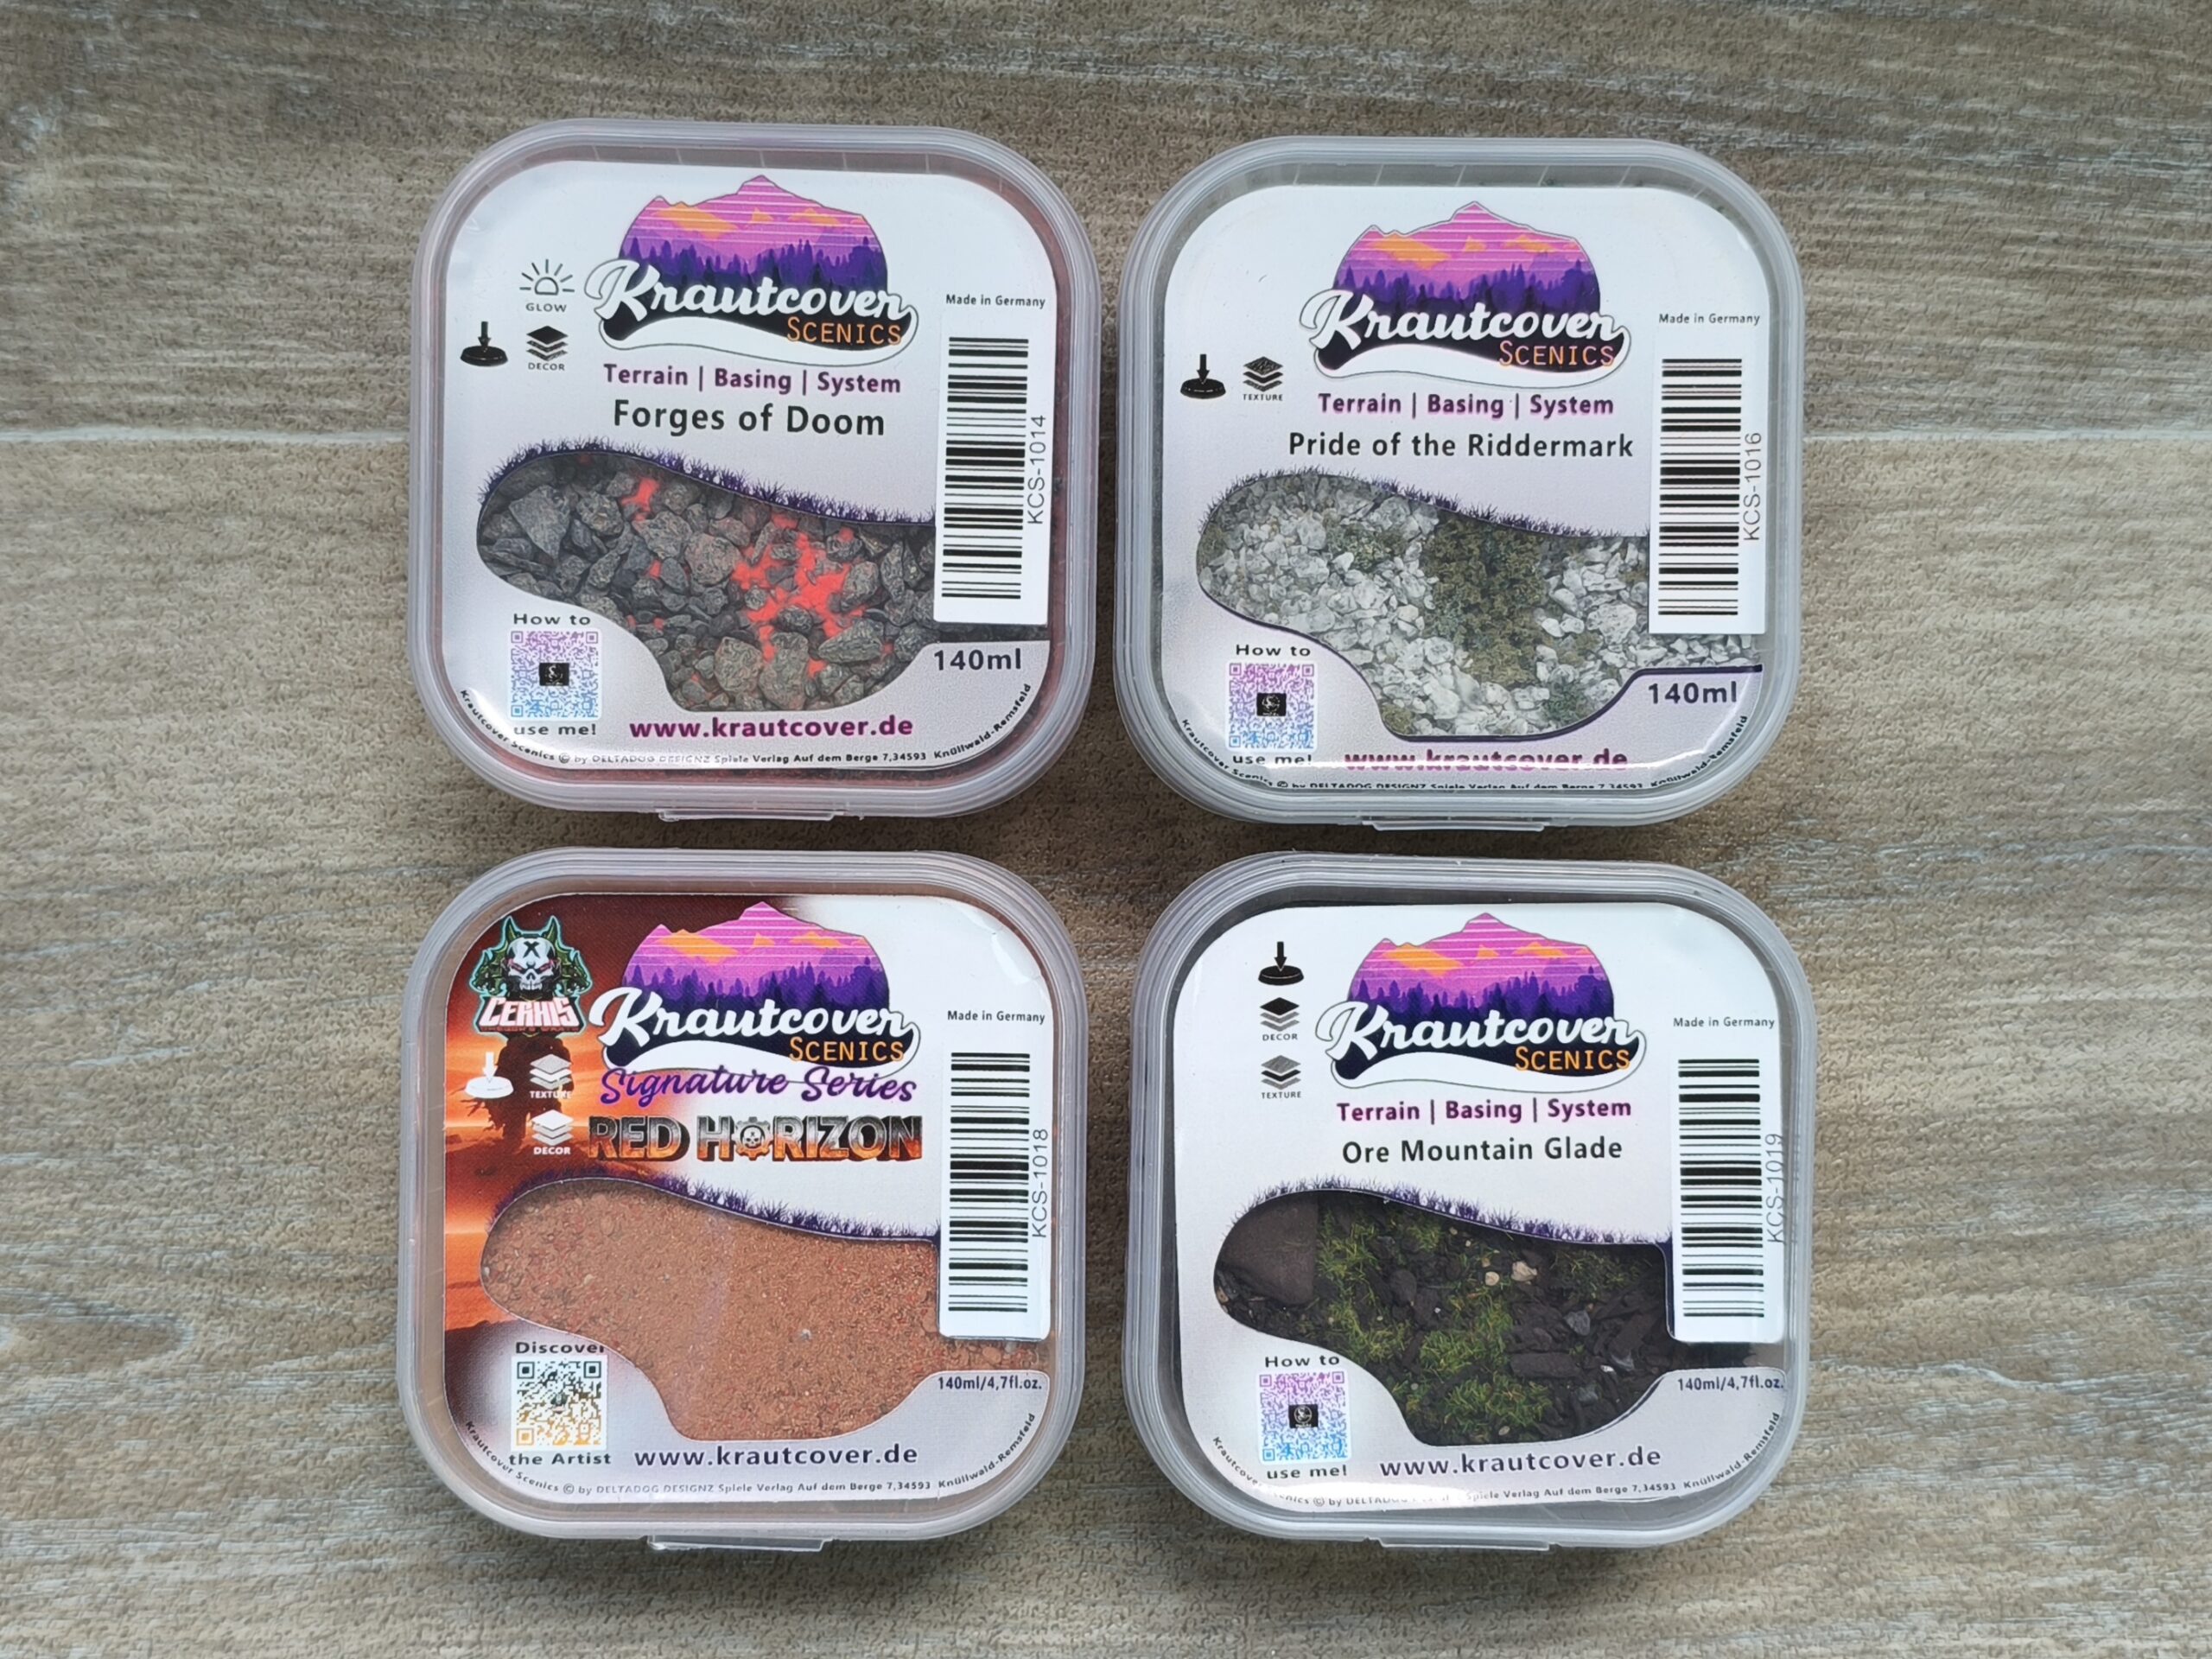
Krautcover Restock
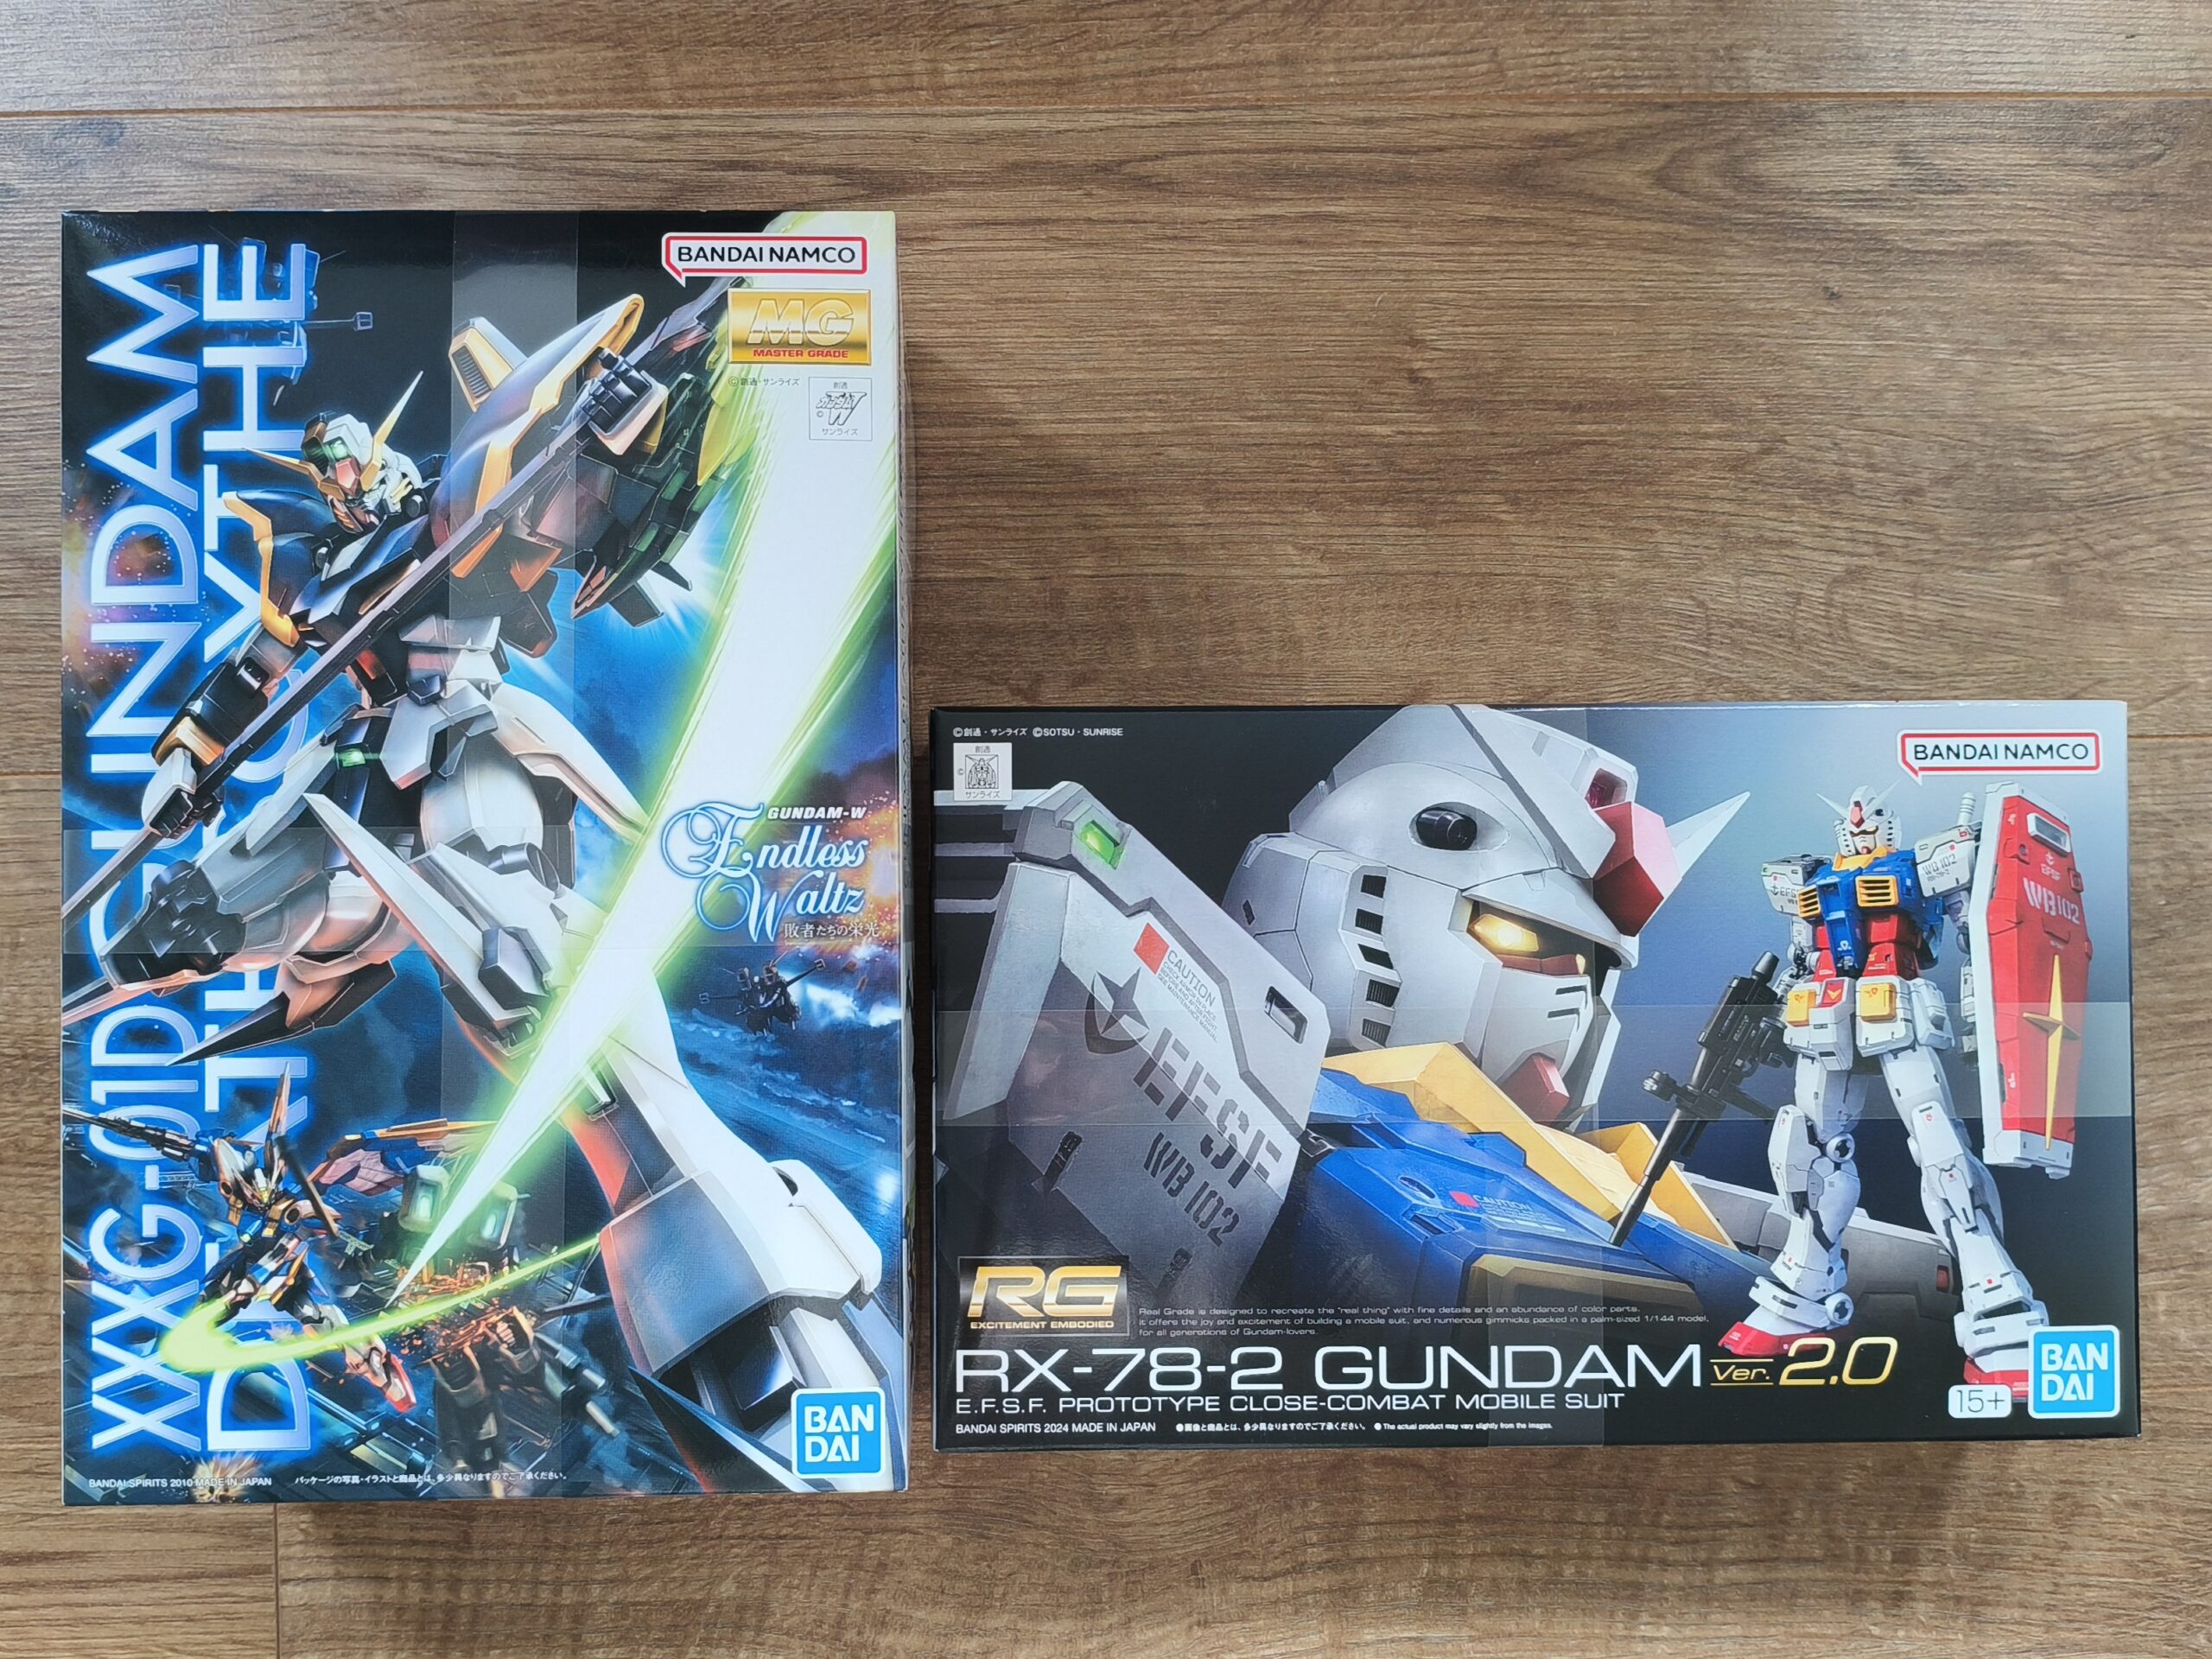
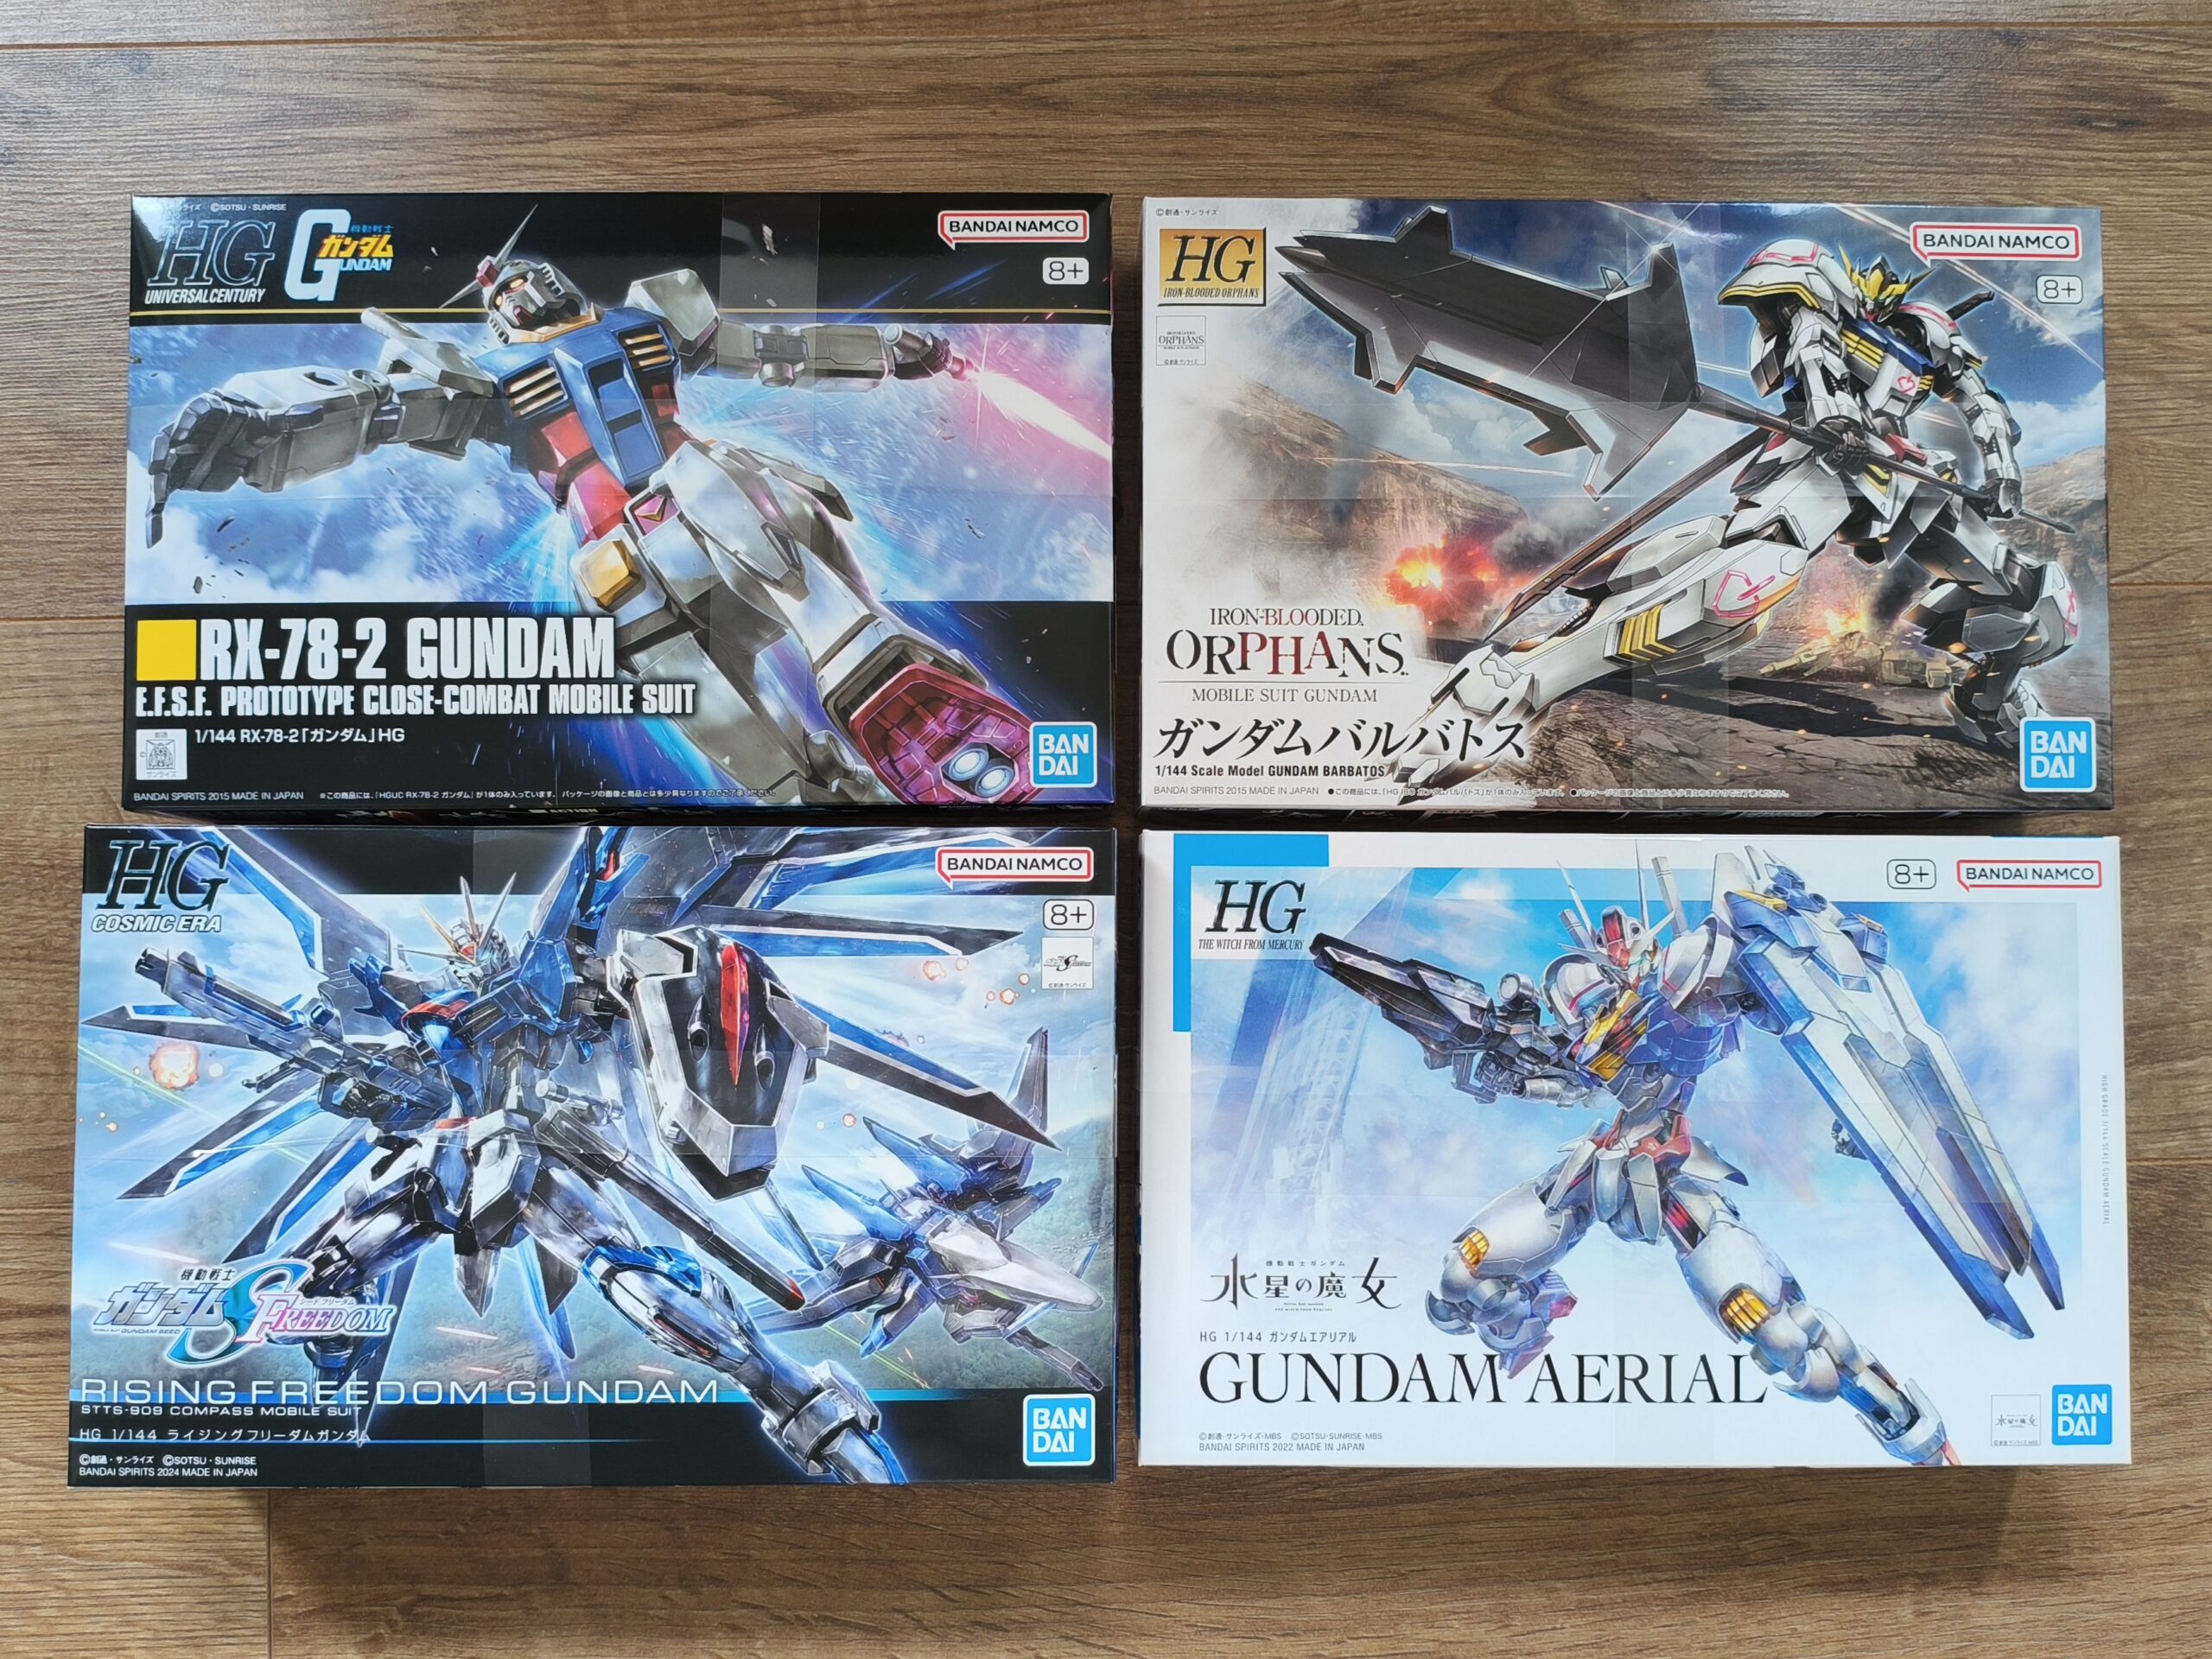
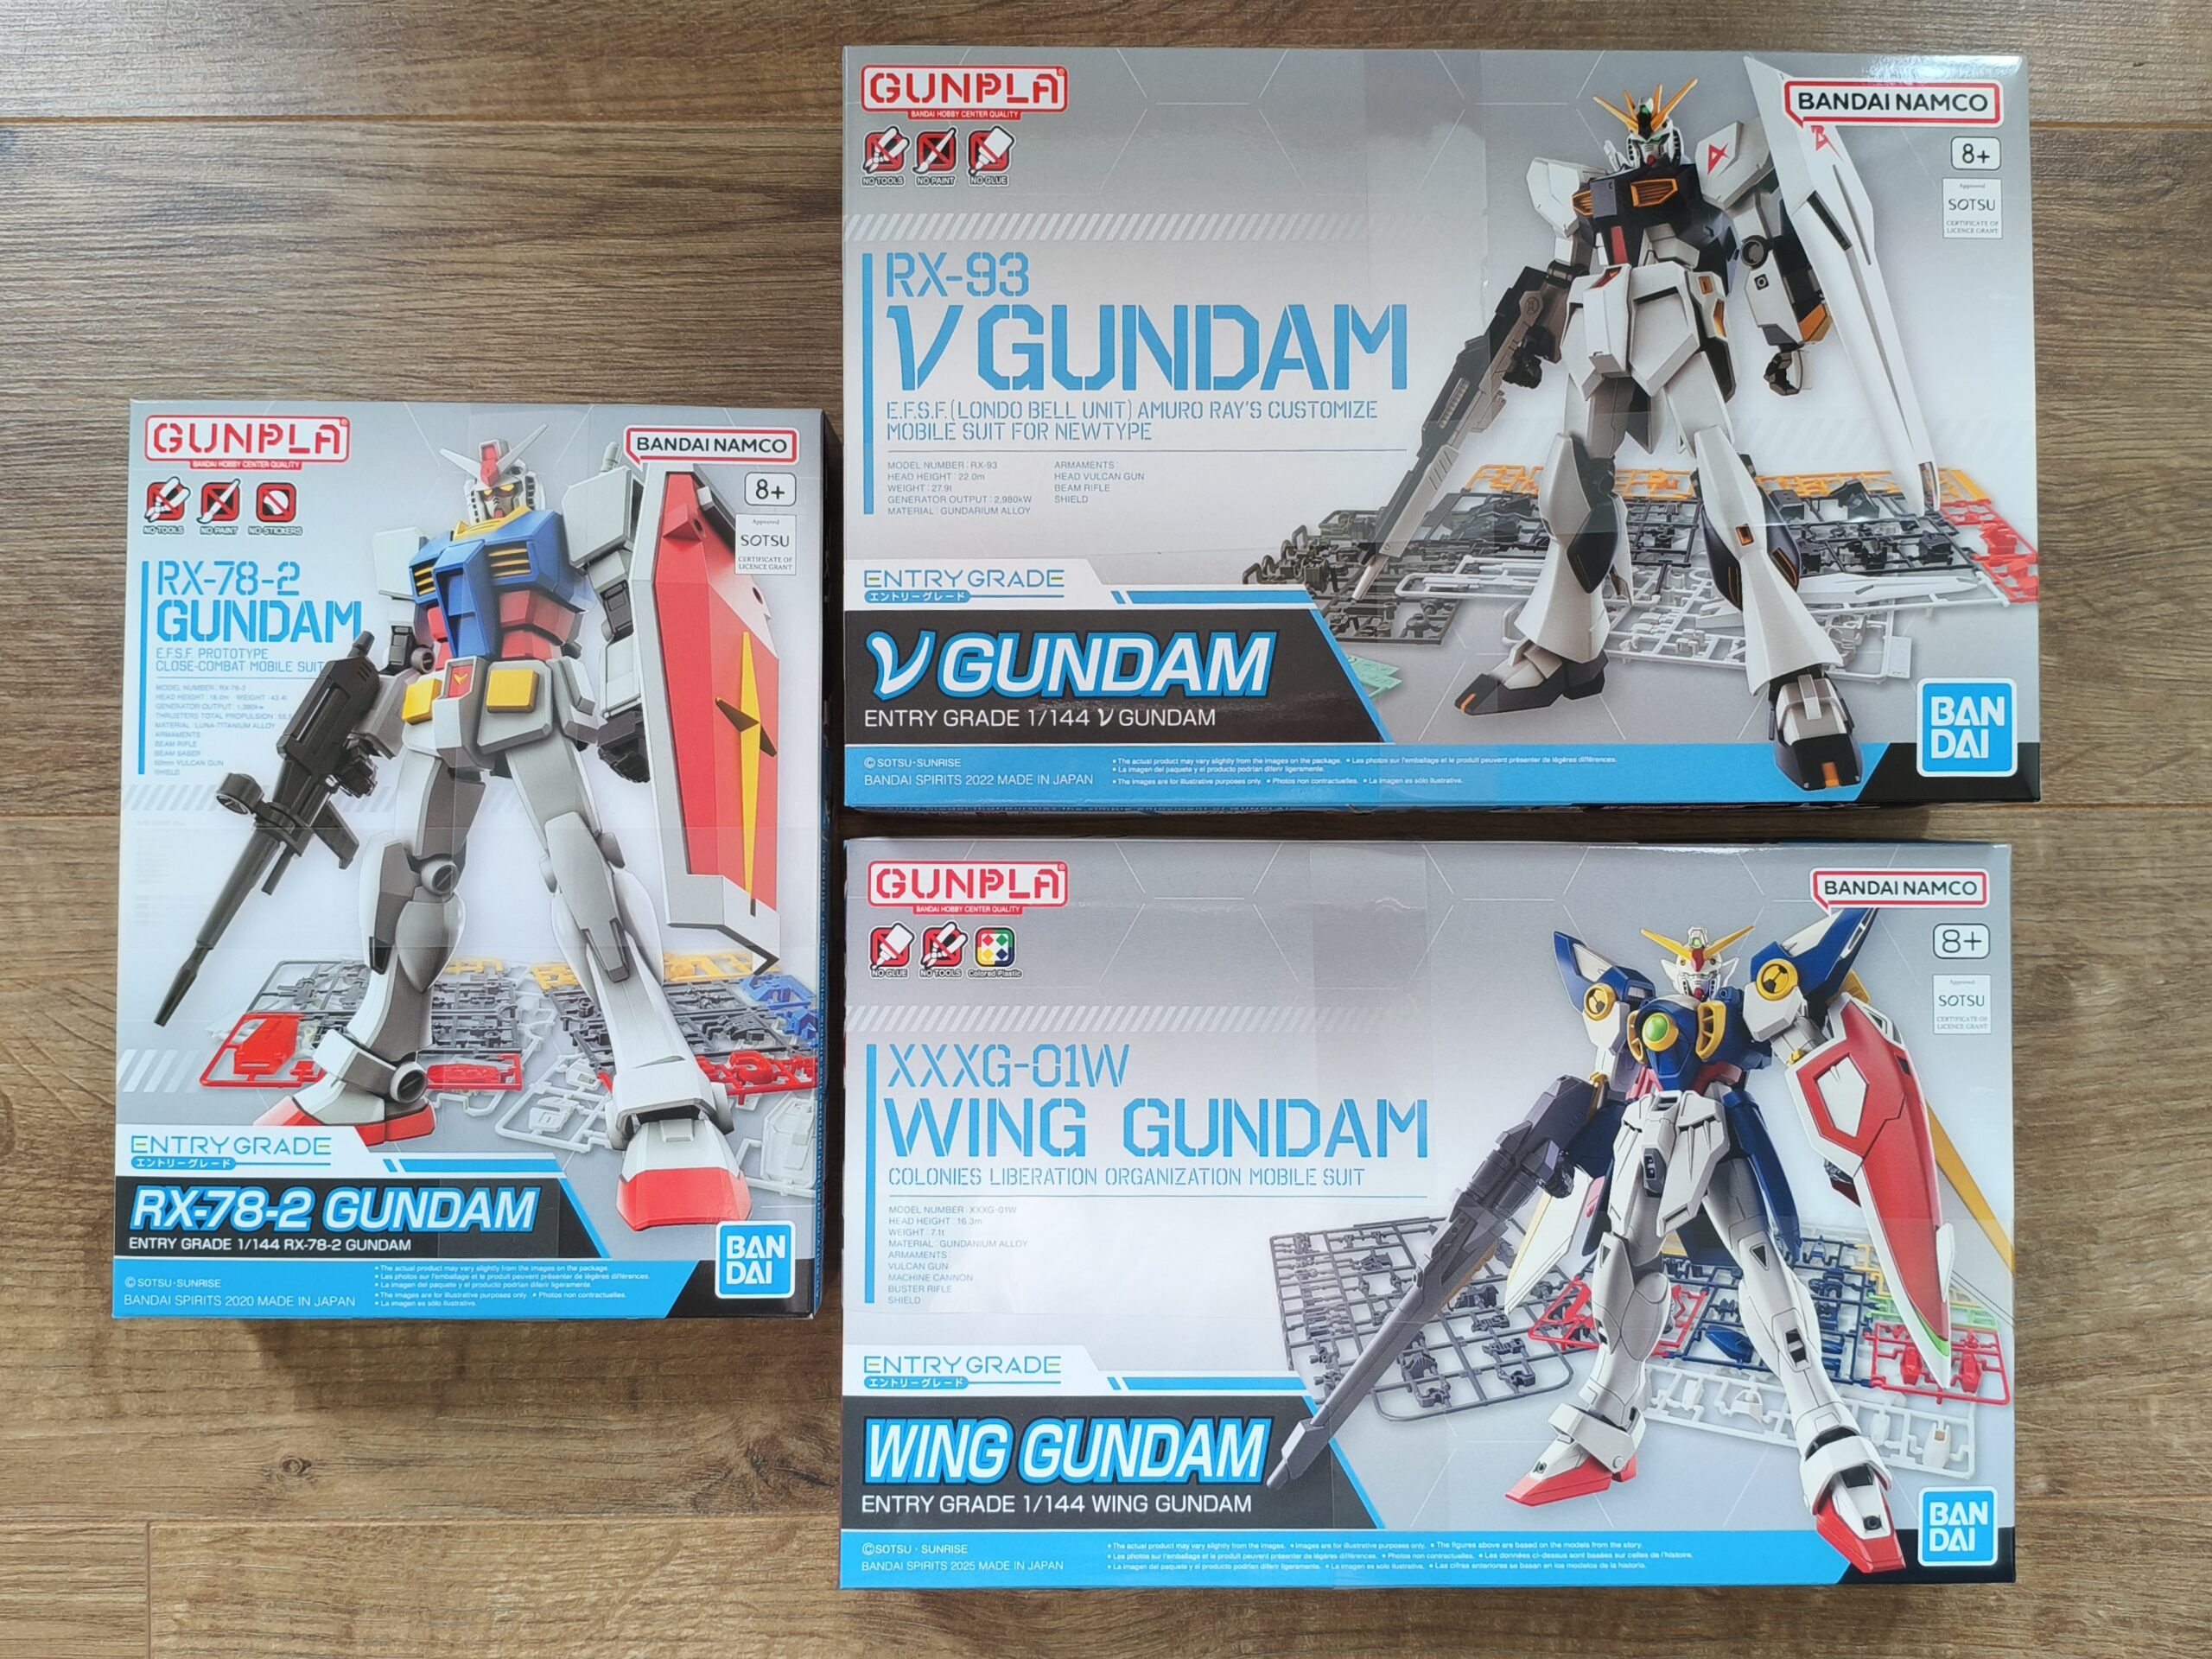
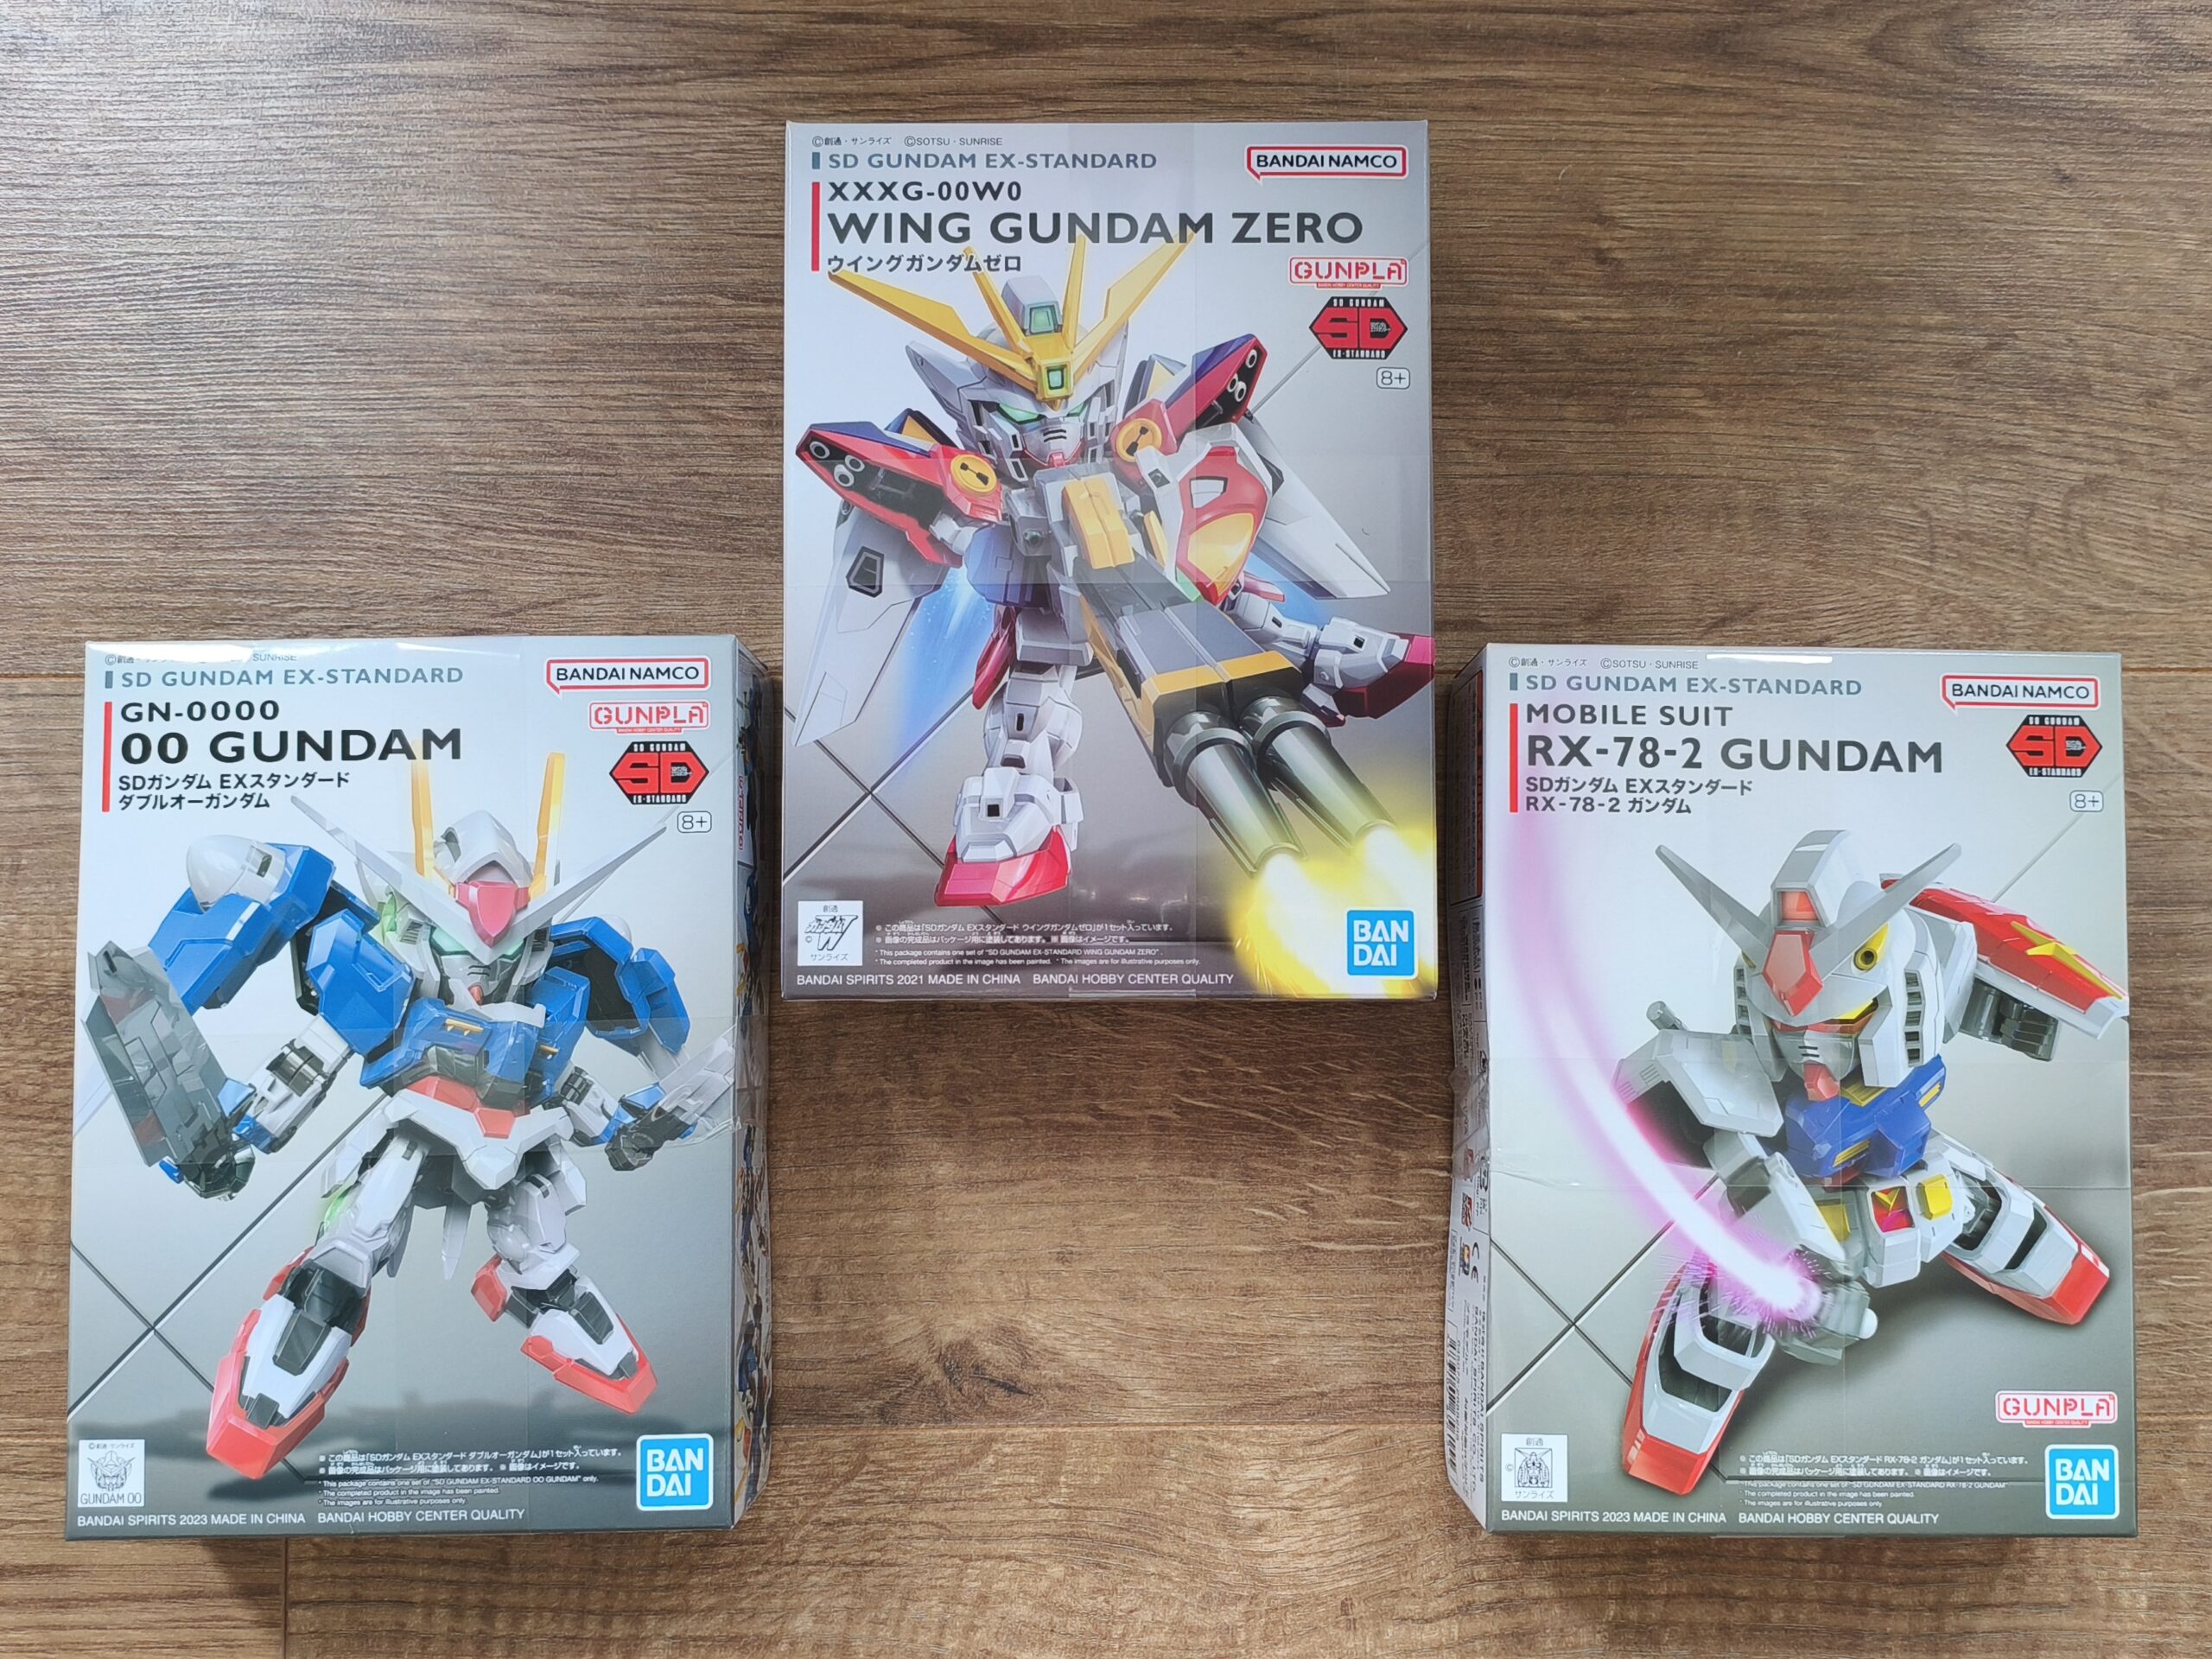
New Stock – Gundam
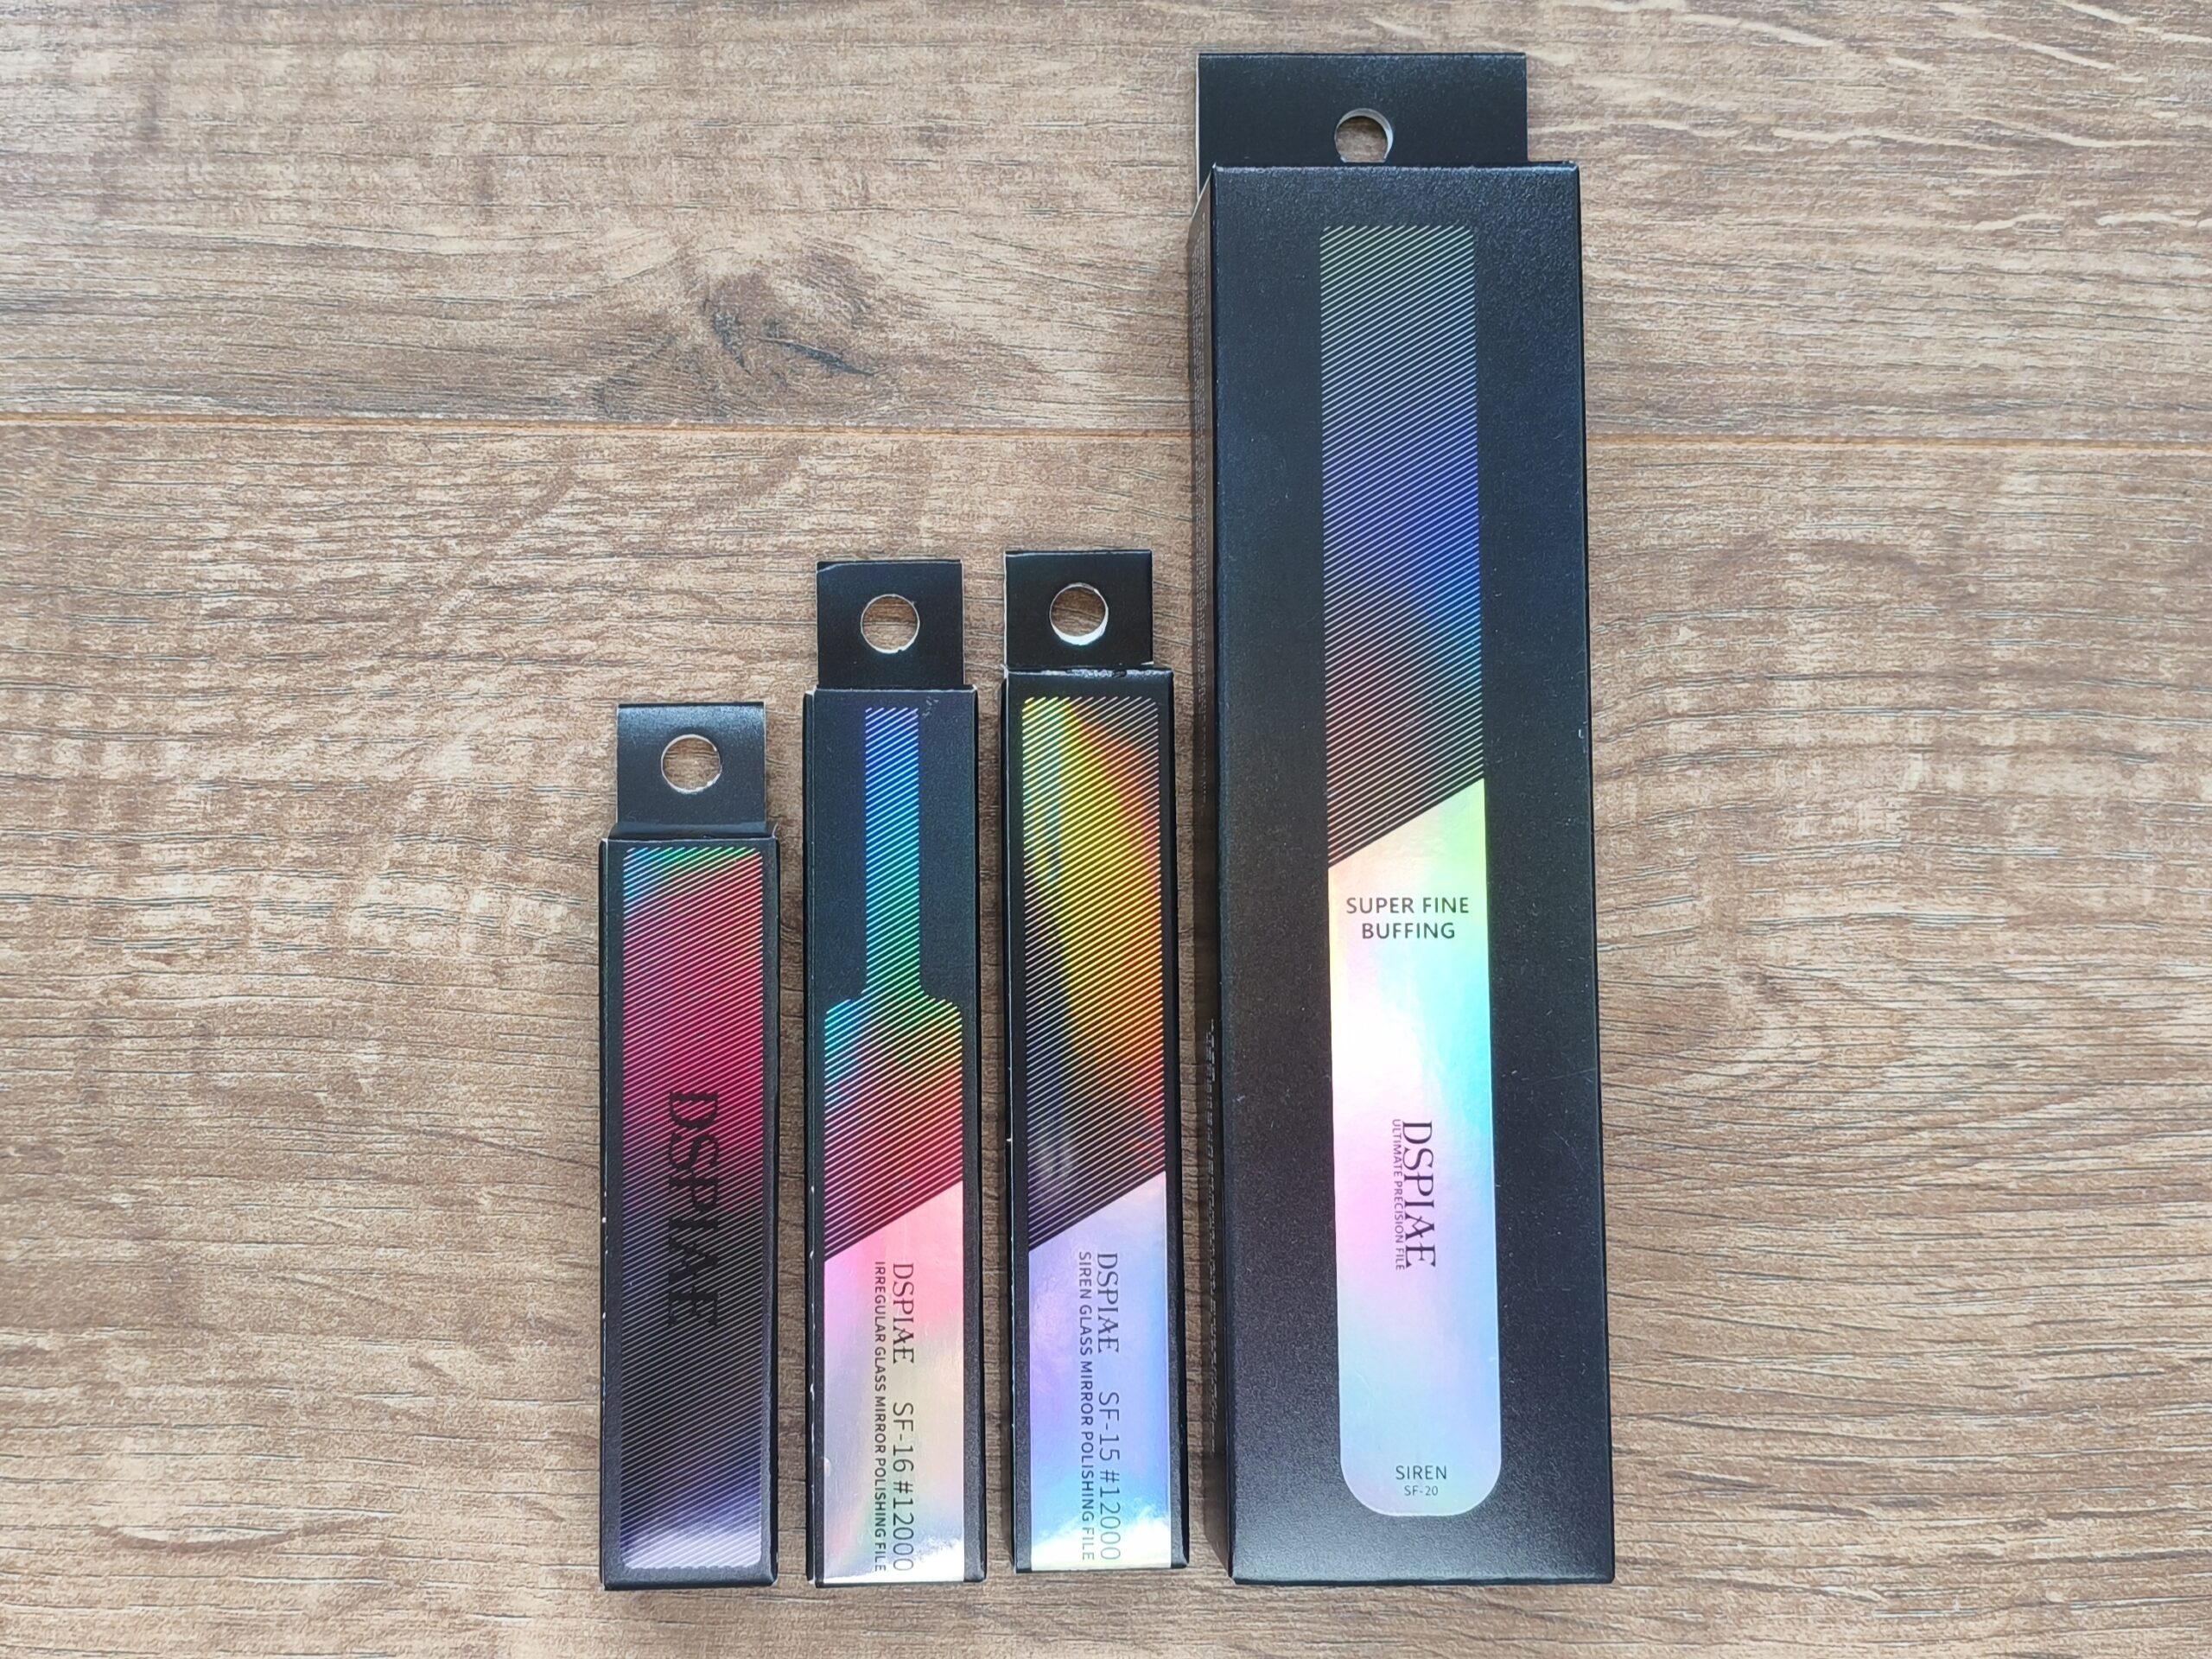
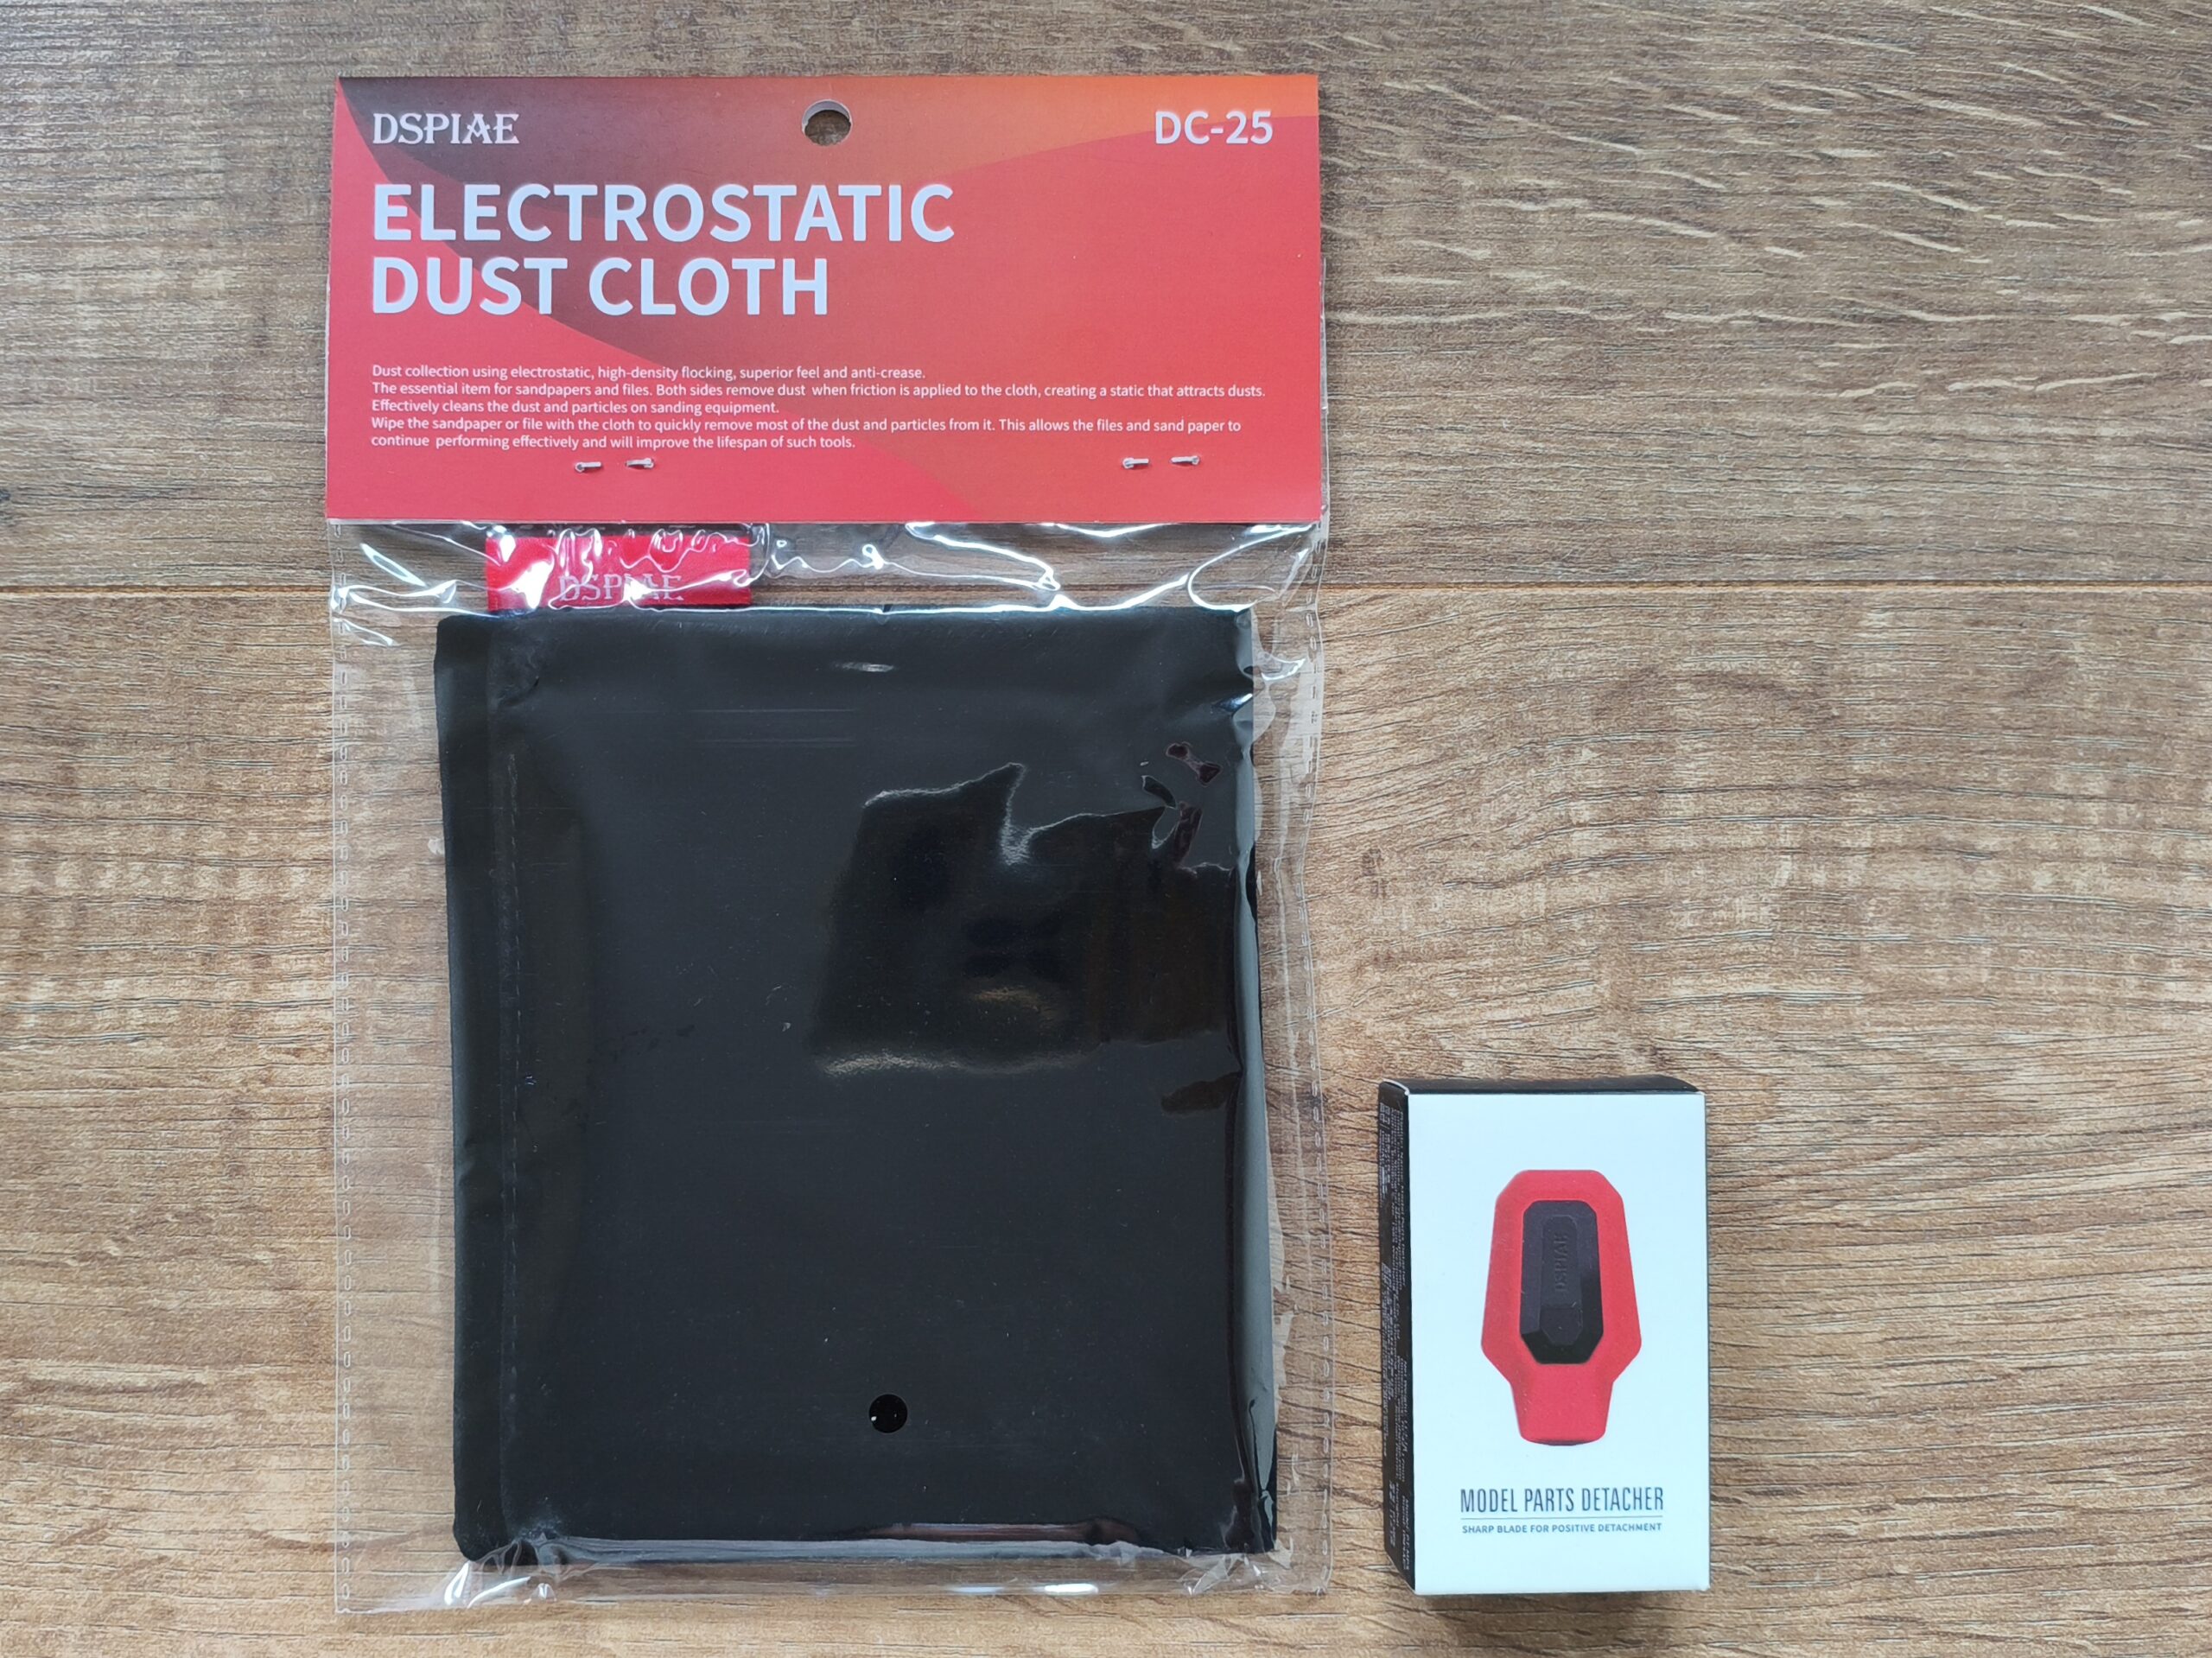
New Stock – Modelling Accessories
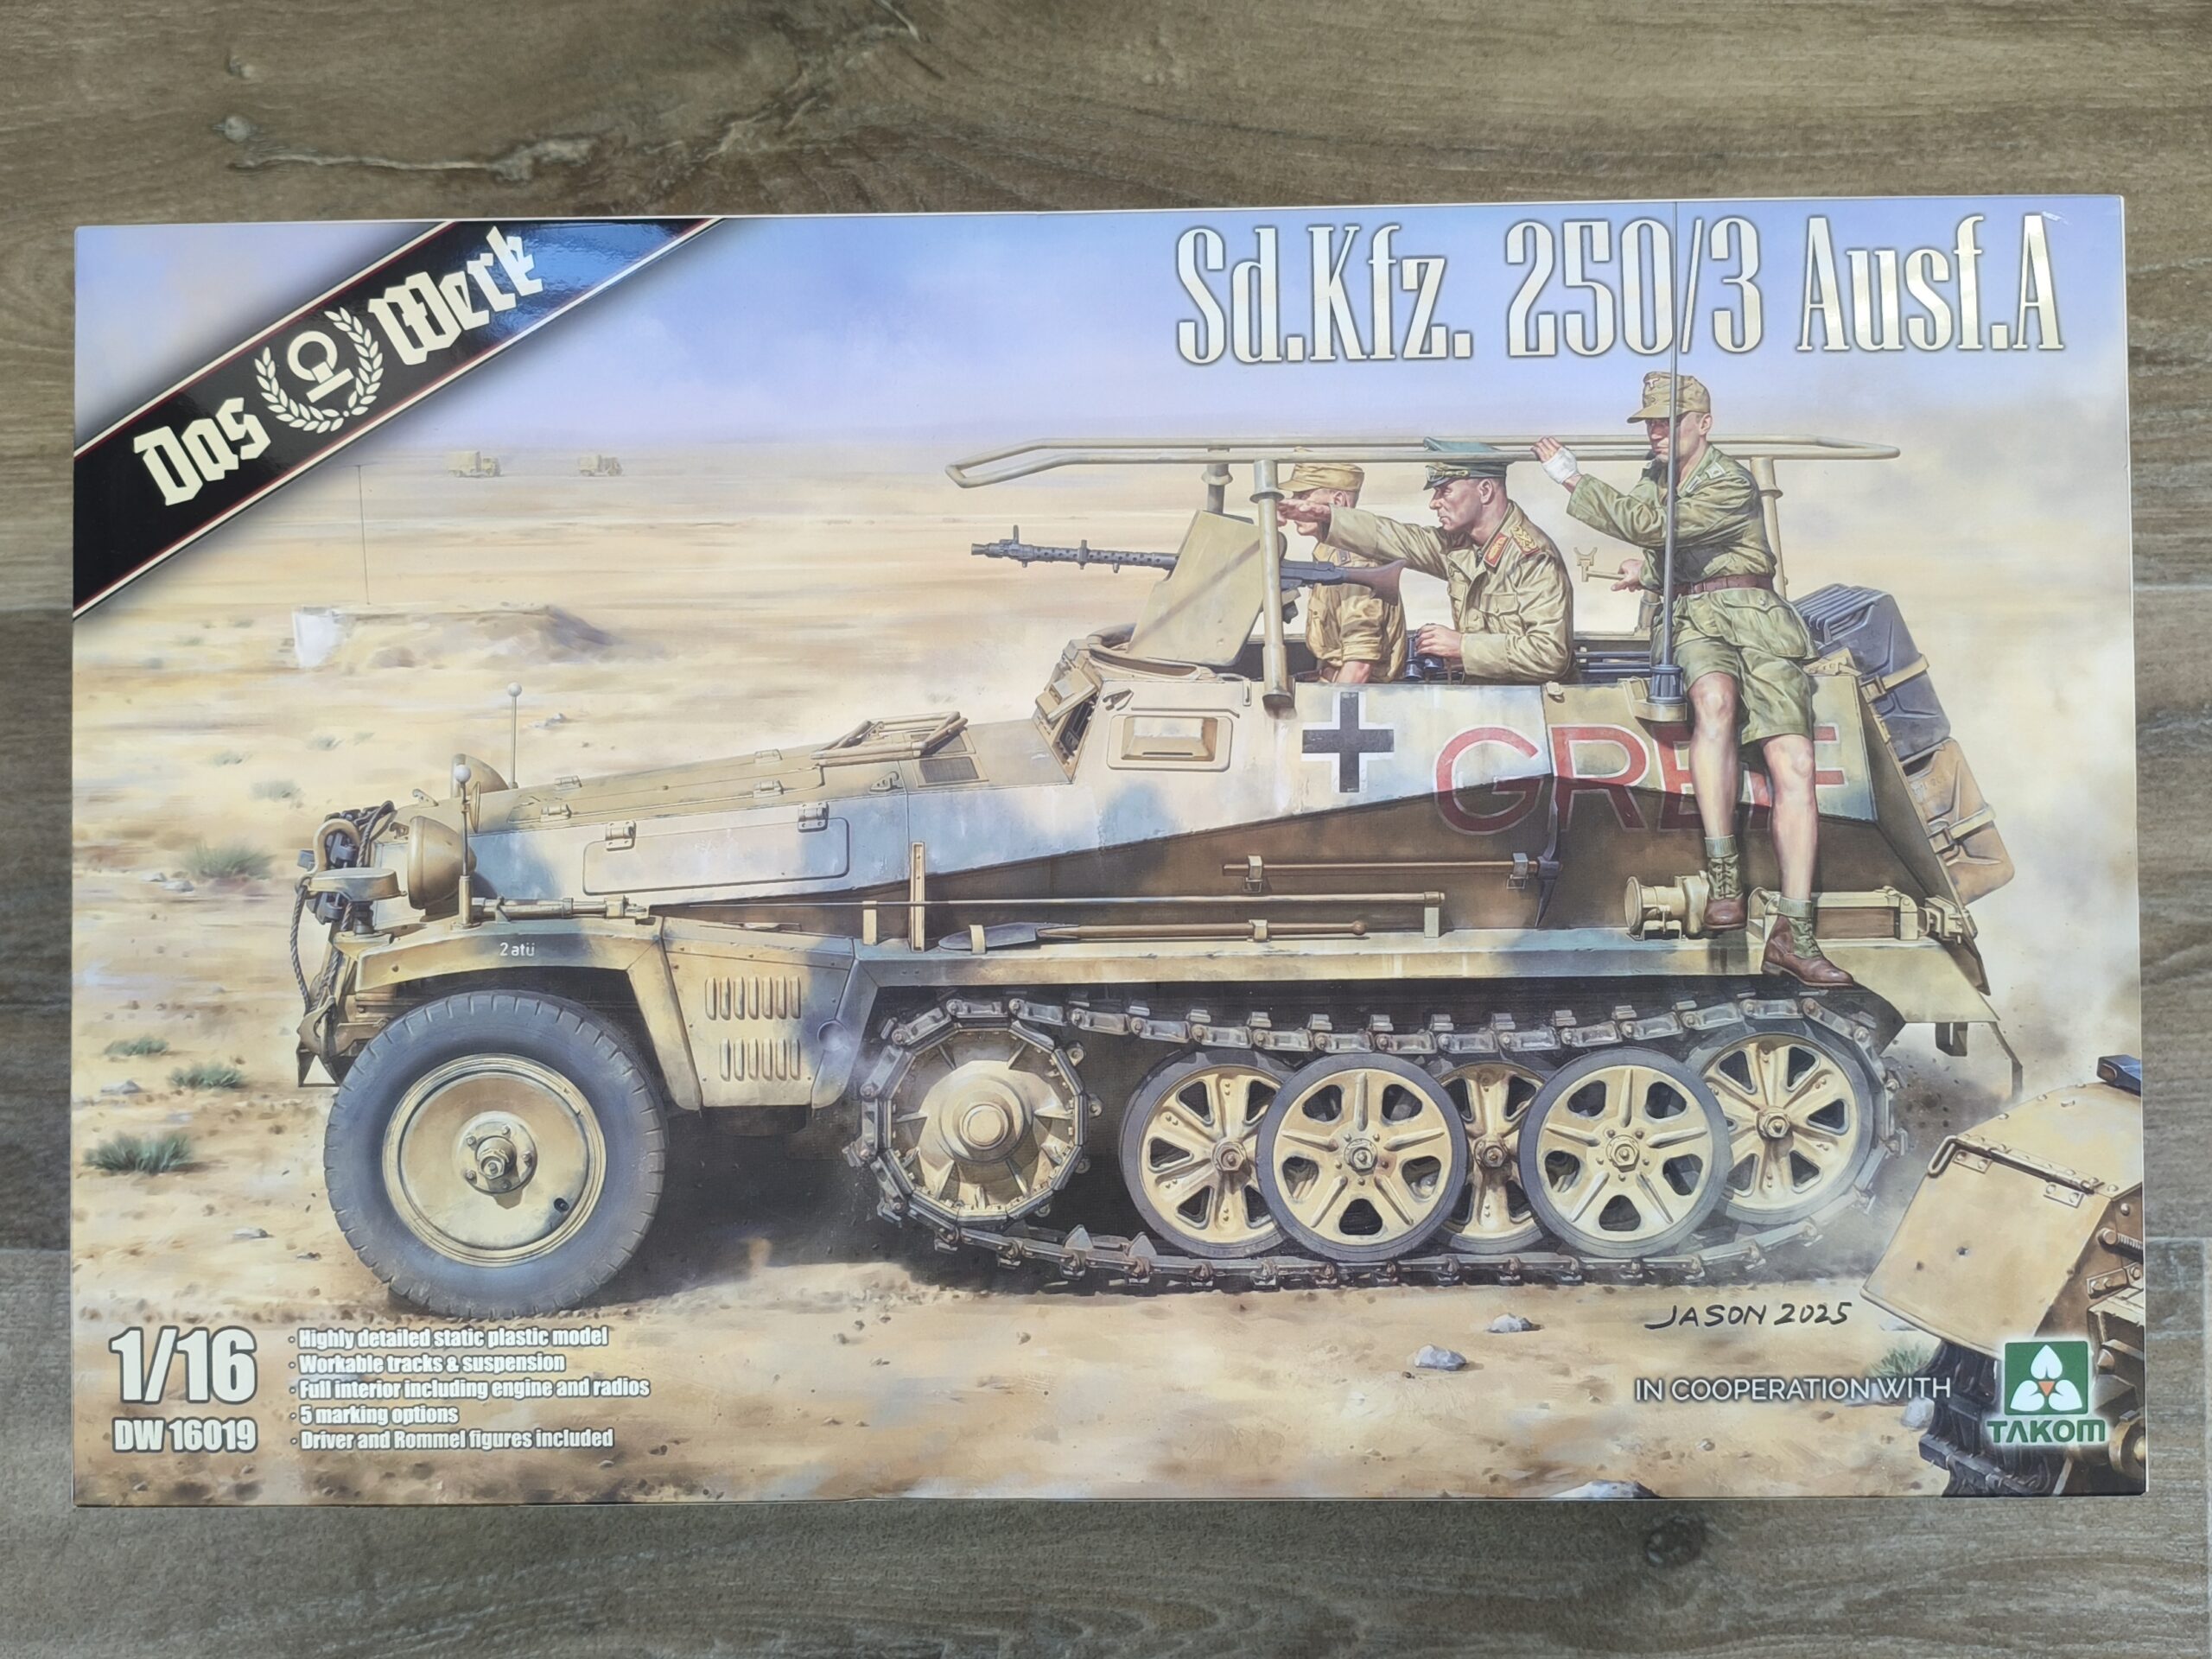
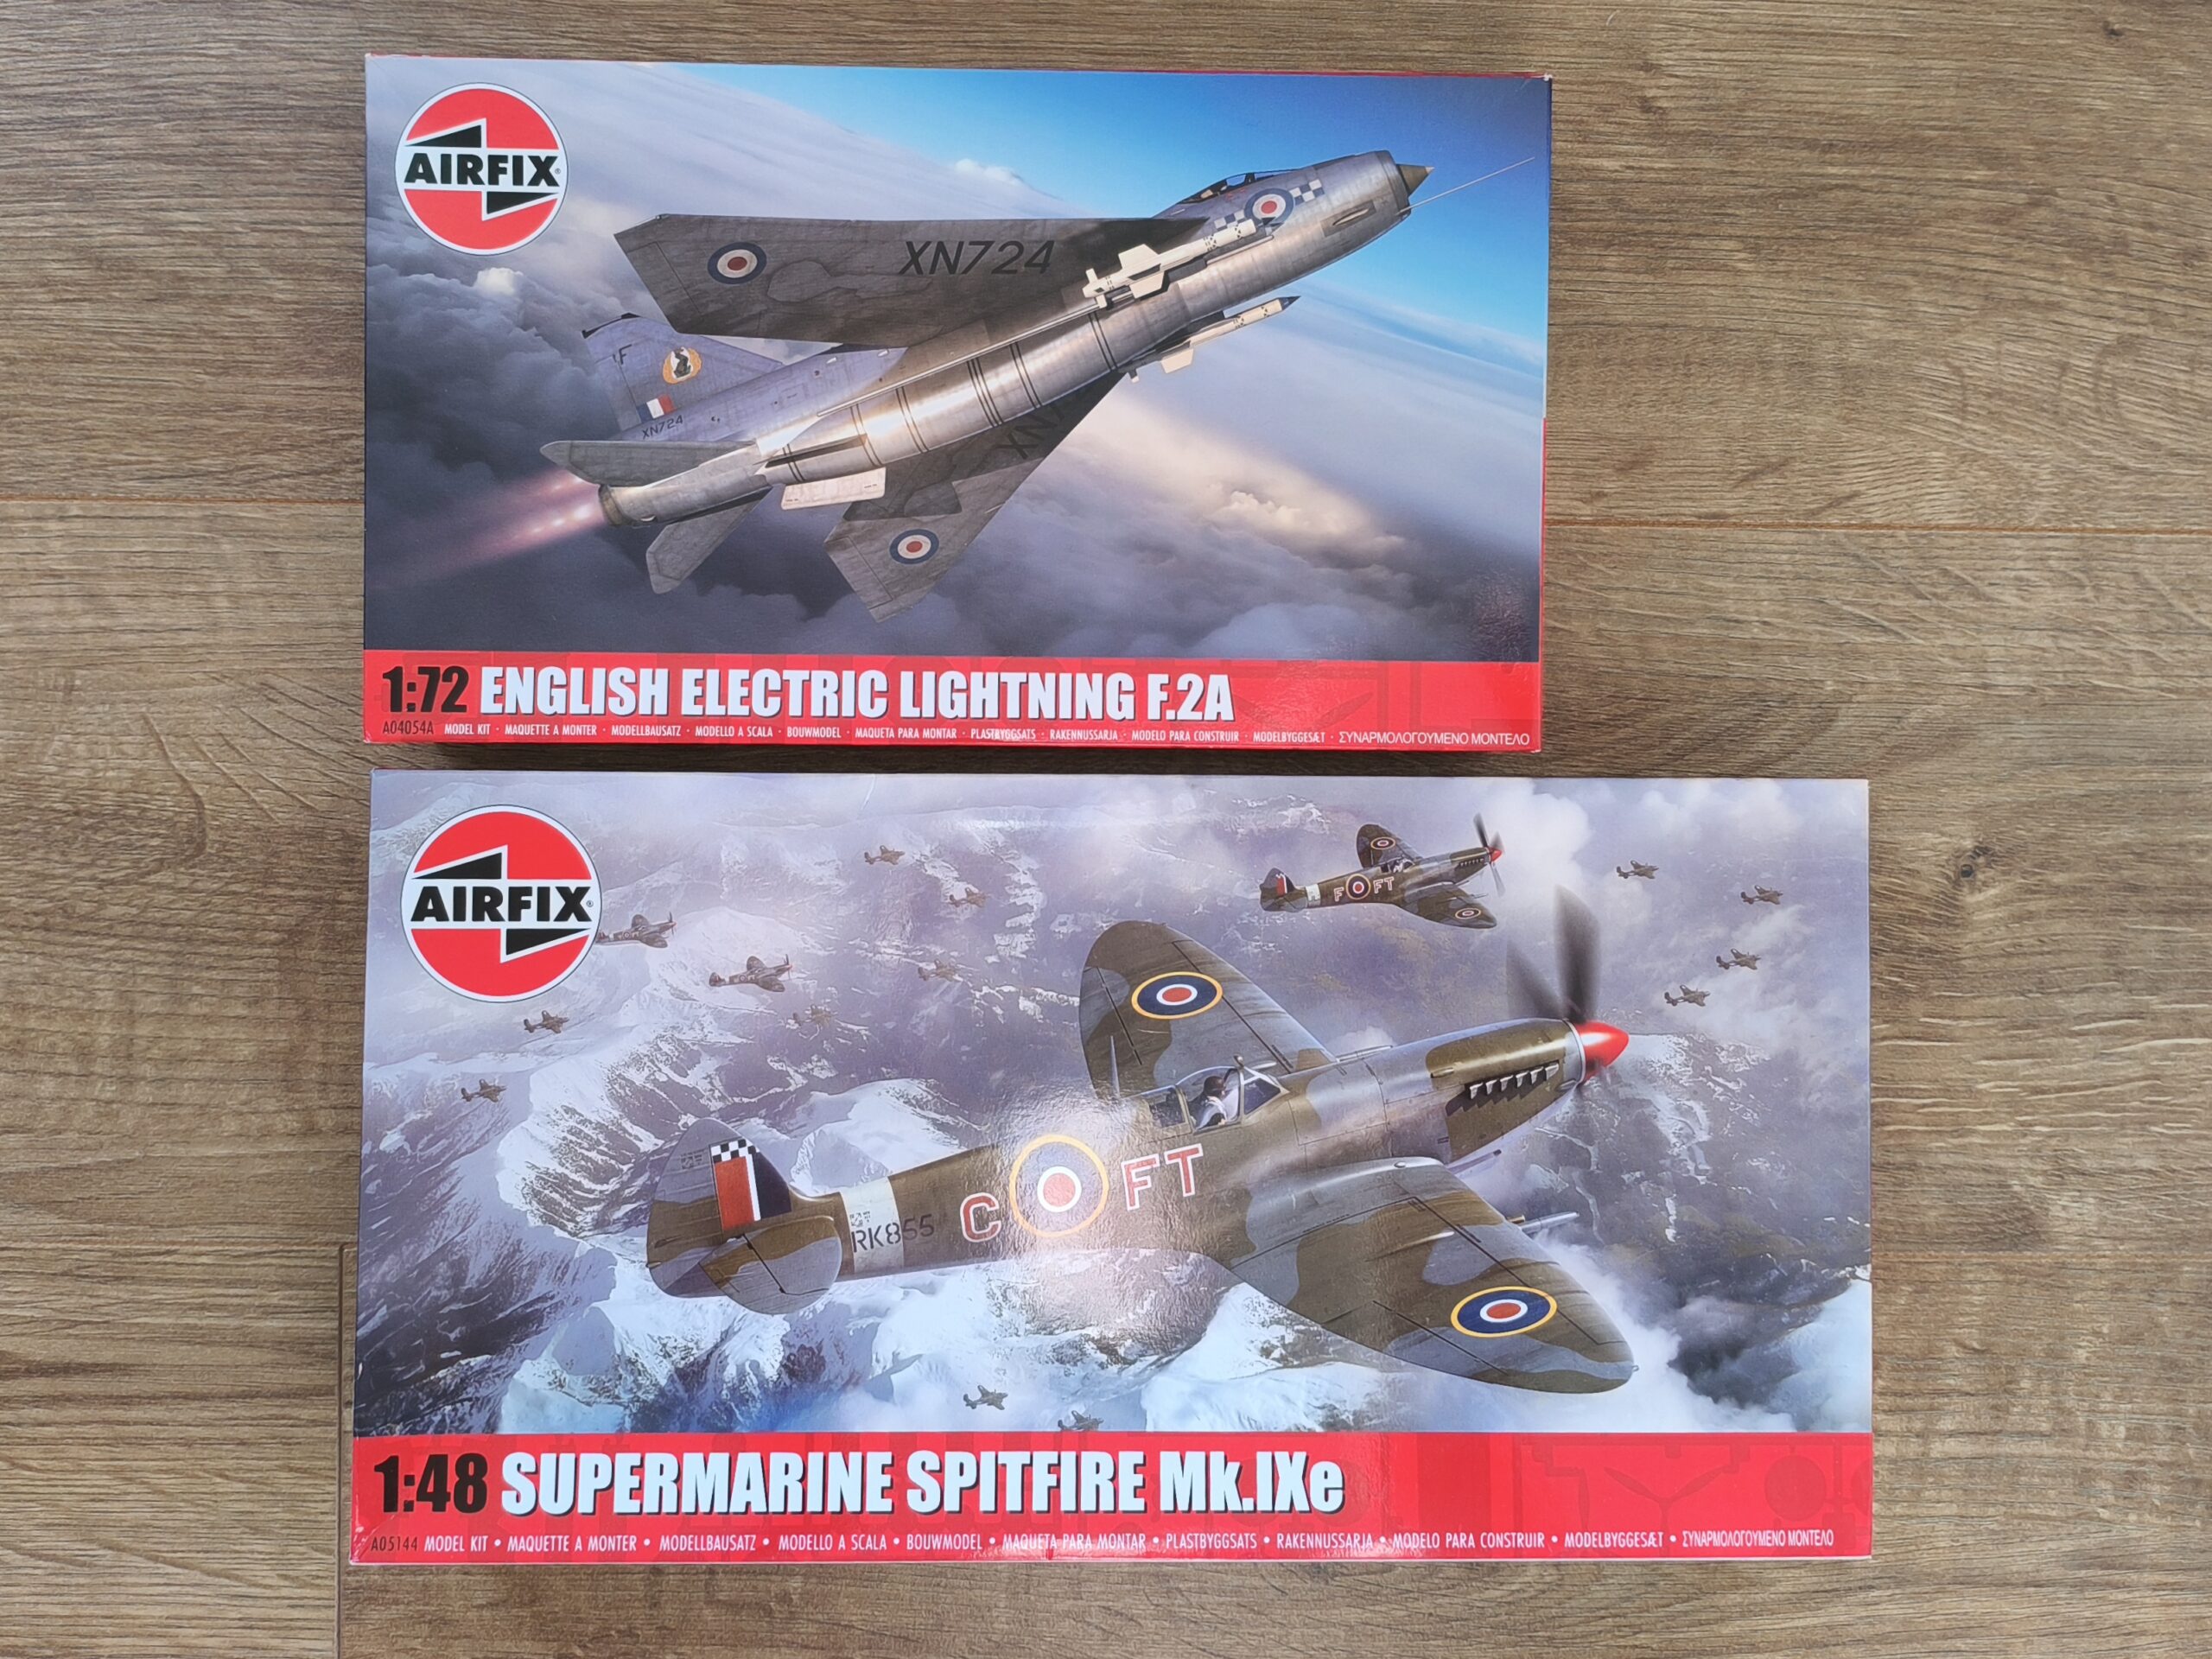
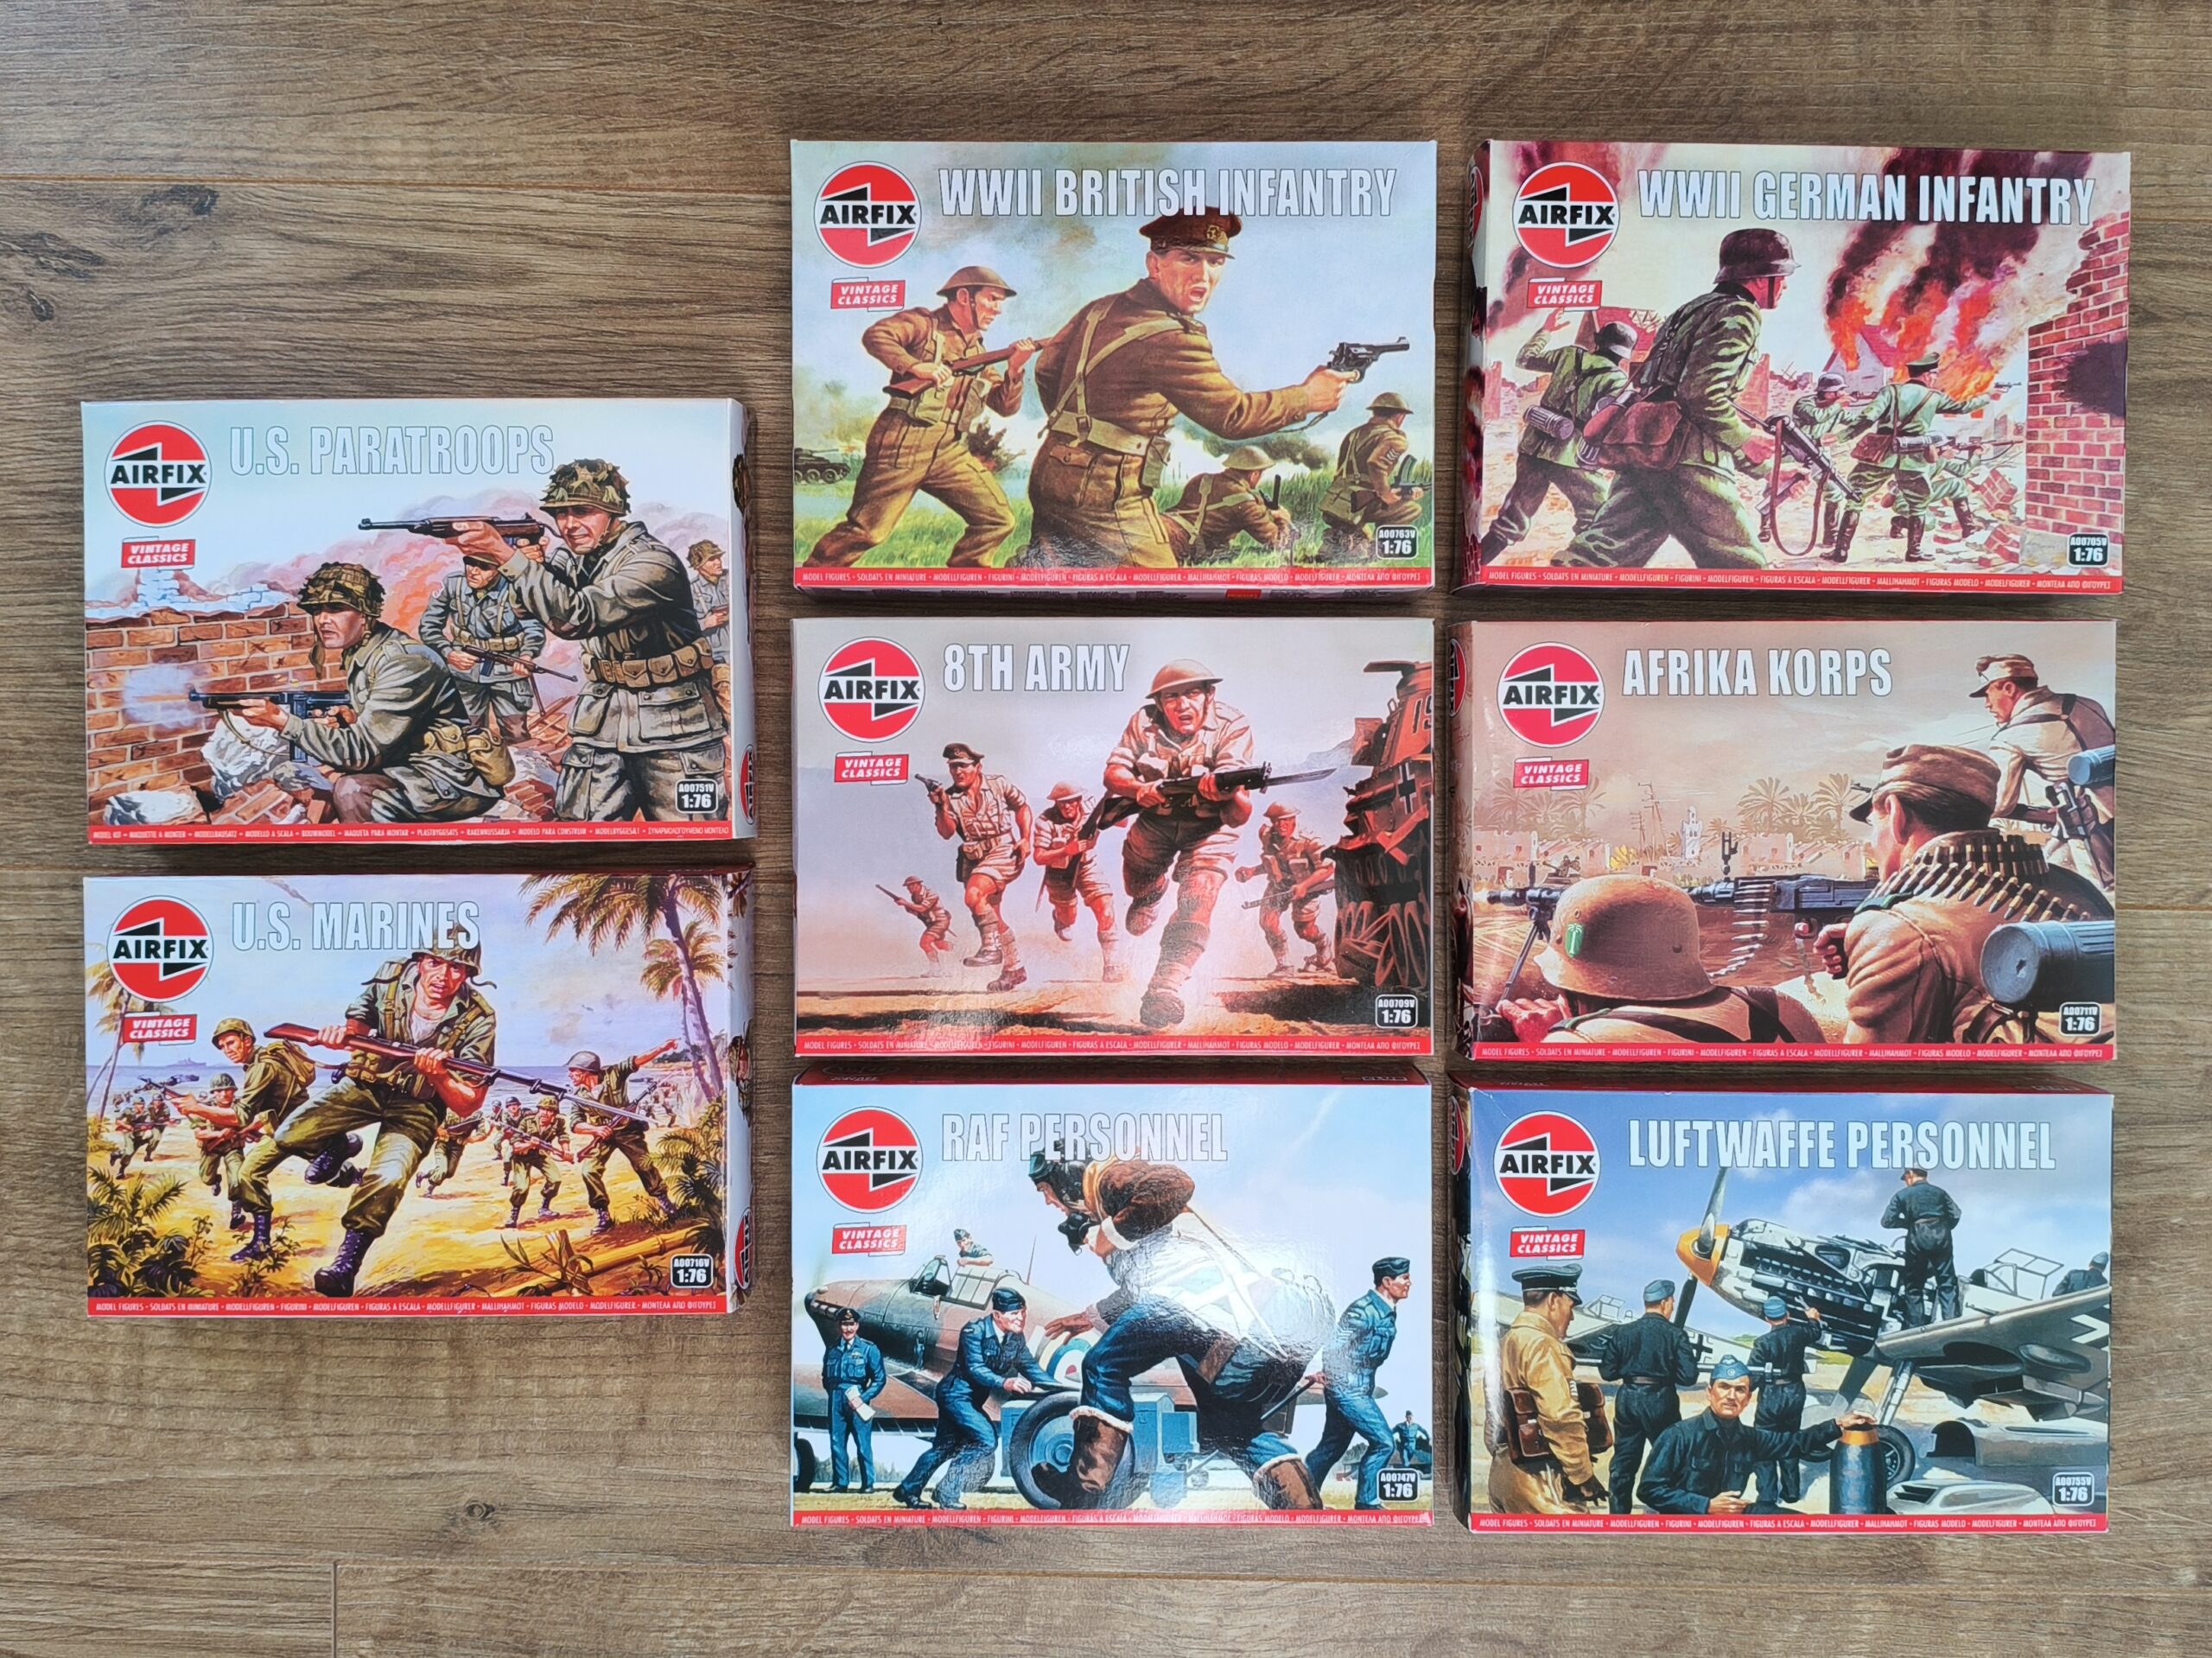
New Stock – Das Werk and Airfix
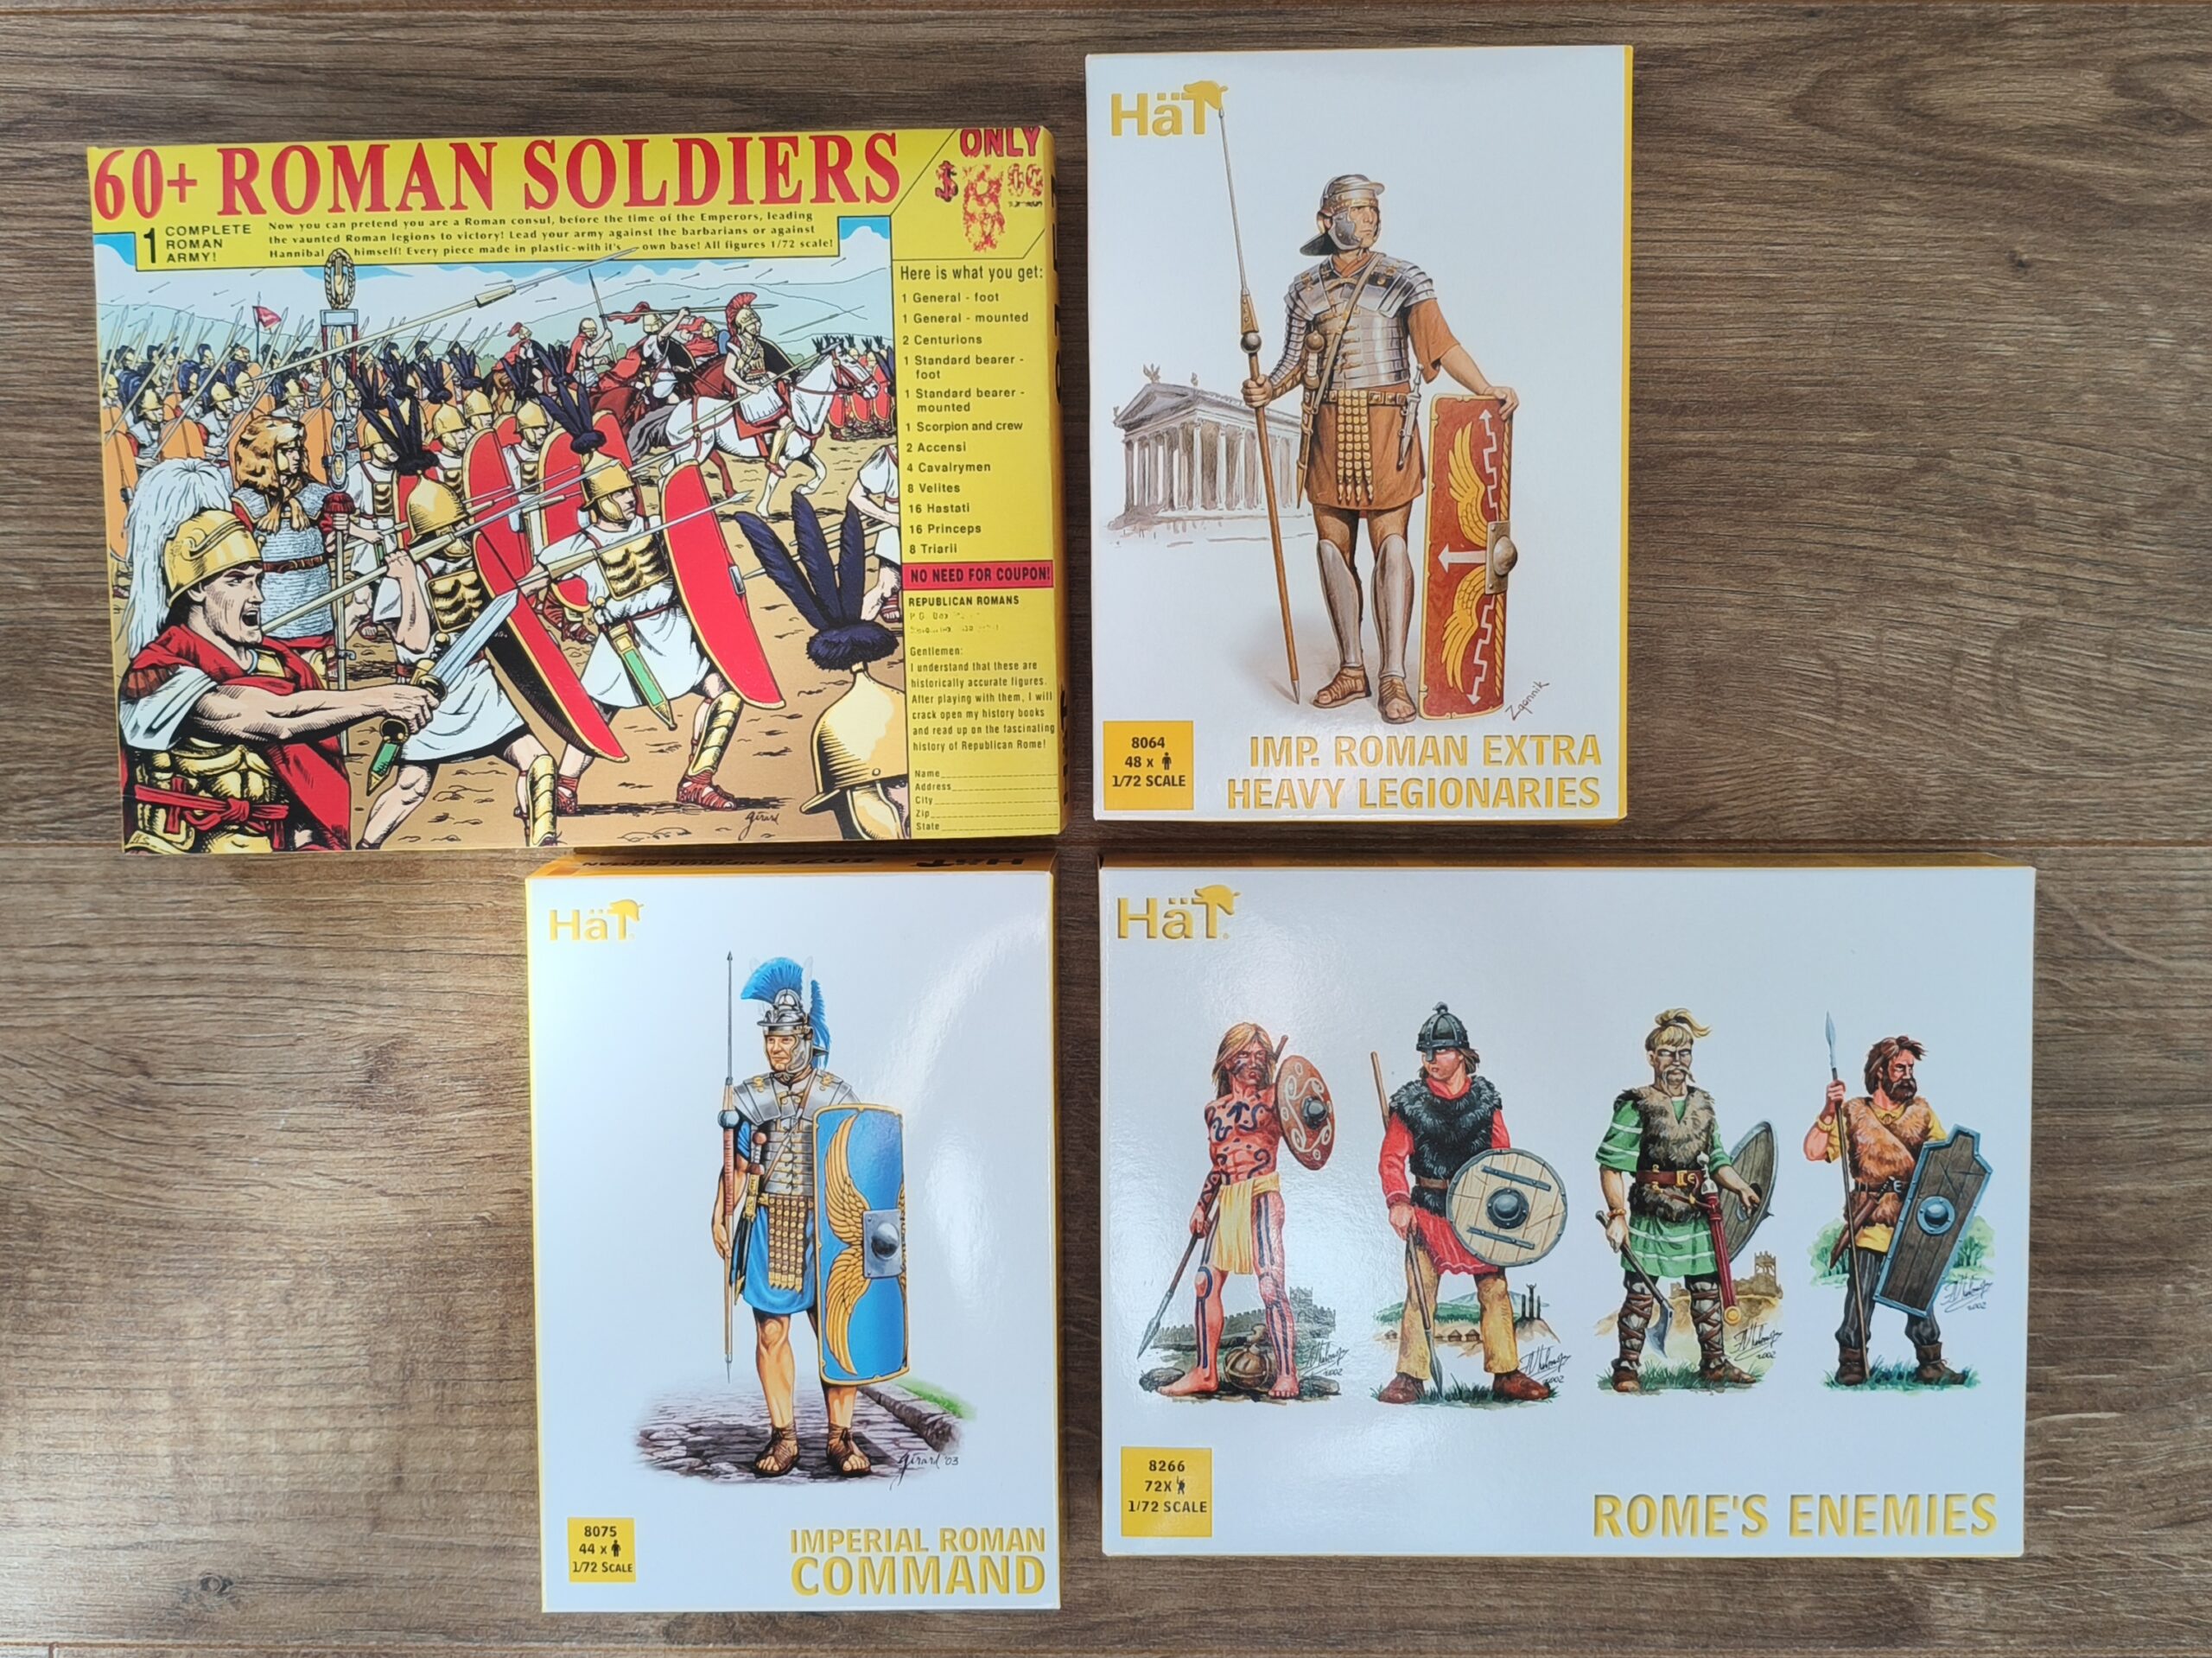
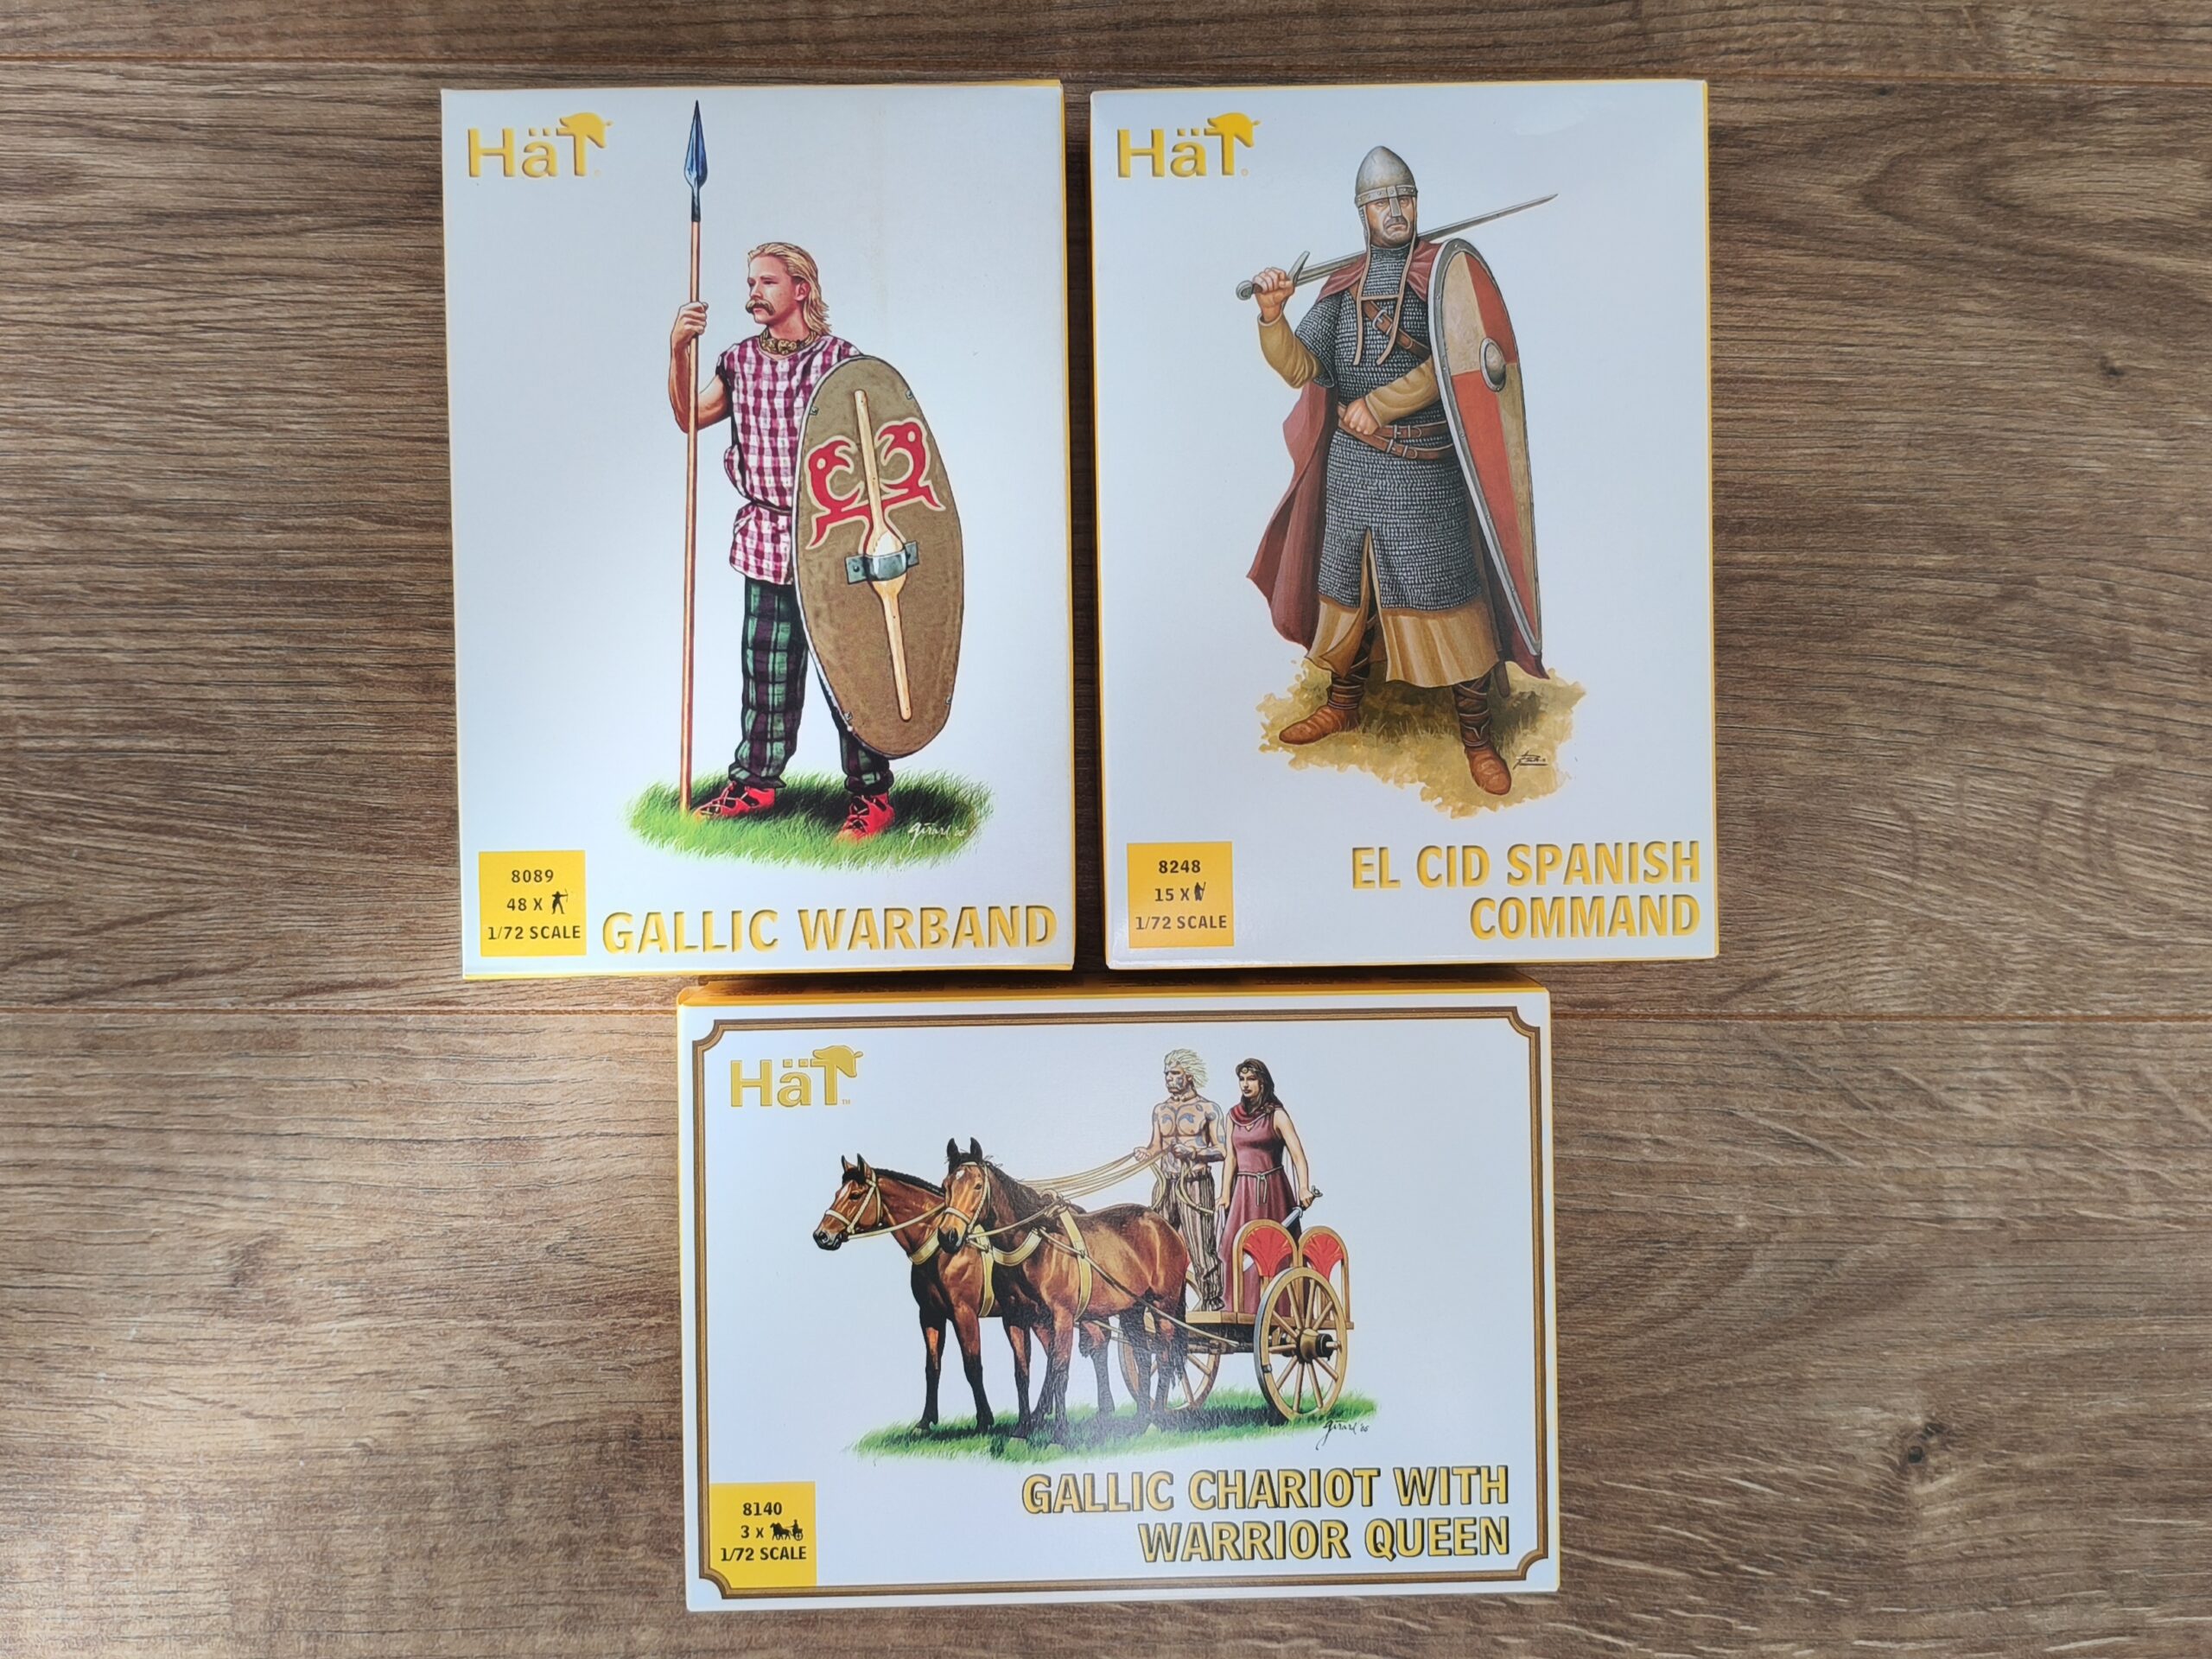
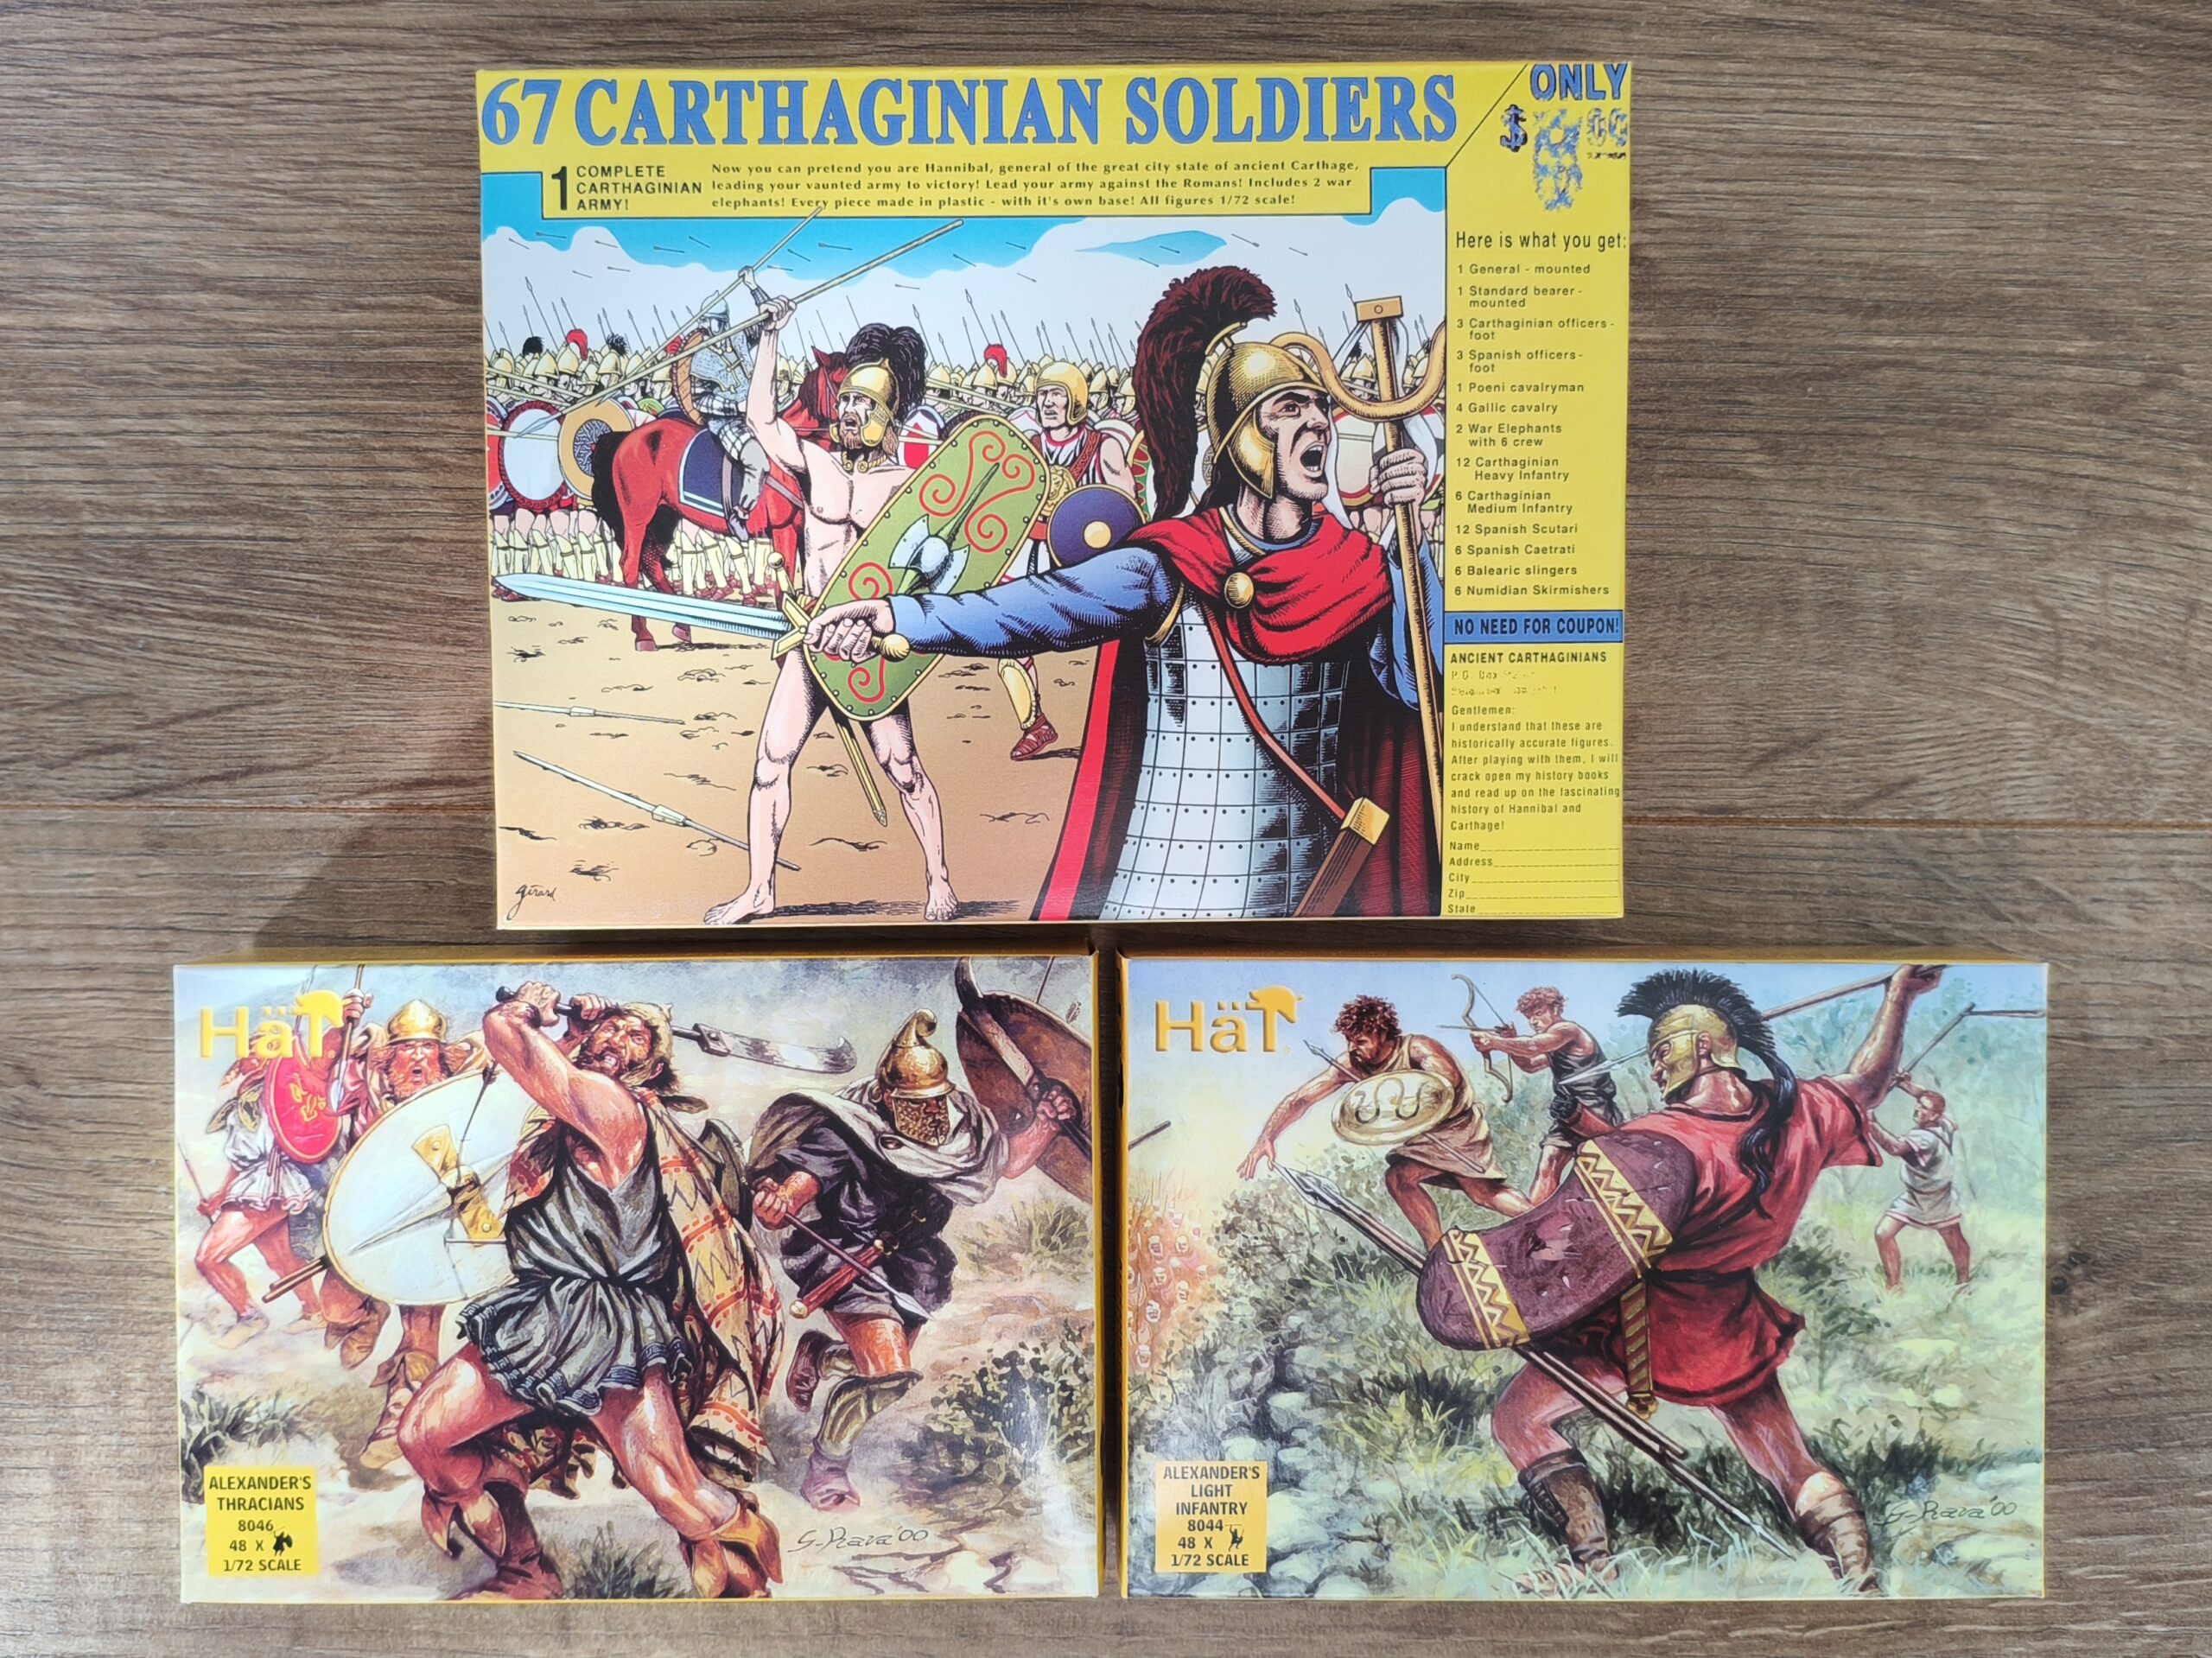
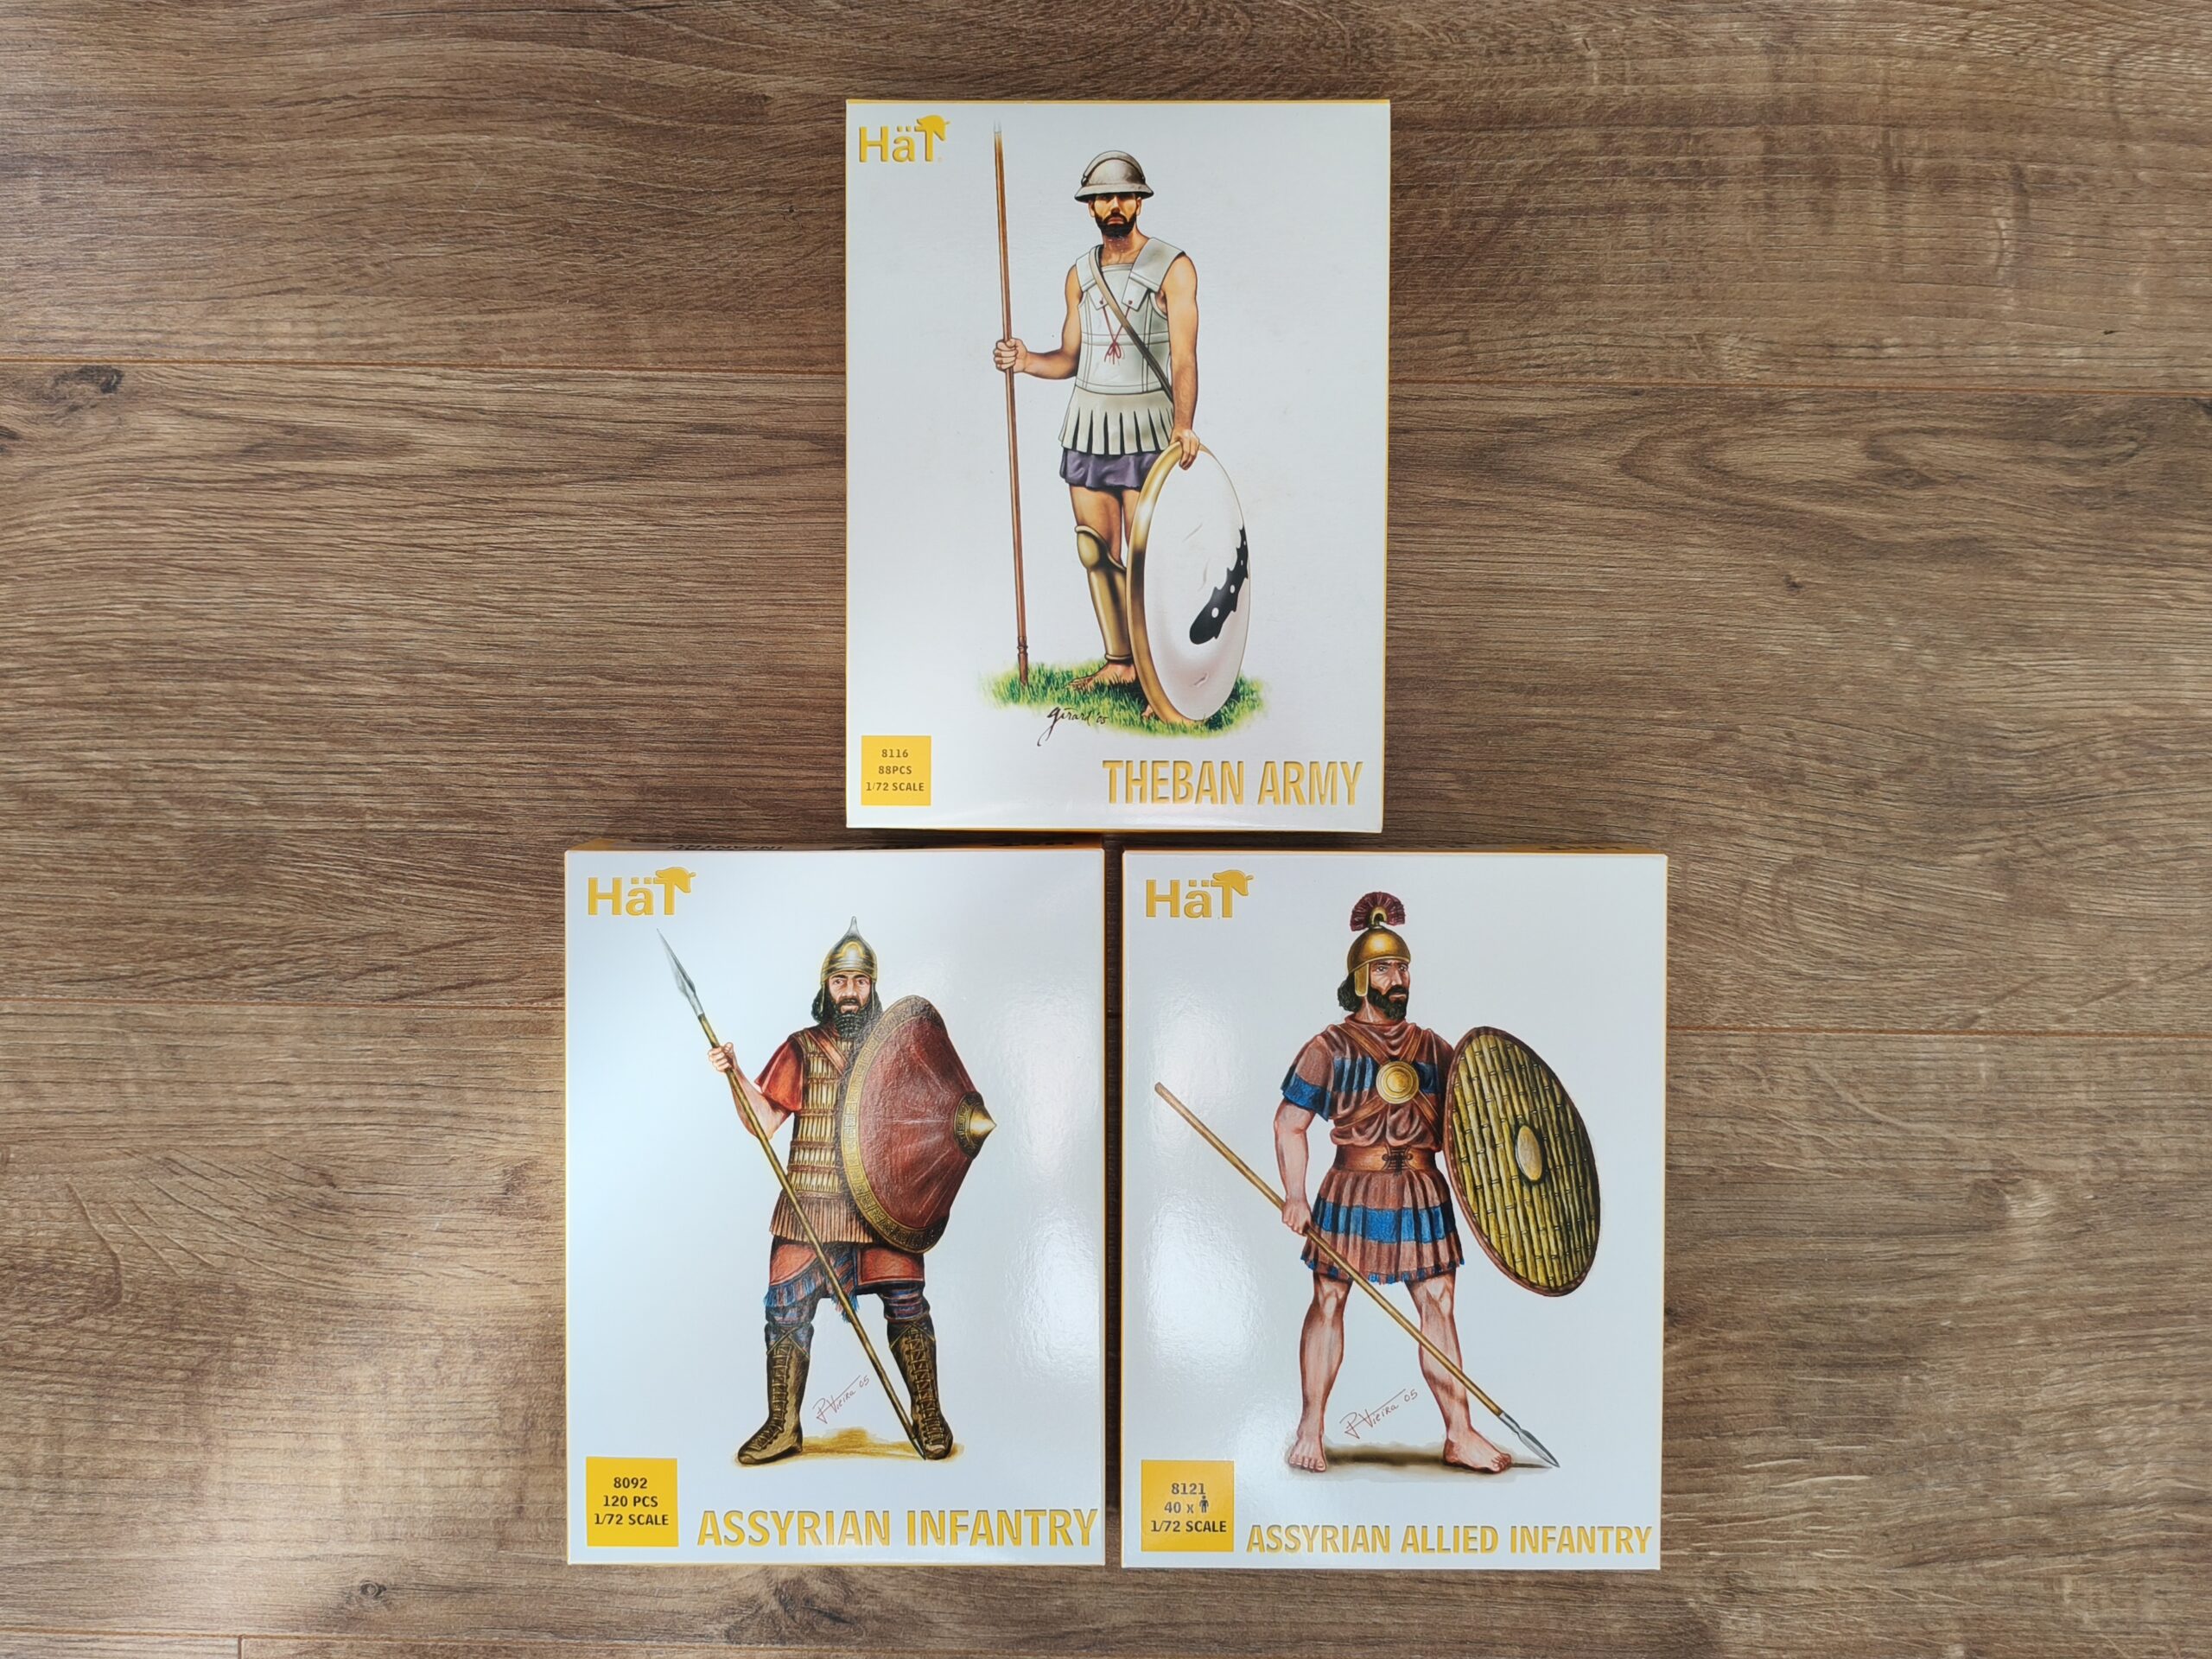
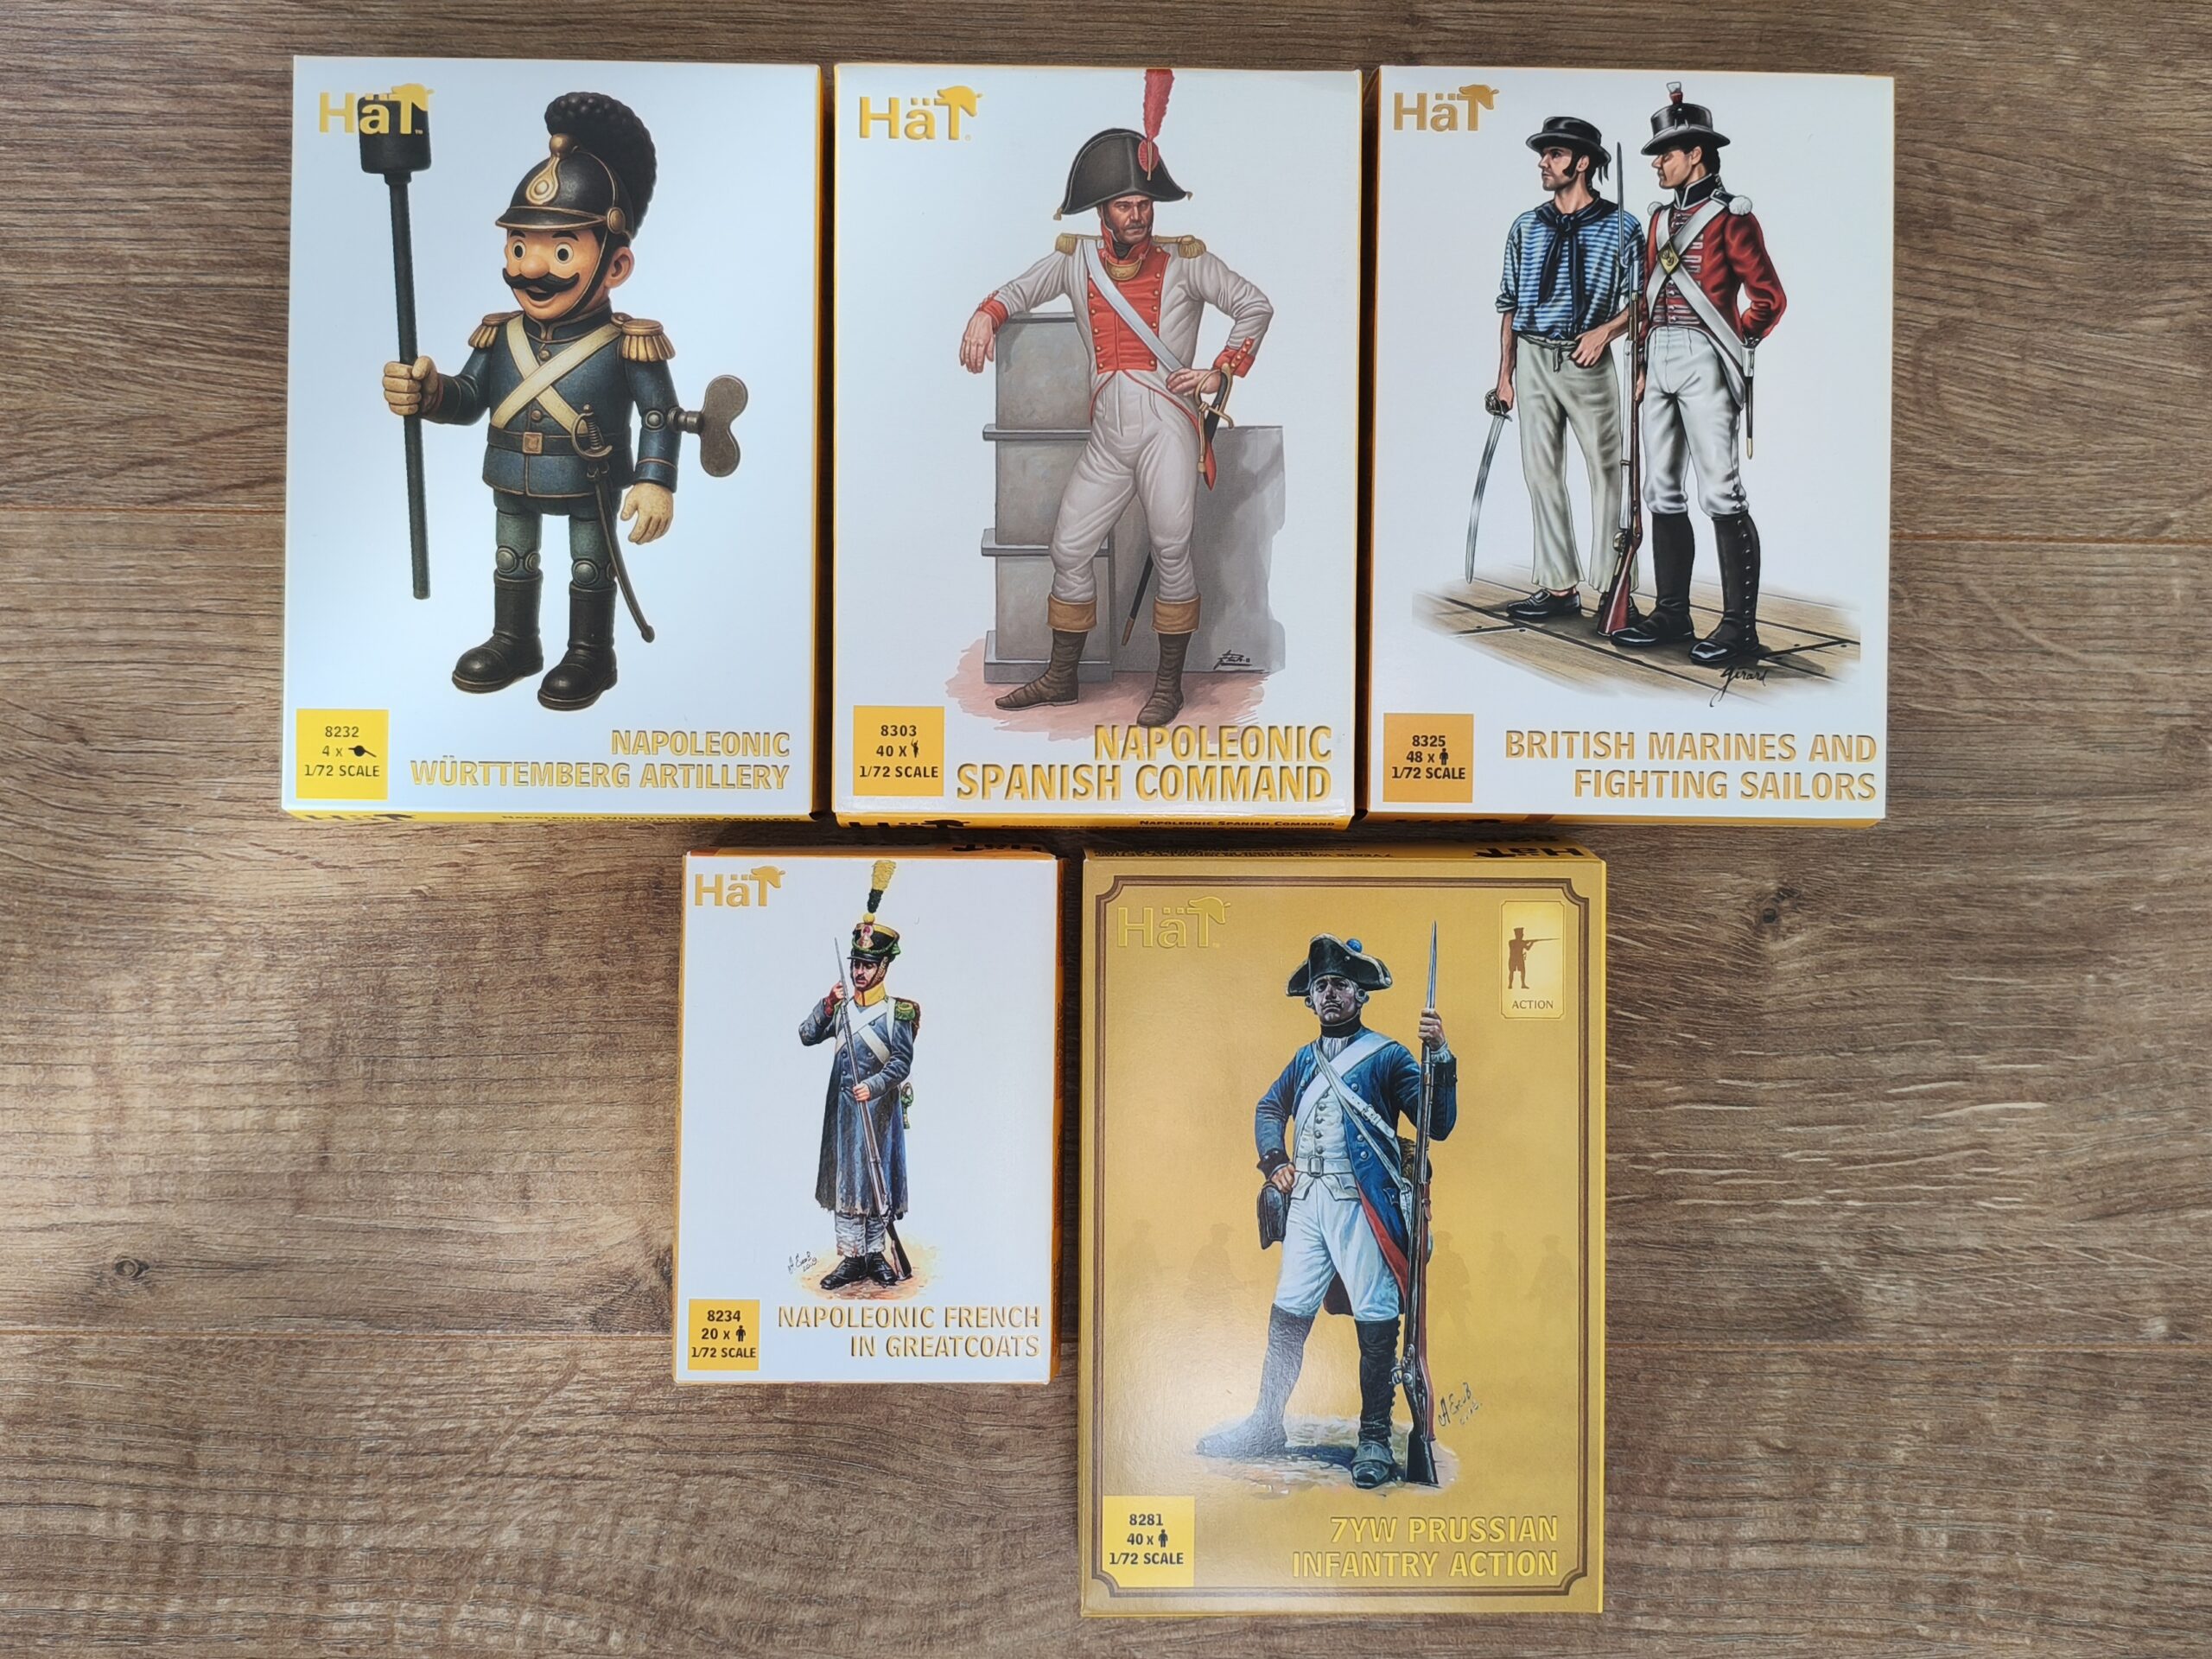
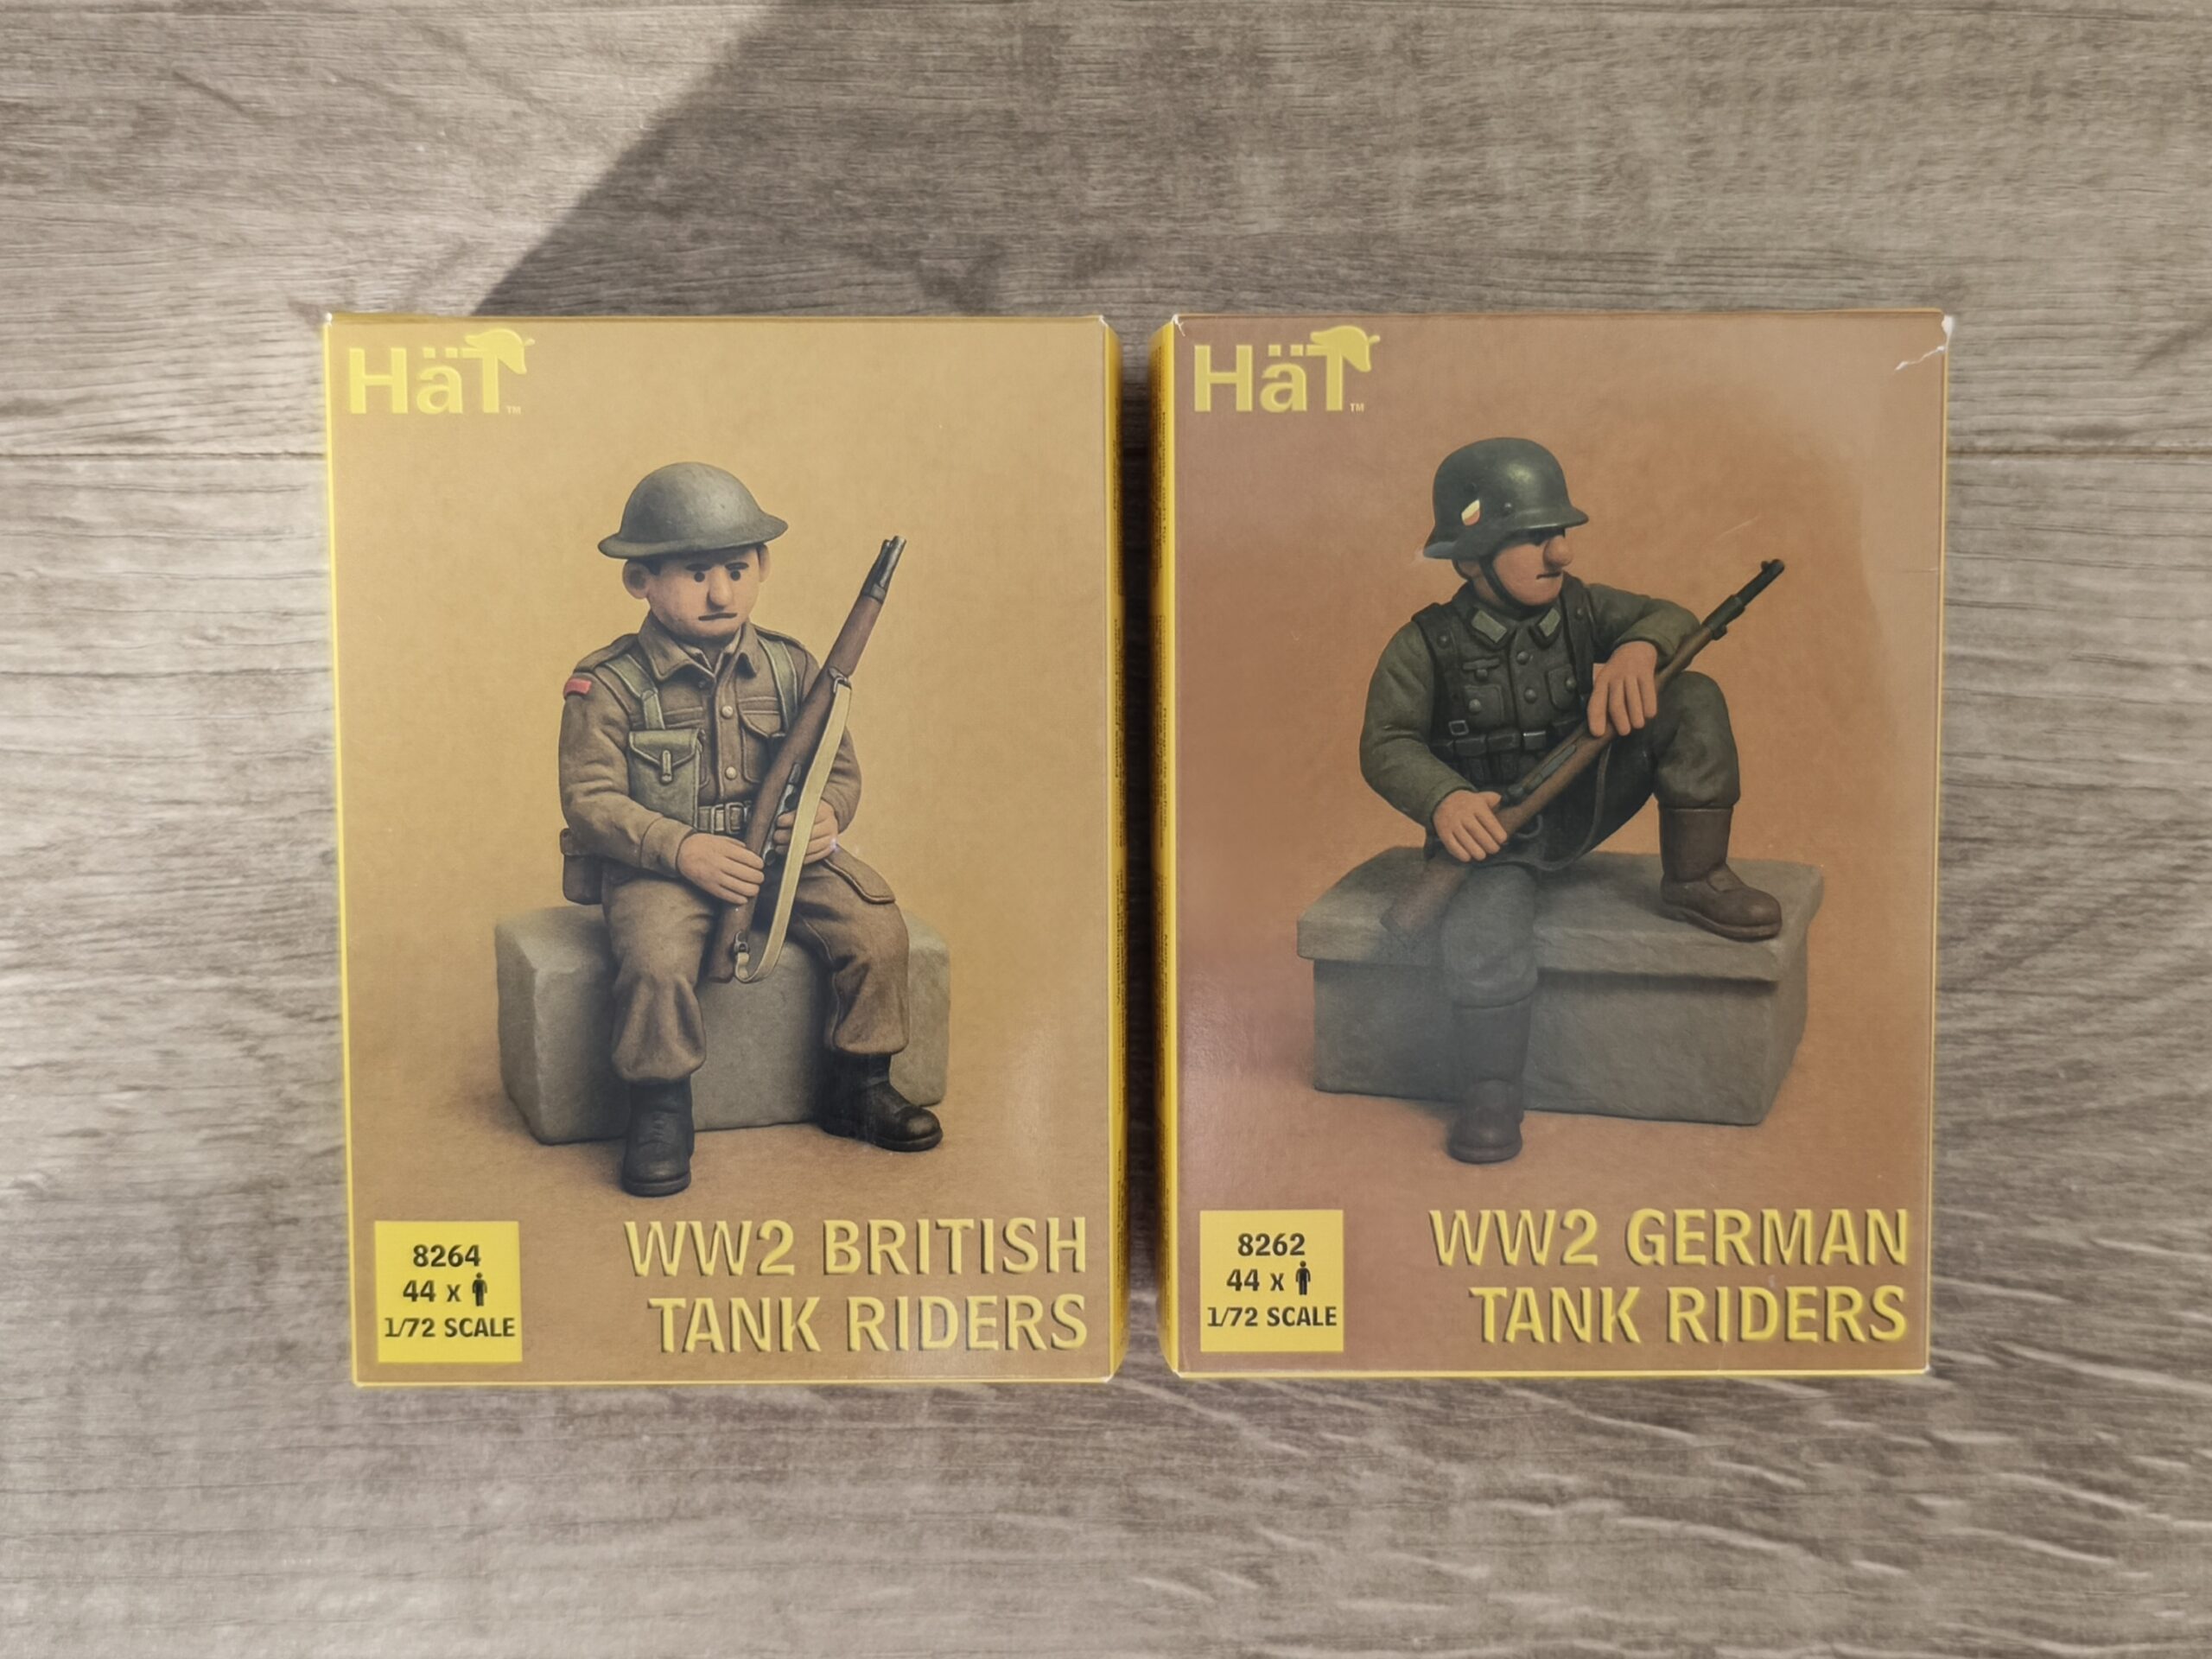
New Stock – Hat
Posts pagination
Page
1
Page
2
…
Page
5
Next page